

Craving tender, flaky biscuits? This easy gluten-free buttermilk biscuit recipe comes together quickly with just a few simple ingredients-perfect for any meal!

Jump to:
- Gluten-Free Biscuits From Scratch
- Gluten-Free Biscuit Variations
- Recipe Testing Notes
- Ingredients
- A Note About Cup4Cup
- Buttermilk Substitutes:
- Equipment
- How to Make Fluffy Gluten-Free Biscuits
- How to Make Gluten-Free Biscuits Flaky!
- Serving Suggestions
- How to Store Baked Biscuits
- How to Freeze Unbaked Biscuits
- Recipe FAQs
- More Easy Gluten-Free Bread Recipes
- Still Hungry? Subscribe Here!
- Recipe
- Comments and Ratings
Gluten-Free Biscuits From Scratch
For the longest time I had it in my head that making biscuits from scratch must be some sort of long, drawn out process. I think that's because the only biscuits I'd ever consumed in my life either came from a can or a restaurant. I'm fine admitting, I was SO wrong.
Making biscuits from scratch is one of the easiest recipes you can master, and once you do-the sky's the limit on what you can make with them!
Gluten-Free Biscuit Variations
After perfecting this gluten-free biscuit recipe, the possibilities for flavors are endless! From savory additions to sweet mix-ins, you can easily customize these biscuits to suit any taste or occasion. Such as:
- Gluten-free Drop Biscuits-perfect for slathering in sausage gravy or topping a casserole!
- Gluten-free Cheddar Bay Biscuits-Even better than Red Lobster!
- Gluten-Free Cinnamon Raisin Biscuits-Be still my childhood heart.
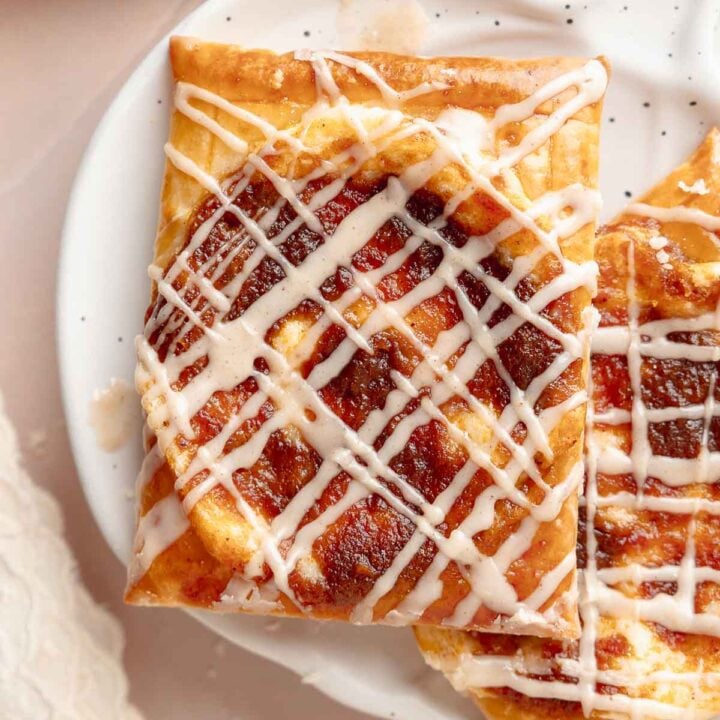
- Gluten-Free Apple Pie Biscuits-So cozy and delicious!
Recipe Testing Notes
If you've been baking gluten-free for a while, you know there's no shortage of gluten-free flour blends on the market. While having options is great, it can make gluten-free baking a bit more tricky-that's because every blend is different and behaves that way in recipes.
That's why choosing the right flour is so important. After testing this recipe with several blends, I found that Cup4Cup produced the best results by far. While there are other blends I like to bake with, such as King Arthur measure for measure, it didn't yield biscuits that were nearly as tender or flaky as the ones made with Cup4Cup. For the best texture and flavor, I highly recommend using Cup4Cup in this recipe.
*If I find other suitable options, I'll add them to this post under the ingredients section.
Ingredients
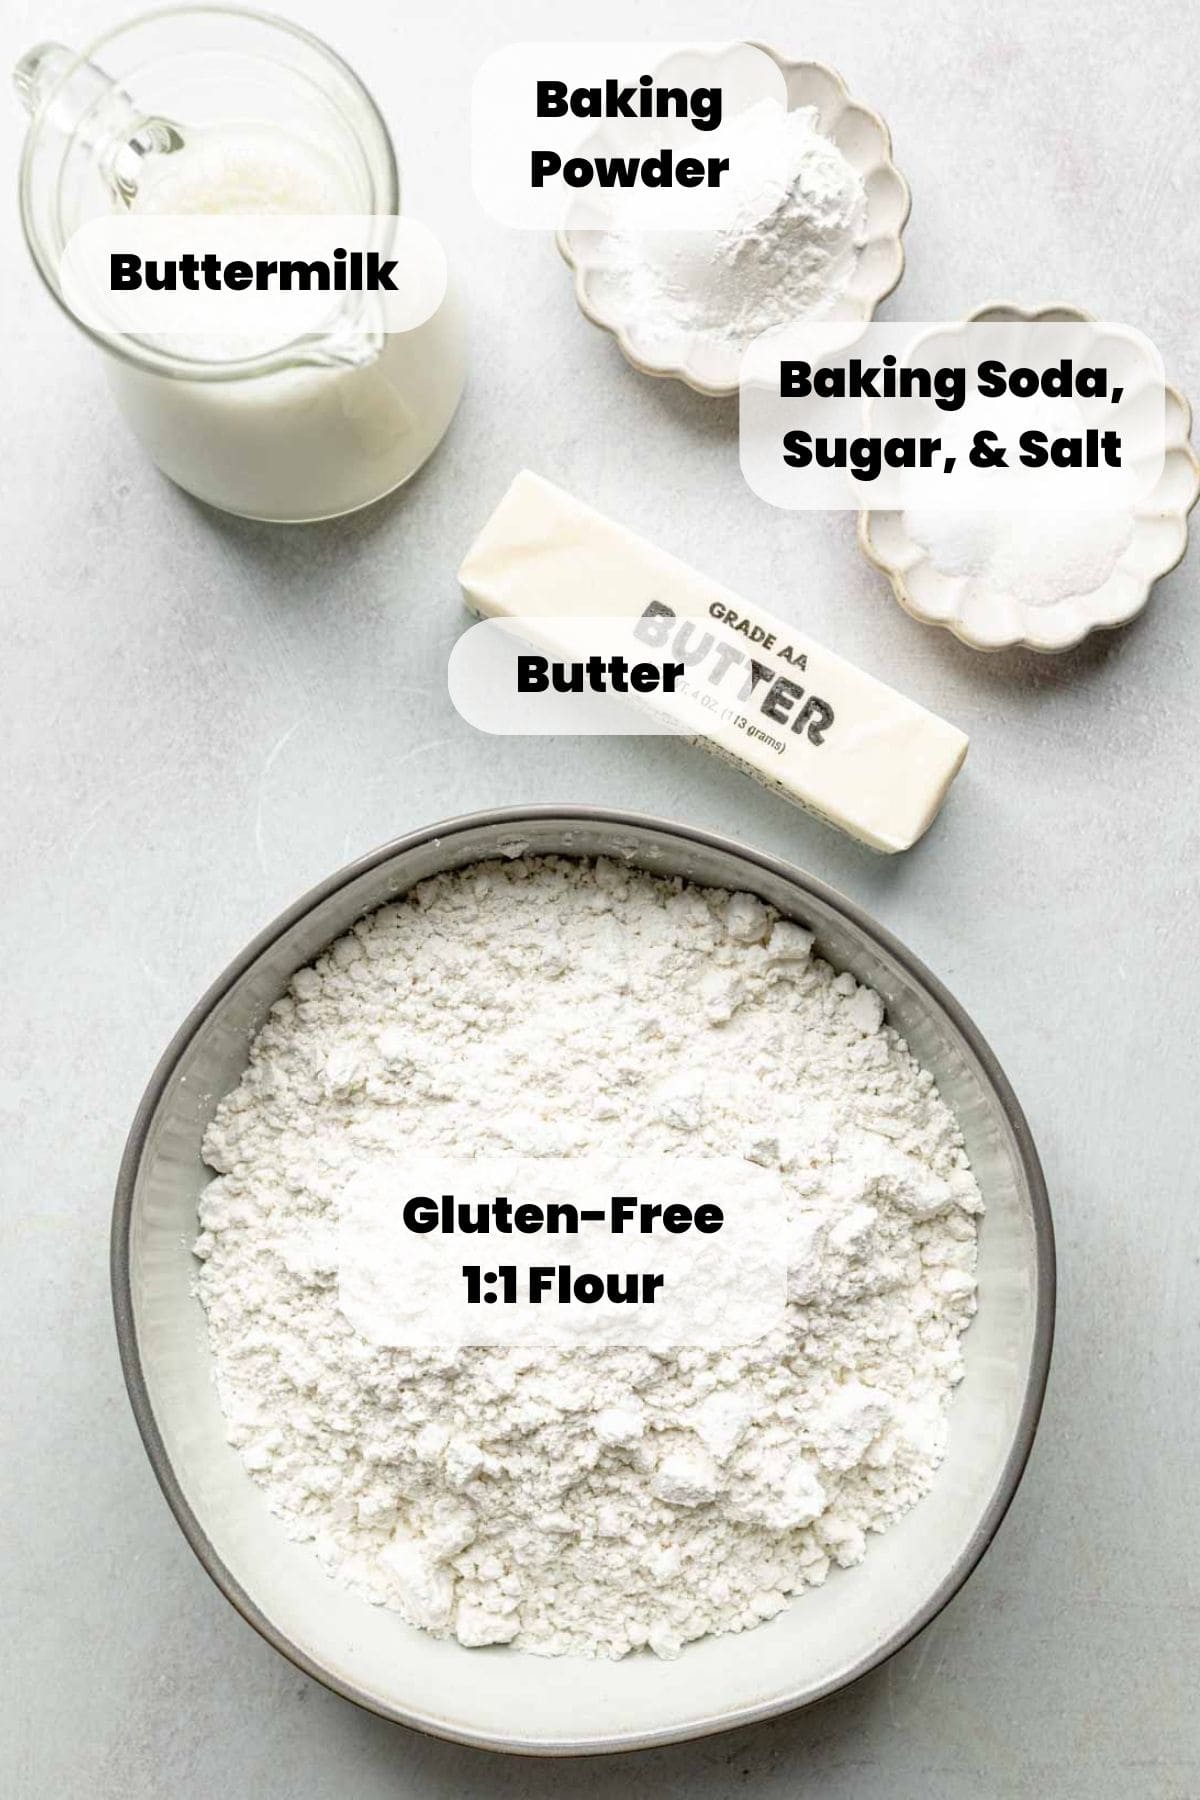
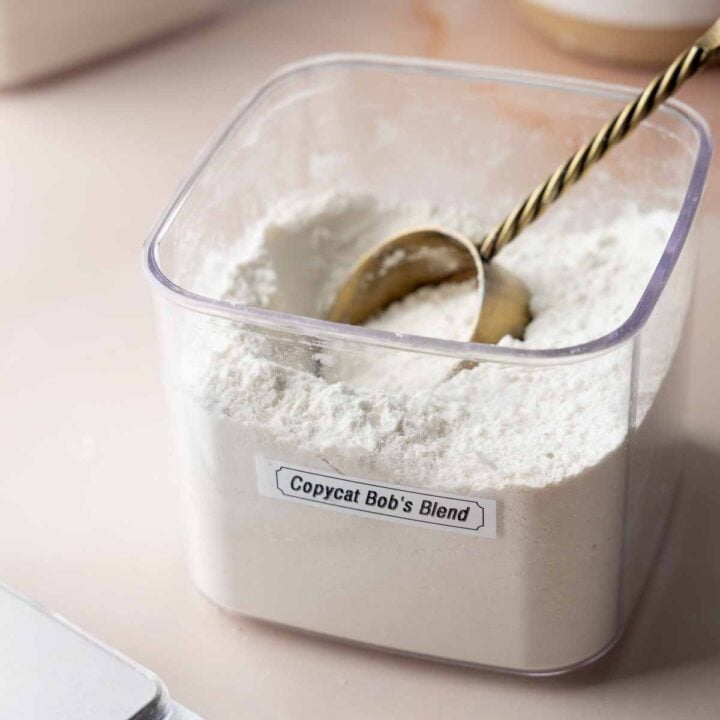
- Gluten-Free Flour Blend: Cup4Cup multipurpose flour is my top recommendation for this recipe. You can also use my homemade cup4cup flour blend, if you prefer! If you try this recipe with another blend, be sure to let me know in the comments section! As noted above, so far this blend has been the best for texture and flavor compared to others I've tried.
- Buttermilk: If you want truly amazing biscuits, do yourself a favor and use real buttermilk! While a homemade substitute will work in a pinch, there's just something about the richness and tang of real buttermilk that takes these biscuits to the next level. Trust me-it's worth picking some up at the grocery store! (*See below for substitutes.)
- Butter: I tend to use salted butter in everything, but unsalted butter will also work just fine! For a dairy-free option, use Earth Balance Vegan Buttery Sticks.
- Baking Powder and Baking Soda: These leavening agents give the biscuits their rise and fluffy texture. Make sure yours are fresh-expired or old leaveners (open for a year or more) won't do the job properly.
*Refer to the recipe card for full ingredient information.
A Note About Cup4Cup
As of October 2024, Cup4Cup changed their blend to remove the milk powder, making it top 9 allergen free. This recipe works equally well with either the new formulation or the old blend. Use whichever you have on hand.
Buttermilk Substitutes:
While I highly recommend using real buttermilk, sometimes you just need a substitute! Here's some options with ingredients you may have on hand.
- Milk + Lemon Juice or Vinegar: Add 1 tablespoon of lemon juice or white vinegar to 1 cup of milk. Let it sit for 5-10 minutes until it curdles slightly.
- Milk + Yogurt: Thin out plain yogurt, regular or greek, with milk until it reaches a thick, liquid consistency similar to buttermilk.
- Milk + Sour Cream: Similarly to yogurt, you can thin out sour cream with a bit of milk.
- Dairy-Free Option: Combine 1 cup of unsweetened non-dairy milk (like almond or soy) with 1 tablespoon of lemon juice or vinegar and let it sit for a few minutes.
Equipment
You don't need a lot of fancy equipment to make biscuits but here are a few helpful tools:
- Box grater: I find grating the butter is quicker and easier than using a pastry cutter. Use a box grater, rotary grater, or the grater on your food processor.
- Rolling pin: For rolling out the dough.
- Biscuit cutter or sharp knife: You can use biscuit cutters, a large round cookie cutter, or sharp knife to cut out your biscuits.
How to Make Fluffy Gluten-Free Biscuits
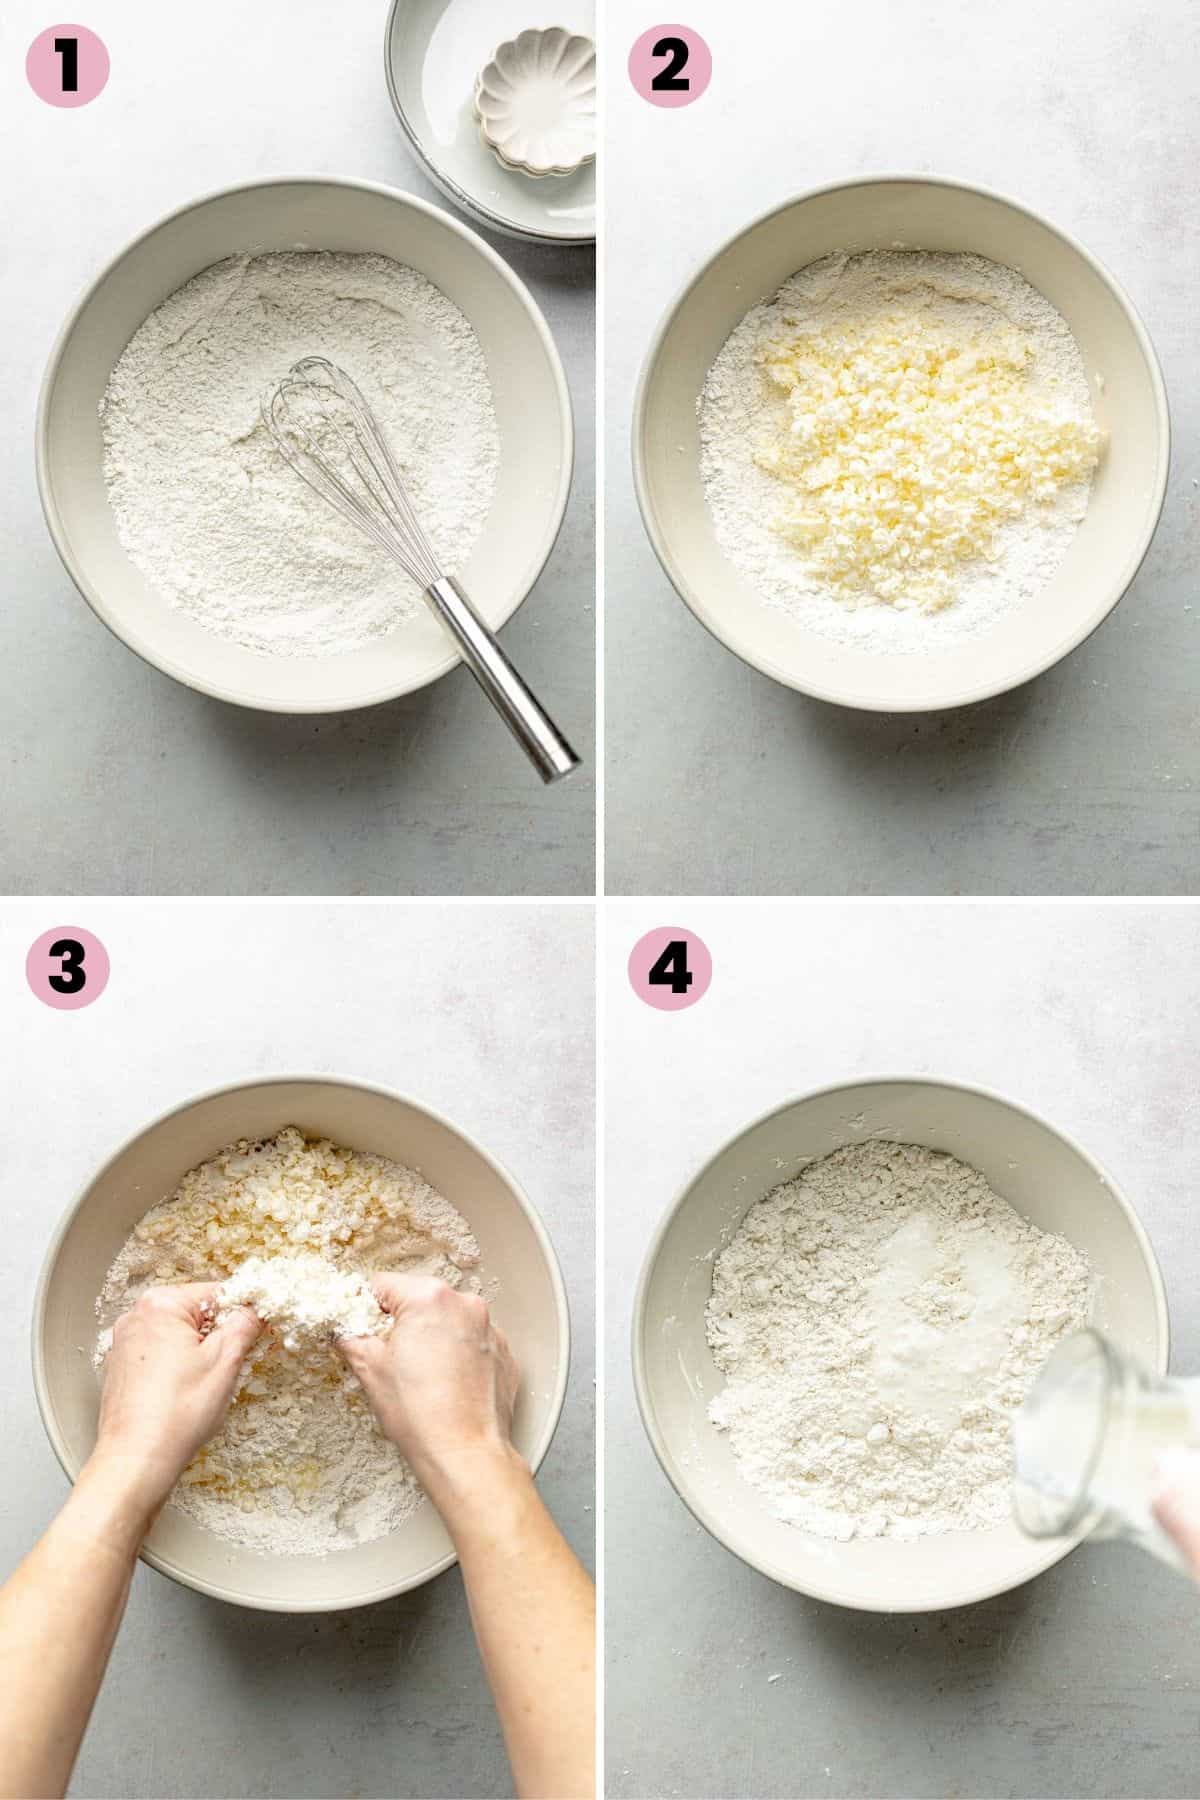
- In a large bowl, whisk together the gluten-free flour, baking powder, baking soda, sugar, and salt.
- Add the frozen, grated butter to the bowl.
- Use your hands to toss and pinch the butter into the flour mixture.
- Pour in the cold buttermilk.
Save This Recipe!
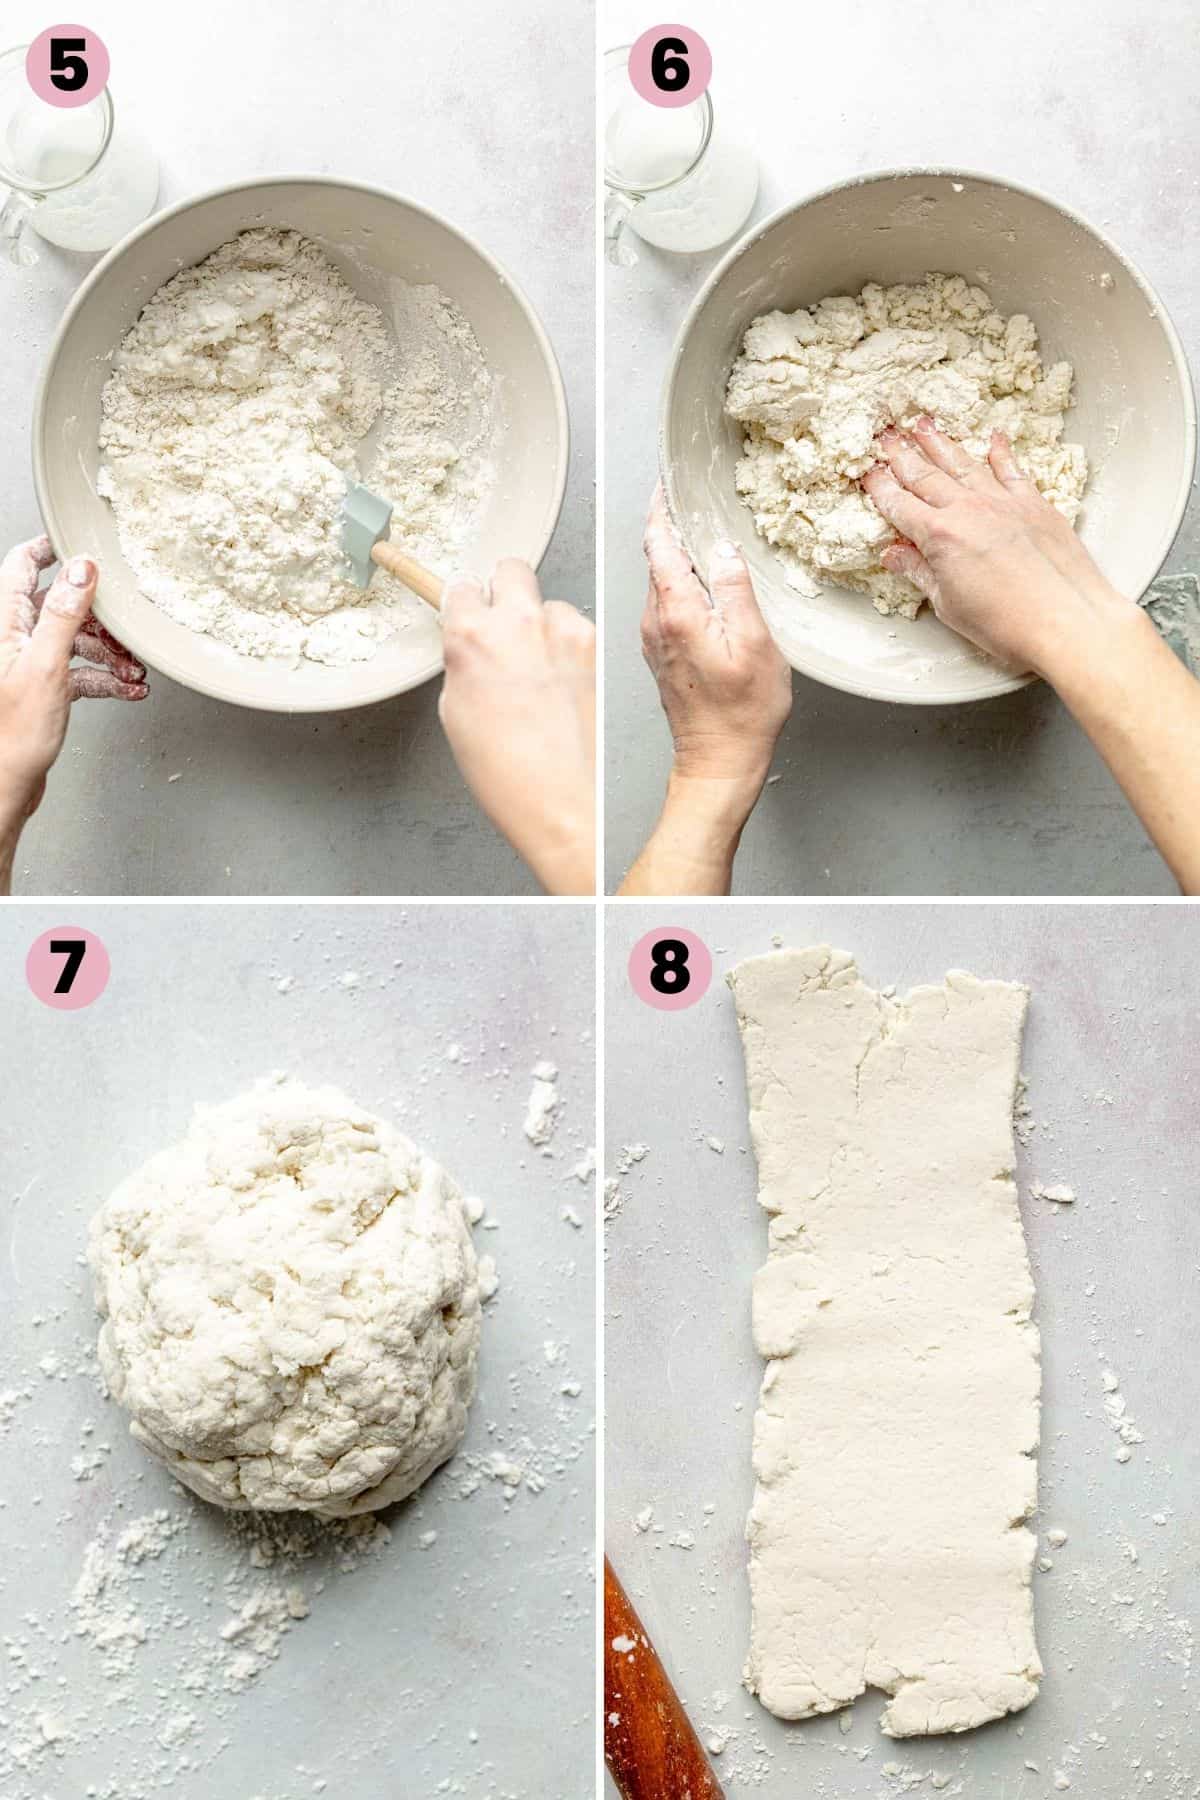
- Stir the buttermilk into the flour until well combined.
- Use your hands to bring the mixture together if needed!
- Place the biscuit dough on a floured surface.
- Roll the dough into a long rectangle, about 1-inch thick.
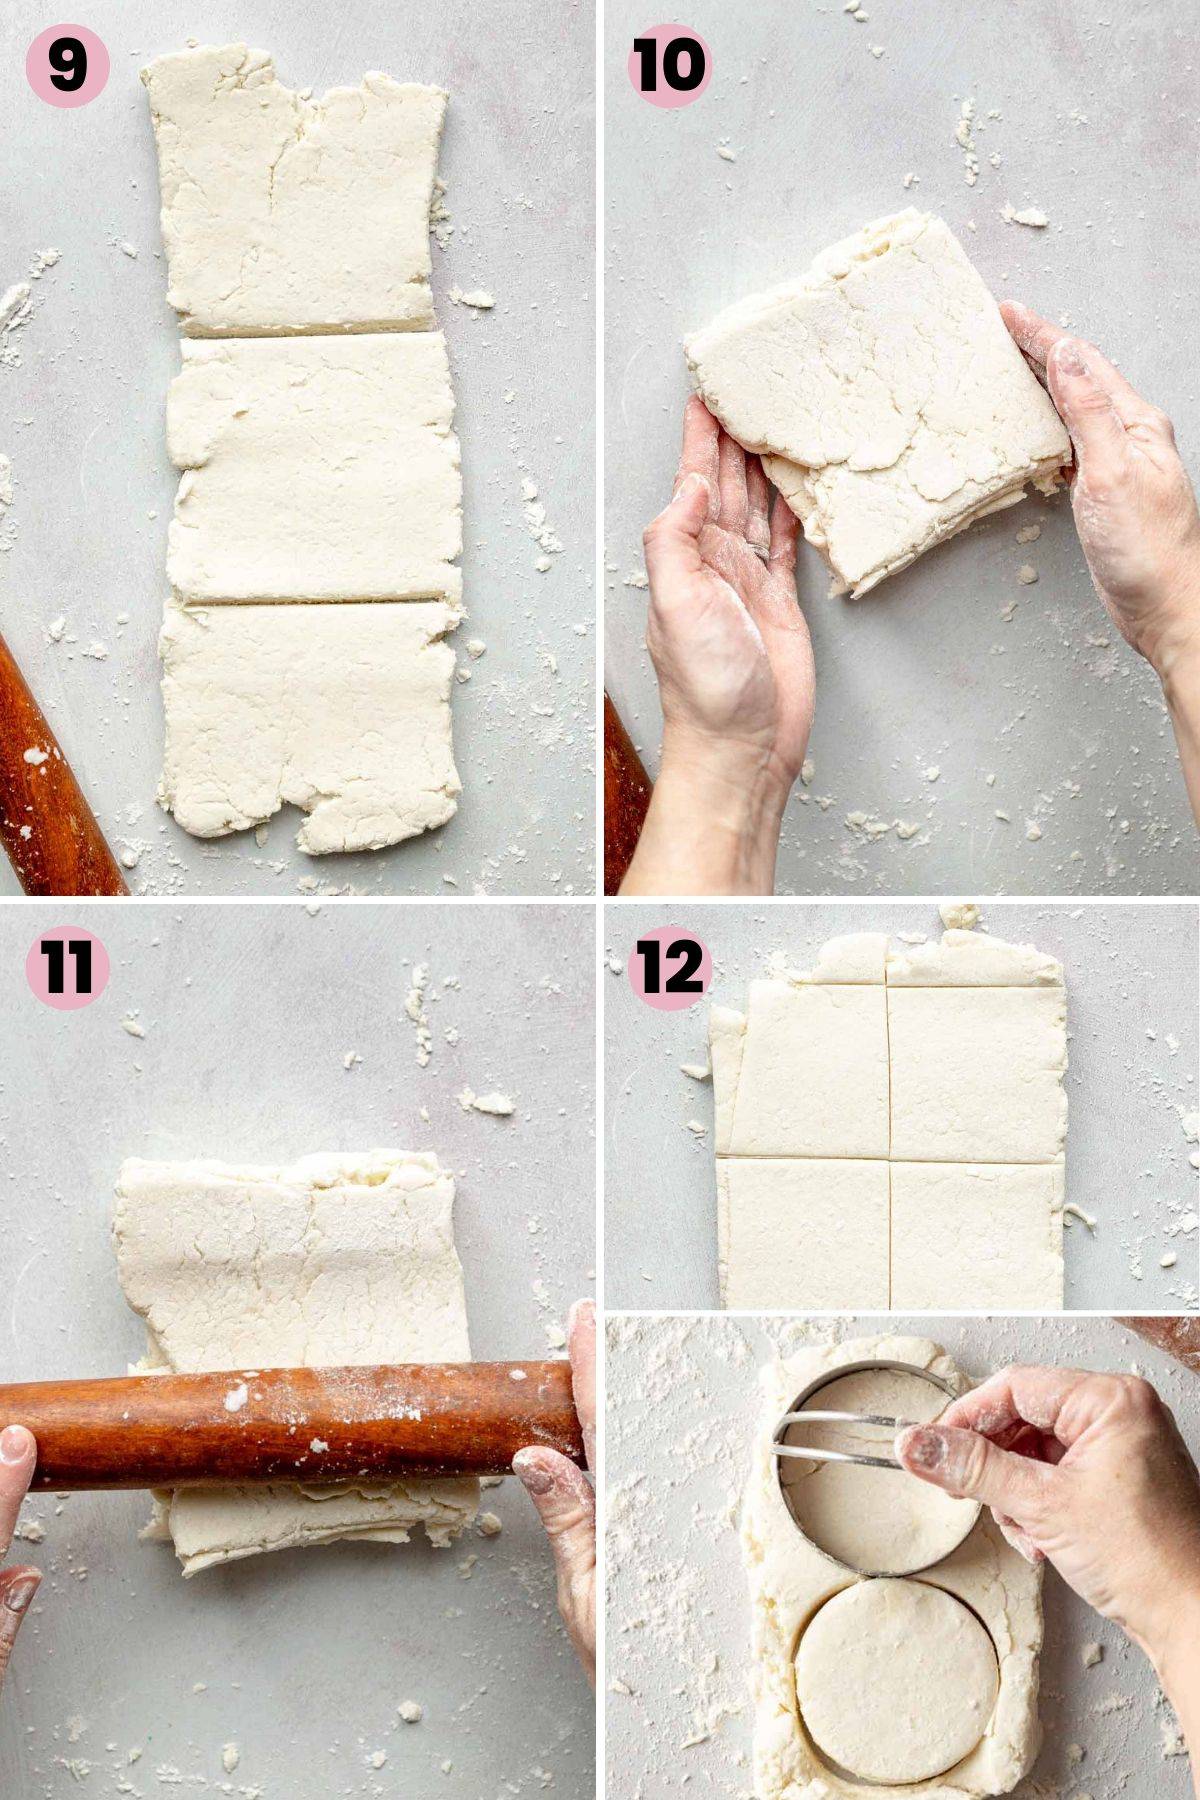
- Use a sharp knife to cut the dough into thirds. (You can also fold the dough into thirds, like a letter.)
- Stack the pieces on top of one another, then rotate the stack 90°.
- Now you're essentially back at the beginning. Repeat steps 8-10 two more times. Finally, roll the dough out one last time to about 1-inch thickness.
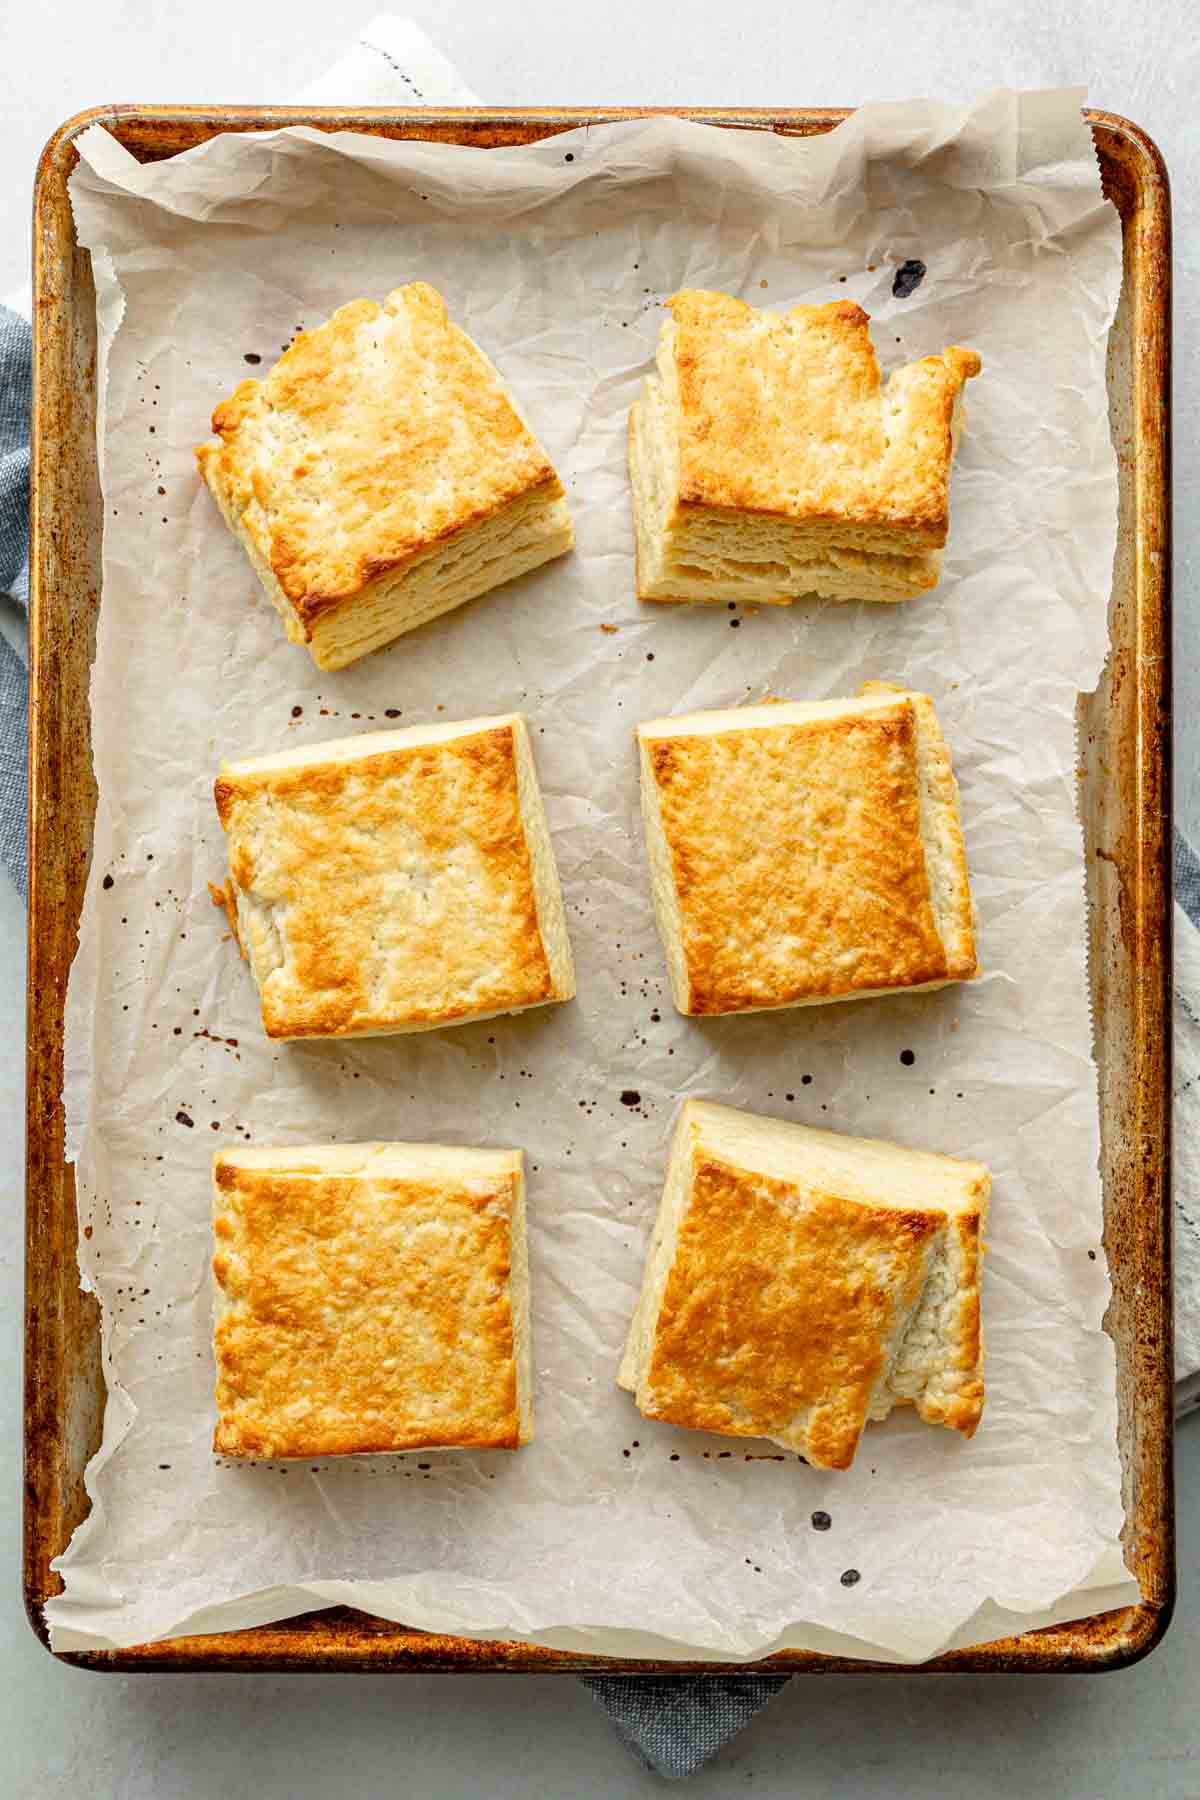
- Use a biscuit cutter or sharp knife to cut your dough into rounds or squares about 2-inches wide.
How to Make Gluten-Free Biscuits Flaky!
For truly flaky and fluffy biscuits, the secret is in the technique! Follow these tips for those flaky, pull-apart layers!
- Use Cold Ingredients: Keep the butter the buttermilk as cold as possible. Cold butter creates steam as it bakes, forming flaky layers. *Follow the recipe instructions for using frozen butter!
- Don't Overwork the Butter: Quickly pinch and toss the butter into the flour mixture, you don't want your hands warming up the butter too much!
- Laminate the Dough: Follow the recipe instructions for rolling out the dough, folding, and re-rolling. The process is called lamination and that is what creates flaky layers in your biscuits!
- Don't Overwork the Dough: Overhandling the dough can cause the butter to warm up and melt into the mixture, which reduces the flakiness of the biscuits. Handle it gently and as little as possible to keep the butter cold and maintain those tender, flaky layers.
- Cut Cleanly: Use a sharp biscuit cutter or knife, and press straight down without twisting. Twisting seals the edges, preventing a good rise and distinct layers.
- Bake at High Heat: Make sure your oven is properly pre-heated and hot! The quick blast of heat helps the biscuits rise and separate into flaky layers.
Serving Suggestions
These gluten-free biscuits are incredibly versatile and pair well with a variety of dishes.
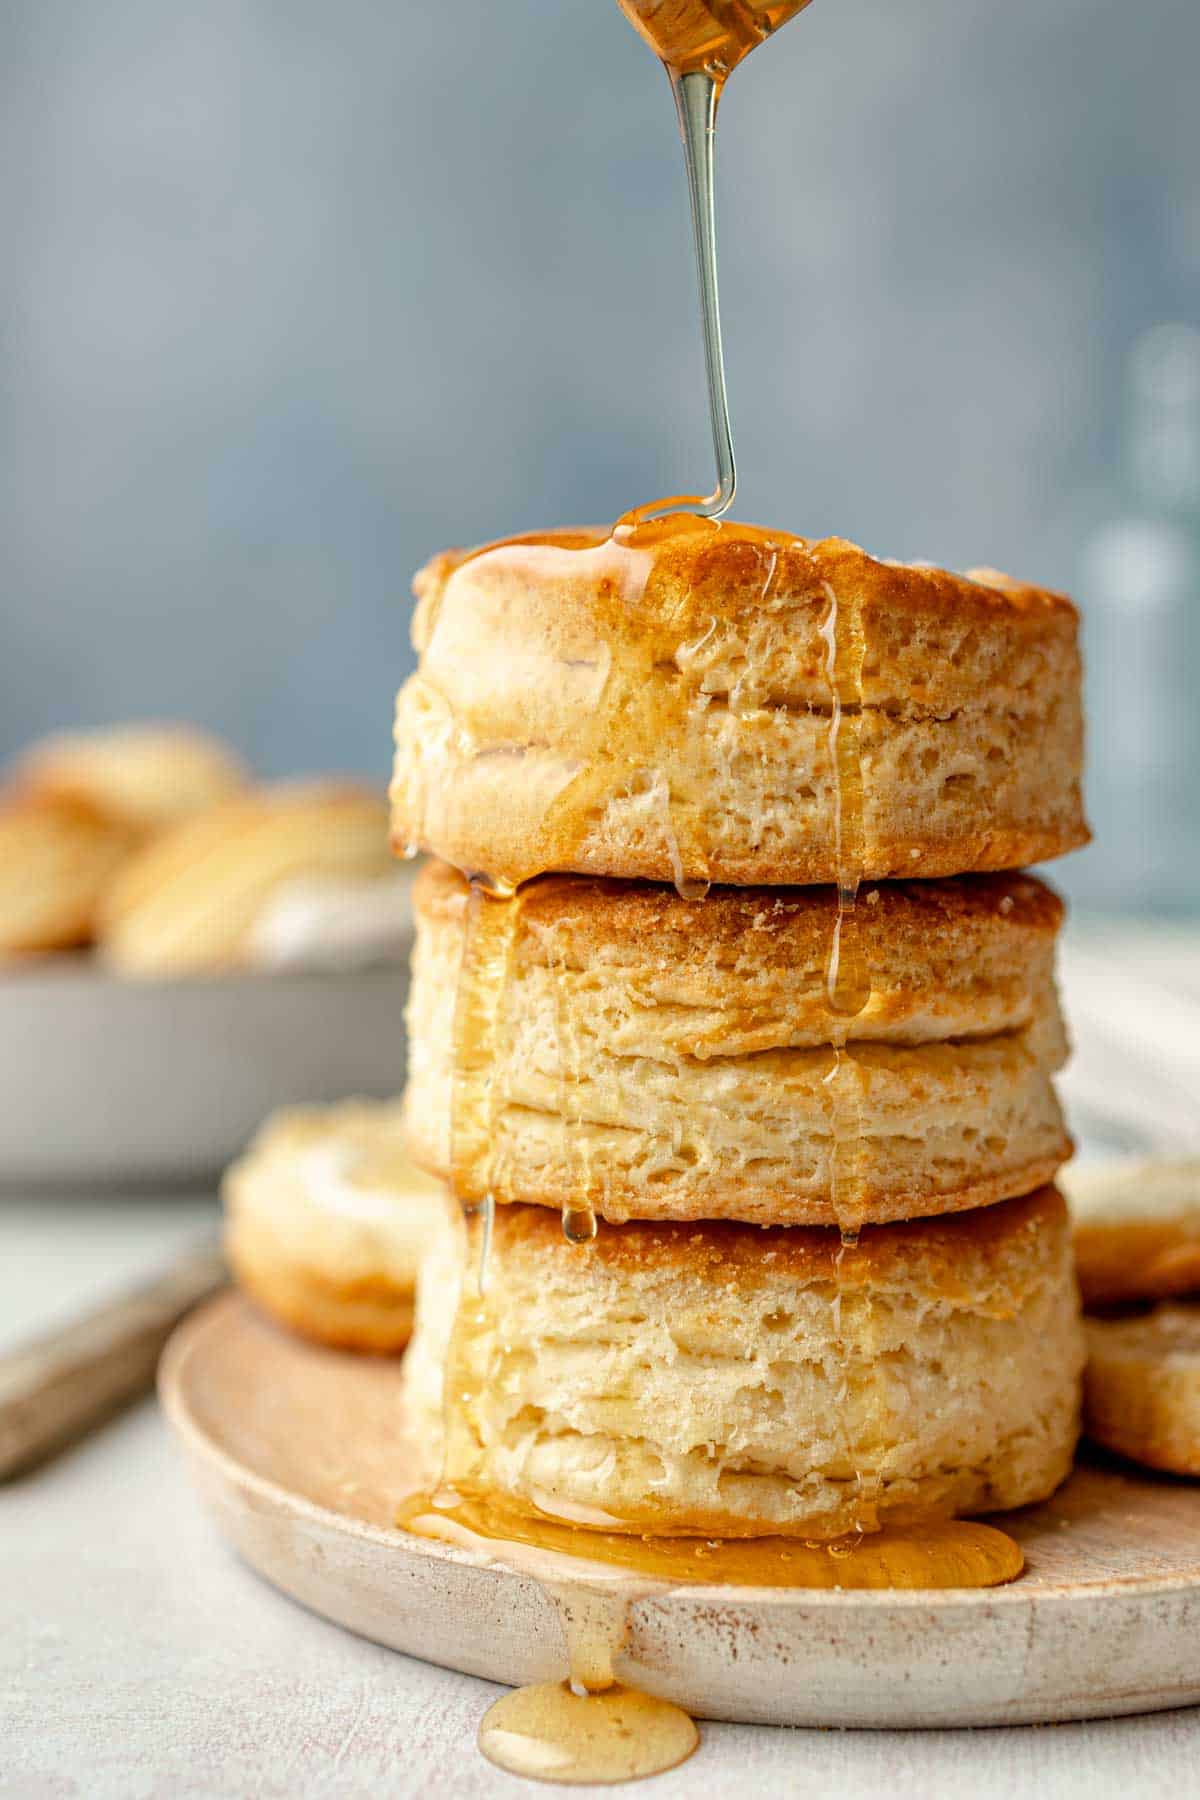
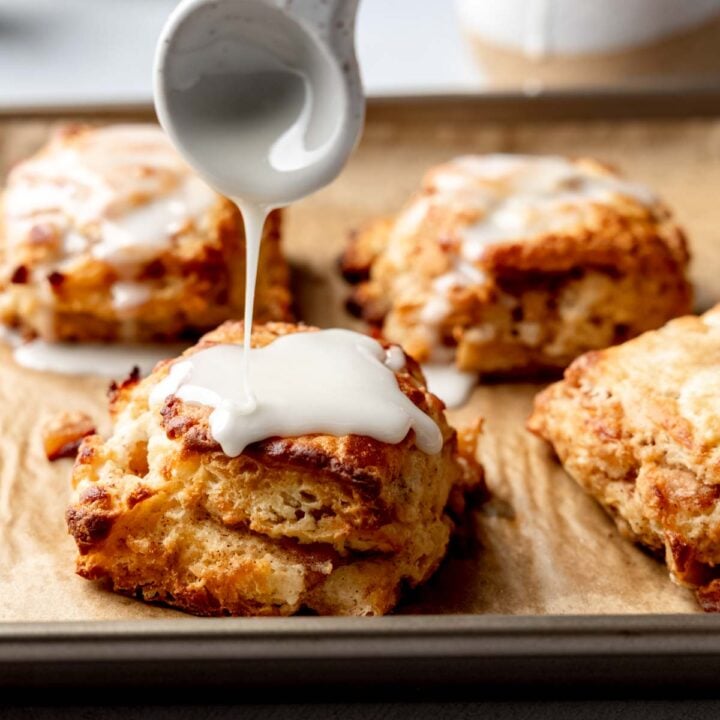
- Serve them warm with butter and jam for breakfast, or drizzle with honey for a simple treat.
- They're perfect alongside soups, stews, and gluten-free chili.
- Perfect for biscuits and sausage gravy.
- Make gluten-free bacon, egg, and cheese biscuits!
- For a sweet twist, serve them as shortcakes-top with whipped cream and fresh berries.
How to Store Baked Biscuits
Biscuits are best consumed warm and freshly baked! They will keep at room temperature for several days, with a quick reheat in the microwave of about 15 seconds per biscuit!
How to Freeze Unbaked Biscuits
You can freeze unbaked biscuits and it's a fantastic way to have fresh, homemade biscuits ready to bake anytime!
- After cutting biscuit dough into shapes, place the unbaked biscuits on a parchment-lined baking sheet, making sure they don't touch.
- Freeze for 1-2 hours, or until firm. Once frozen solid, transfer the biscuits to a freezer-safe bag or airtight container and store for up to three months.
- When you're ready to bake, there's no need to thaw-just place the frozen biscuits on a baking sheet and bake at 425°F, adding 2-3 minutes to the baking time.
Recipe FAQs
Currently, there are no companies making a gluten-free canned biscuit. As an alternative you can find frozen, ready-made biscuits, but they are somewhat expensive when compared to making biscuits from scratch.
Yes, substitute the buttermilk with a dairy-free buttermilk substitute and the butter for vegan butter such as Earth balance vegan buttery sticks. Be sure your gluten-free flour blend does not contain milk powder.
Yes but you'll want to add a touch more buttermilk for the best results! Refer to my gluten-free drop biscuit recipe for the exact measurements. Then use a cookie scoop to drop rounded mounds onto parchment paper rather than rolling the dough.
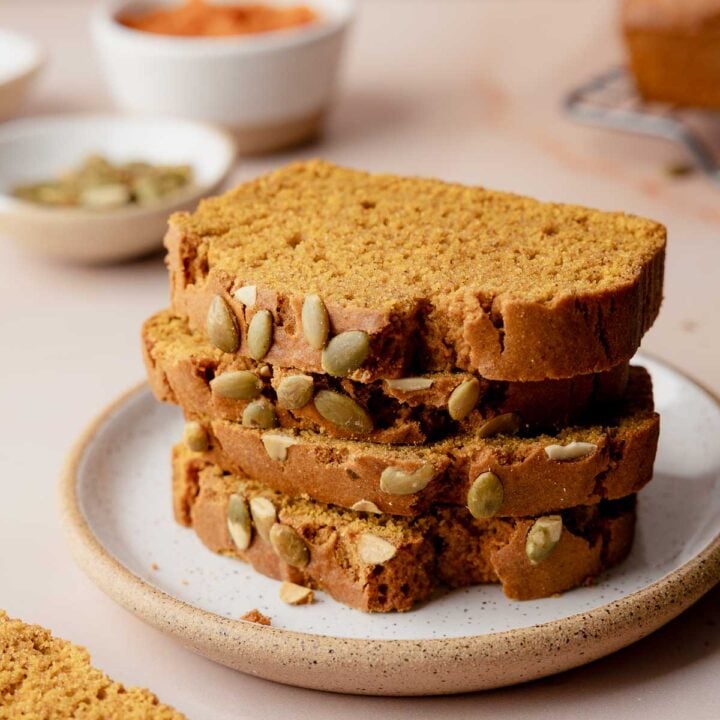
More Easy Gluten-Free Bread Recipes
If you enjoy this recipe, check out more of my gluten-free quick breads and gluten-free yeast breads!

Still Hungry? Subscribe Here!
Recipe
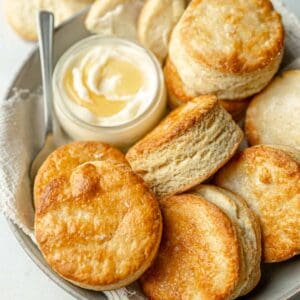
Gluten-Free Buttermilk Biscuits
Ingredients
- ½ cup butter (cold)
- 2 cups Cup4Cup gluten-free flour
- 1 ½ tablespoons baking powder
- ½ teaspoon baking soda
- 1 teaspoon sugar
- ¼ teaspoon salt
- 1 cup buttermilk
Instructions
- Grate the cold butter using a box grater. Spread the grated butter it in a single layer on a plate or baking sheet. Freeze for 15 minutes, or until solid.
- In a large bowl, whisk together the flour, baking powder, baking soda, sugar, and salt.
- Add the frozen, grated butter to the flour mixture. Use your fingertips to gently toss and pinch the butter into the flour until it's evenly distributed and resembles coarse crumbs. Be careful not to overwork the butter to prevent it from melting or becoming too warm.
- Pour in the buttermilk and stir until the dough comes together. Use your hands to bring it together if necessary, just be careful not to overmix.
- Turn the dough onto a floured surface and roll it into a long rectangle, about 1 inch thick.
- Cut the dough into thirds and stack the pieces on top of one another-alternatively, fold the dough into thirds. Rotate the dough 90° or a half-turn.
- Repeat two more times: Roll out the dough, cut and stack or fold the dough into thirds, and rotate.
- For the final roll, roll the dough to about 1 inch thick.
- Use a biscuit cutter or sharp knife to cut the dough into rounds or squares, about 2 inches wide. Place the biscuits on a parchment-lined baking sheet.
- Chill the biscuits in the refrigerator for about 15 minutes. Meanwhile, preheat the oven to 425°F.
- Brush the tops of the biscuits with buttermilk. Bake for 12-14 minutes, or until golden brown.
Notes
- When using a round biscuit cutter, you may wish to re-roll any scraps to use up all of the biscuit dough.
- Recipe yields about 8 (2-inch) biscuits but may vary depending on the size you make the biscuits.
- Note that ovens vary, so use your best judgement for baking times, you may need a few more/less minutes to achieve the golden brown color.
- For the best results, use the recommended gluten-free flour (Cup4Cup or my copycat version). Refer to the blog post for more tips and substitutions. The recipe is pretty fool-proof but I have provided weighted measurements for accuracy; click the "metric/grams" button at the top of the ingredients list to access those measurements.
Nutrition
* Nutritional information is provided as a courtesy and should be used as an estimate only. See the nutrition policy for more information.
Kathy says
Thanks for the recipe. My mom is gluten-free and these biscuits were a real treat for her!