


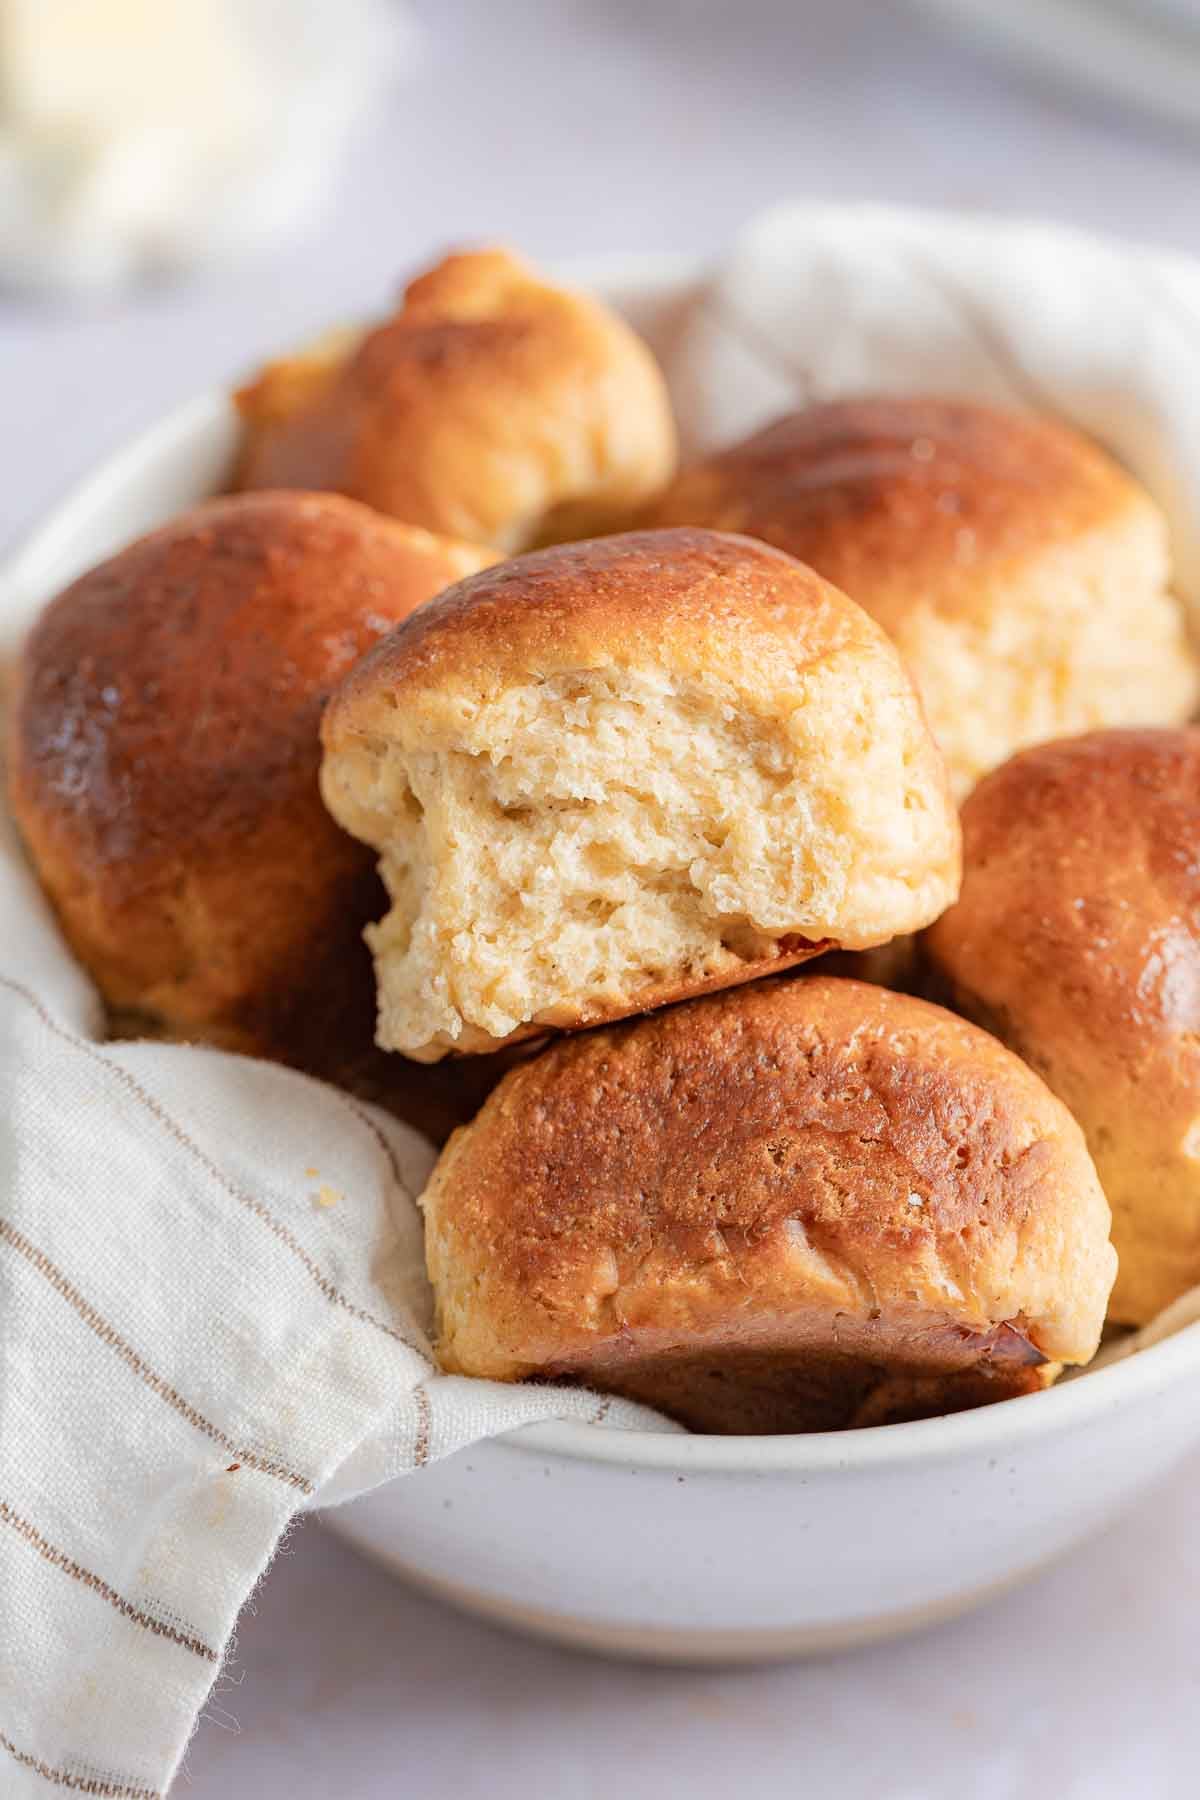
I first created this gluten-free Hawaiian rolls recipe in 2021, and it quickly became a reader favorite for its soft, fluffy texture. A combination of brown sugar and honey gives them that signature Hawaiian roll sweetness. They come together in under two hours with just one rise, making them perfect for sliders or serving alongside your holiday dinners.
Save This Recipe!
What Makes These Hawaiian Sweet Rolls Different?
- No pineapple juice: Many homemade Hawaiian roll recipes include pineapple juice, but in my tests, the pineapple flavor completely overpowered the rolls. They didn't taste much like King's Hawaiian rolls at all. Brown sugar and a little honey gave me the sweet roll flavor I was looking for.
- Caputo Gluten-Free Flour: My number one tip for better gluten-free yeast bread is to use the right flour. It can make or break a recipe. You can learn more about why I recommend Caputo Gluten-Free Flour in my full review and check out some of the over 20 recipes I've created with it.
Ingredients You'll Need
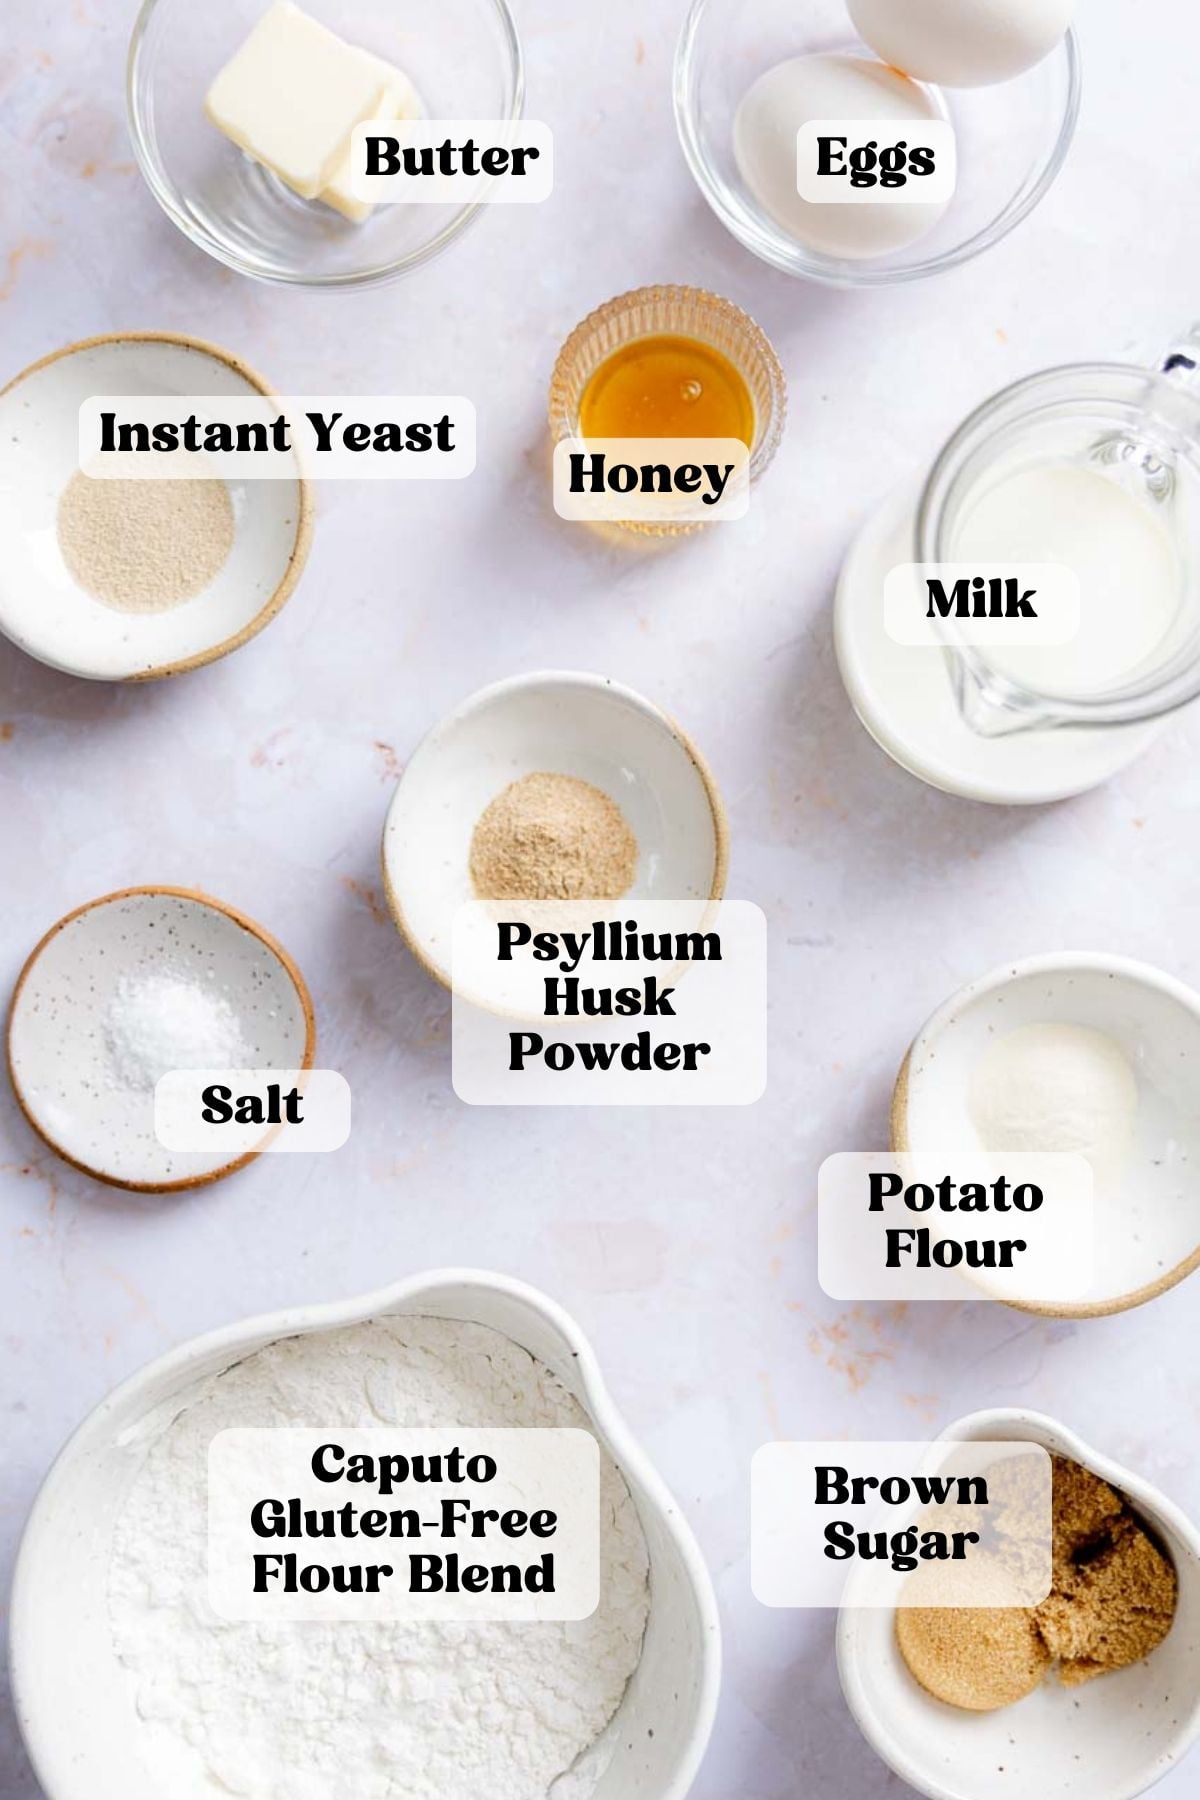
- Caputo Gluten-Free Flour Blend: (formerly Caputo Fioreglut) is the reason these rolls have a soft and fluffy texture. *Please note: Caputo Gluten-Free Flour contains gluten-free wheat starch and is not recommended for those with a wheat allergy.
- Psyllium Husk Powder: This ingredient helps with structure and softness. I prefer powdered psyllium husk over whole husk. If you only have whole, be sure to calculate how much whole husk you'll need instead.
- Potato Flour (not potato starch): This ingredient retains some moisture in the bread, which helps give the rolls that soft, pull-apart feel.
- Instant Yeast: Use instant (rapid rise) yeast. It is mixed directly into the dry ingredients and works best when liquids are heated to 120°F to 130°F. I don't recommend active dry yeast for this recipe.
Get the Goods!
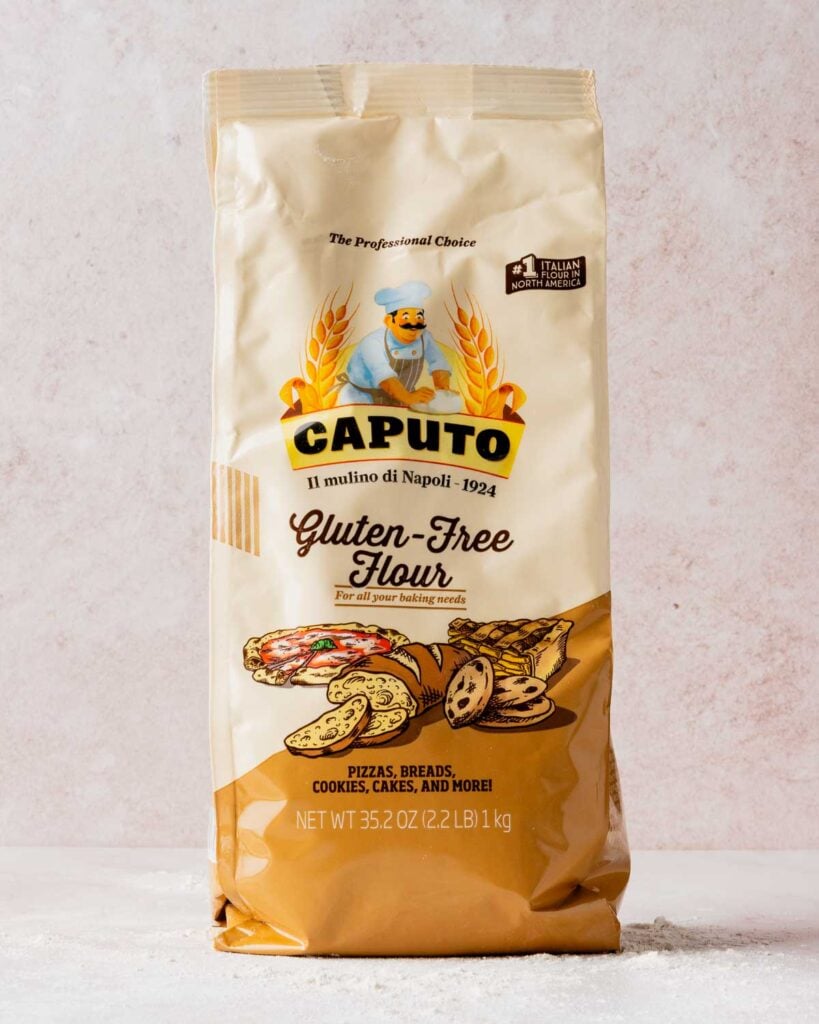
Caputo Fioreglut Gluten-Free Flour
I recommend you buy Caputo Gluten-Free Flour (formerly Fioreglut) from Brick Oven Baker. They have great prices and you can use code: KATIE for 10% off your first order!
Can I Use a Different Brand of Flour?
Other gluten-free flour blends might work, but the texture and rise will vary. The closest substitute I've seen readers have success with is King Arthur's Gluten-Free Bread Flour. I haven't tested this though and I still recommend using Caputo Gluten-Free Flour.
The Dough Will Be Soft and Sticky
This recipe uses a high-hydration dough. The increase in moisture helps achieve a soft, squishy roll. Adding additional flour may make the dough easier to work with but leads to a dense and crumbly outcome.
To make the rolls easier to work with, be sure to mix the dough for 2 minutes and then let the batter rest for 5-10 minutes to fully hydrate. Use a greased scoop and greased hands to minimize sticking.
Making Gluten-Free Hawaiian Rolls
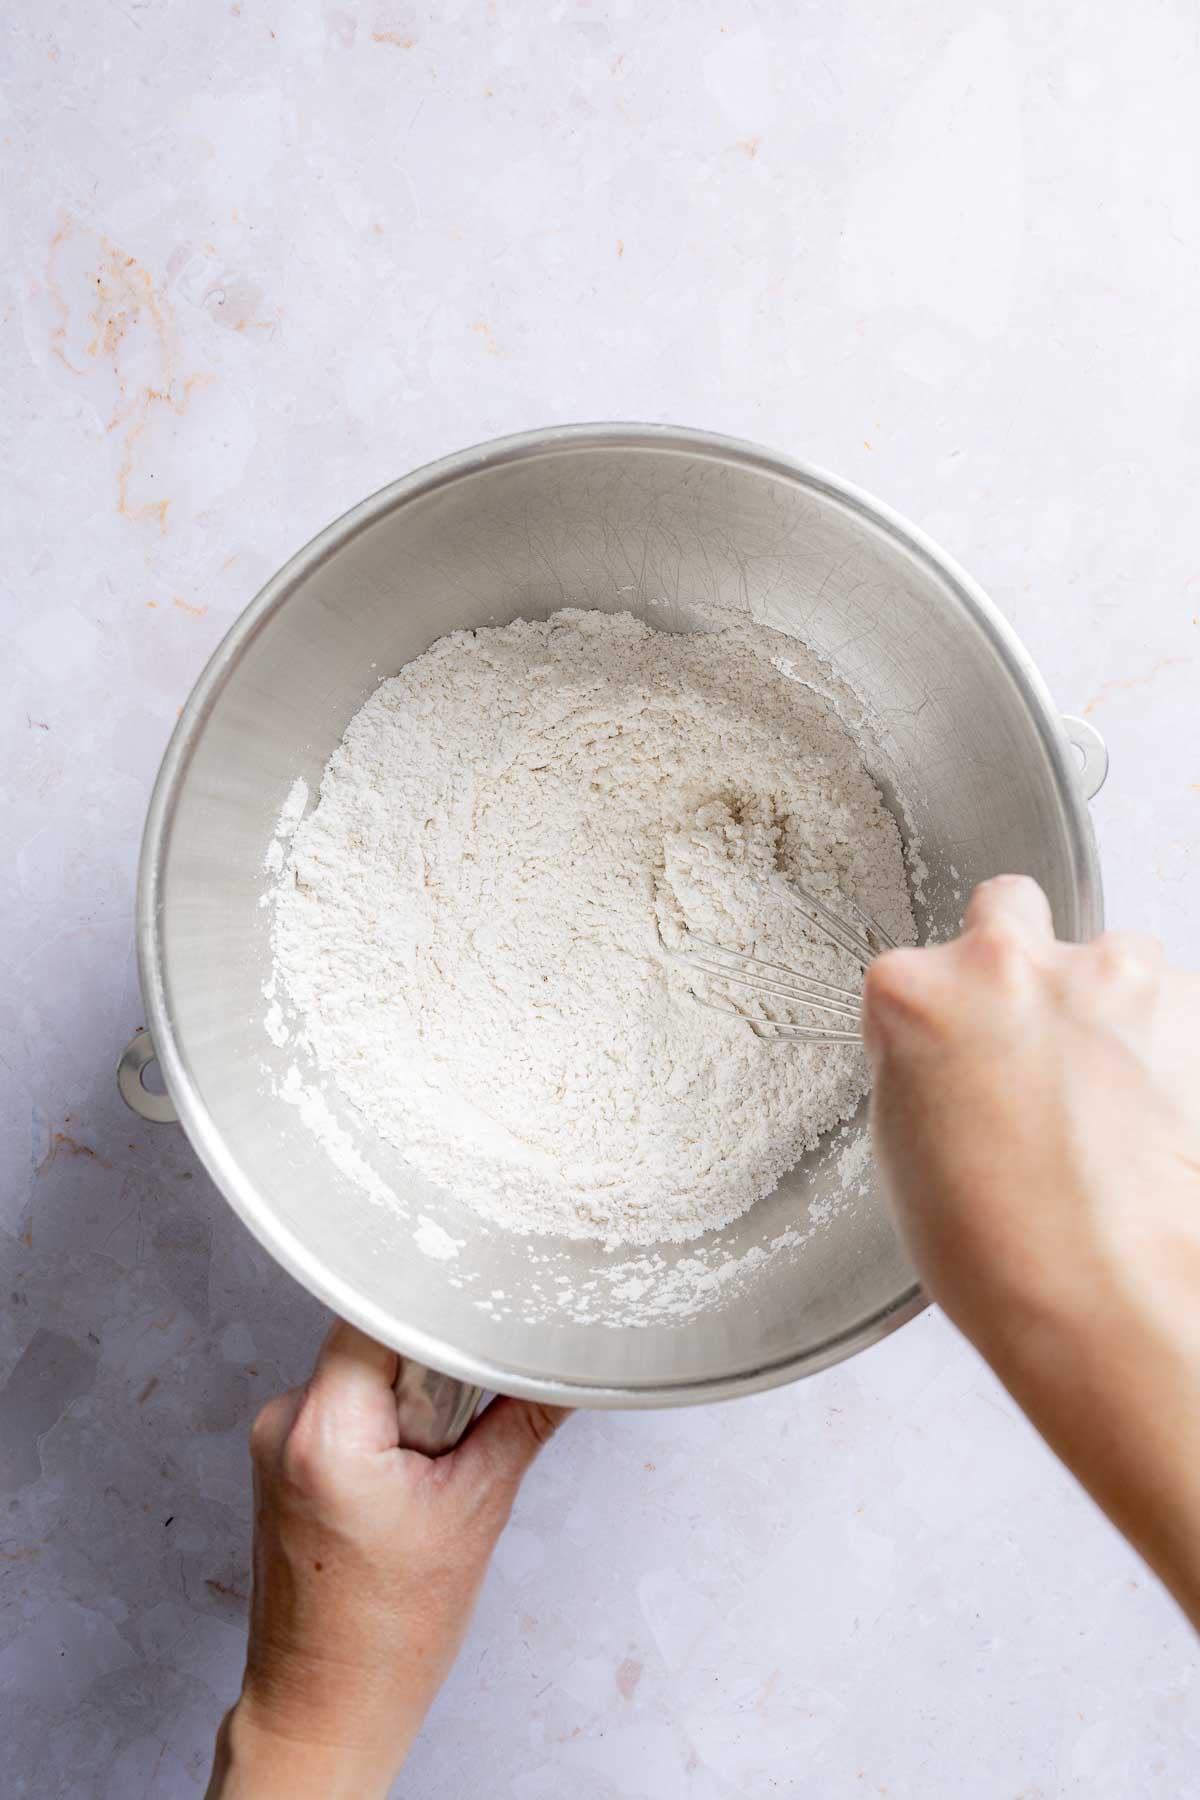
- Step 1: Start by whisking all the dry ingredients together in the stand mixer bowl.
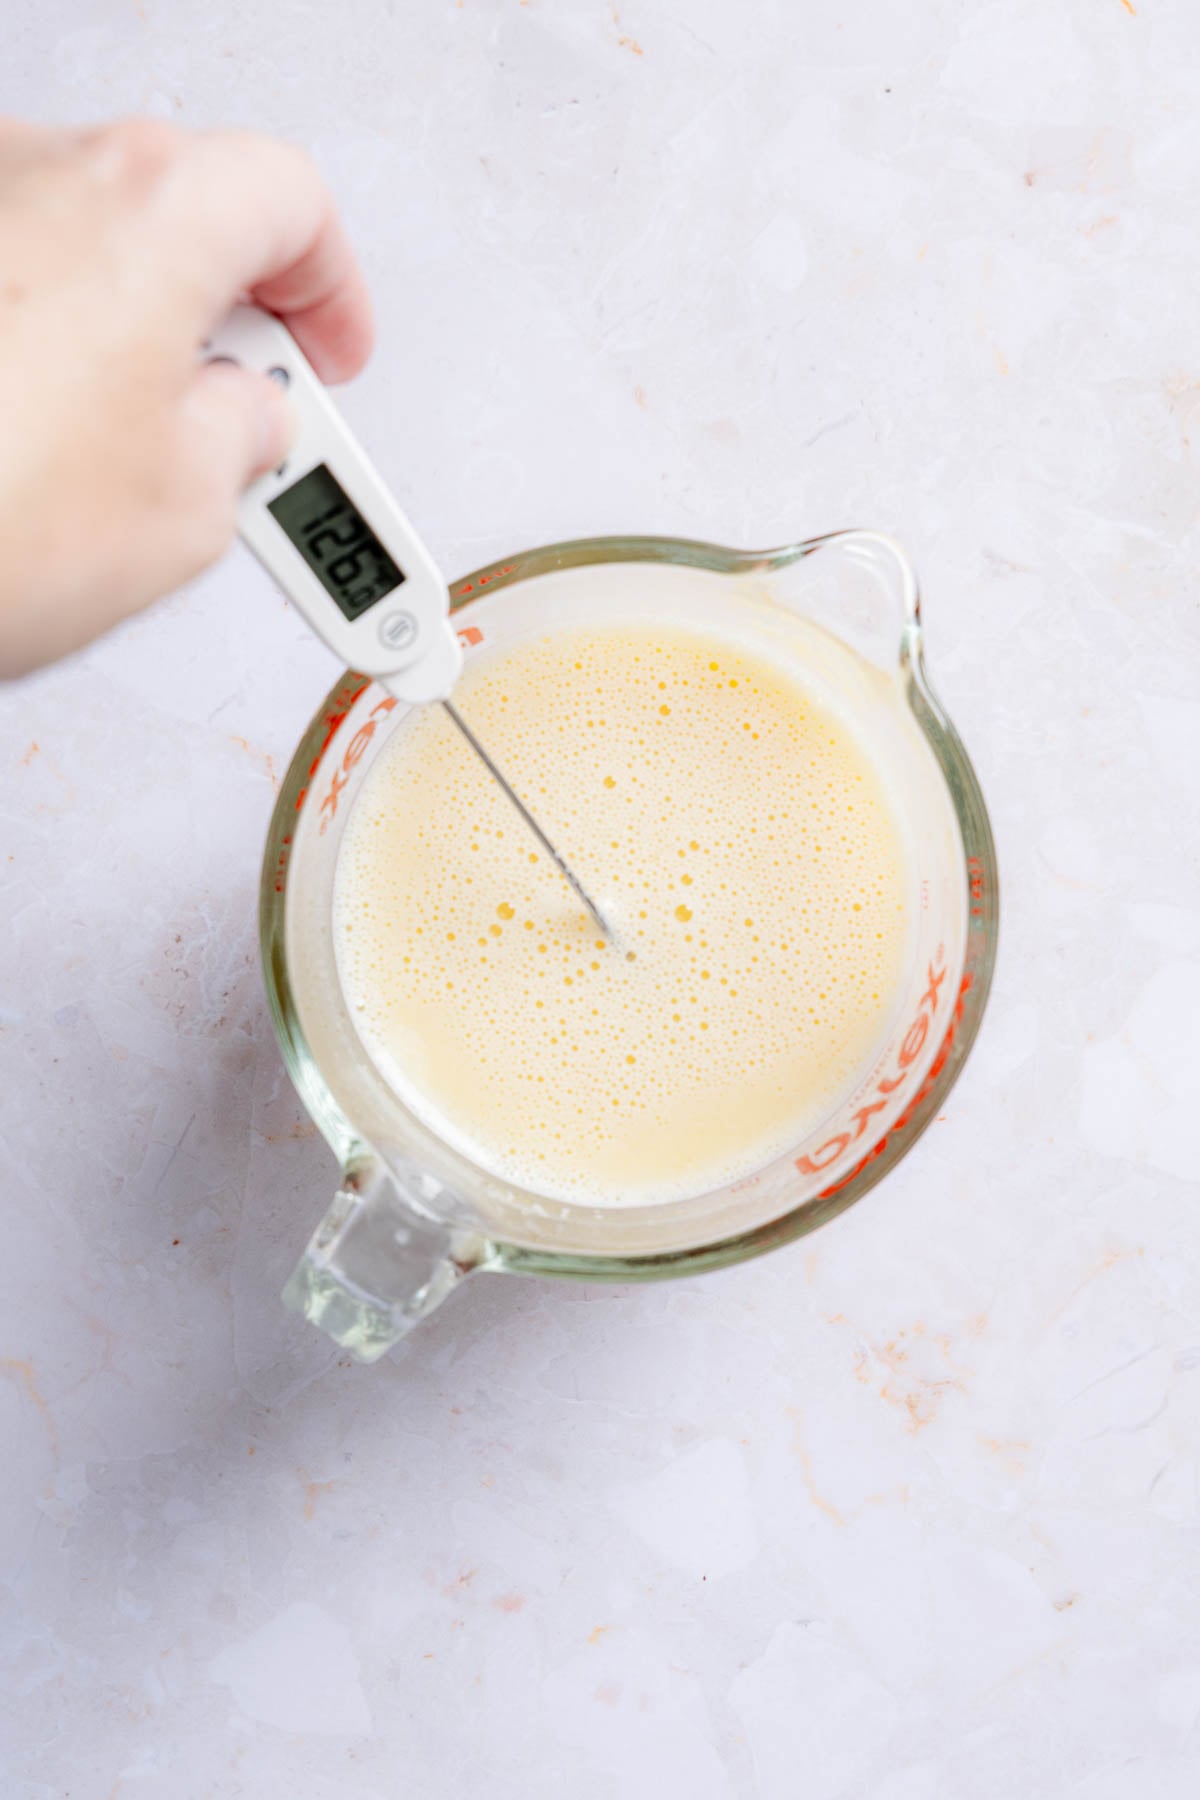
- Step 2: Whisk together the melted butter, milk, and honey. Heat the mixture to 120-130°F before whisking in the eggs. Check the temperature again and reheat if needed before mixing into the dry ingredients.
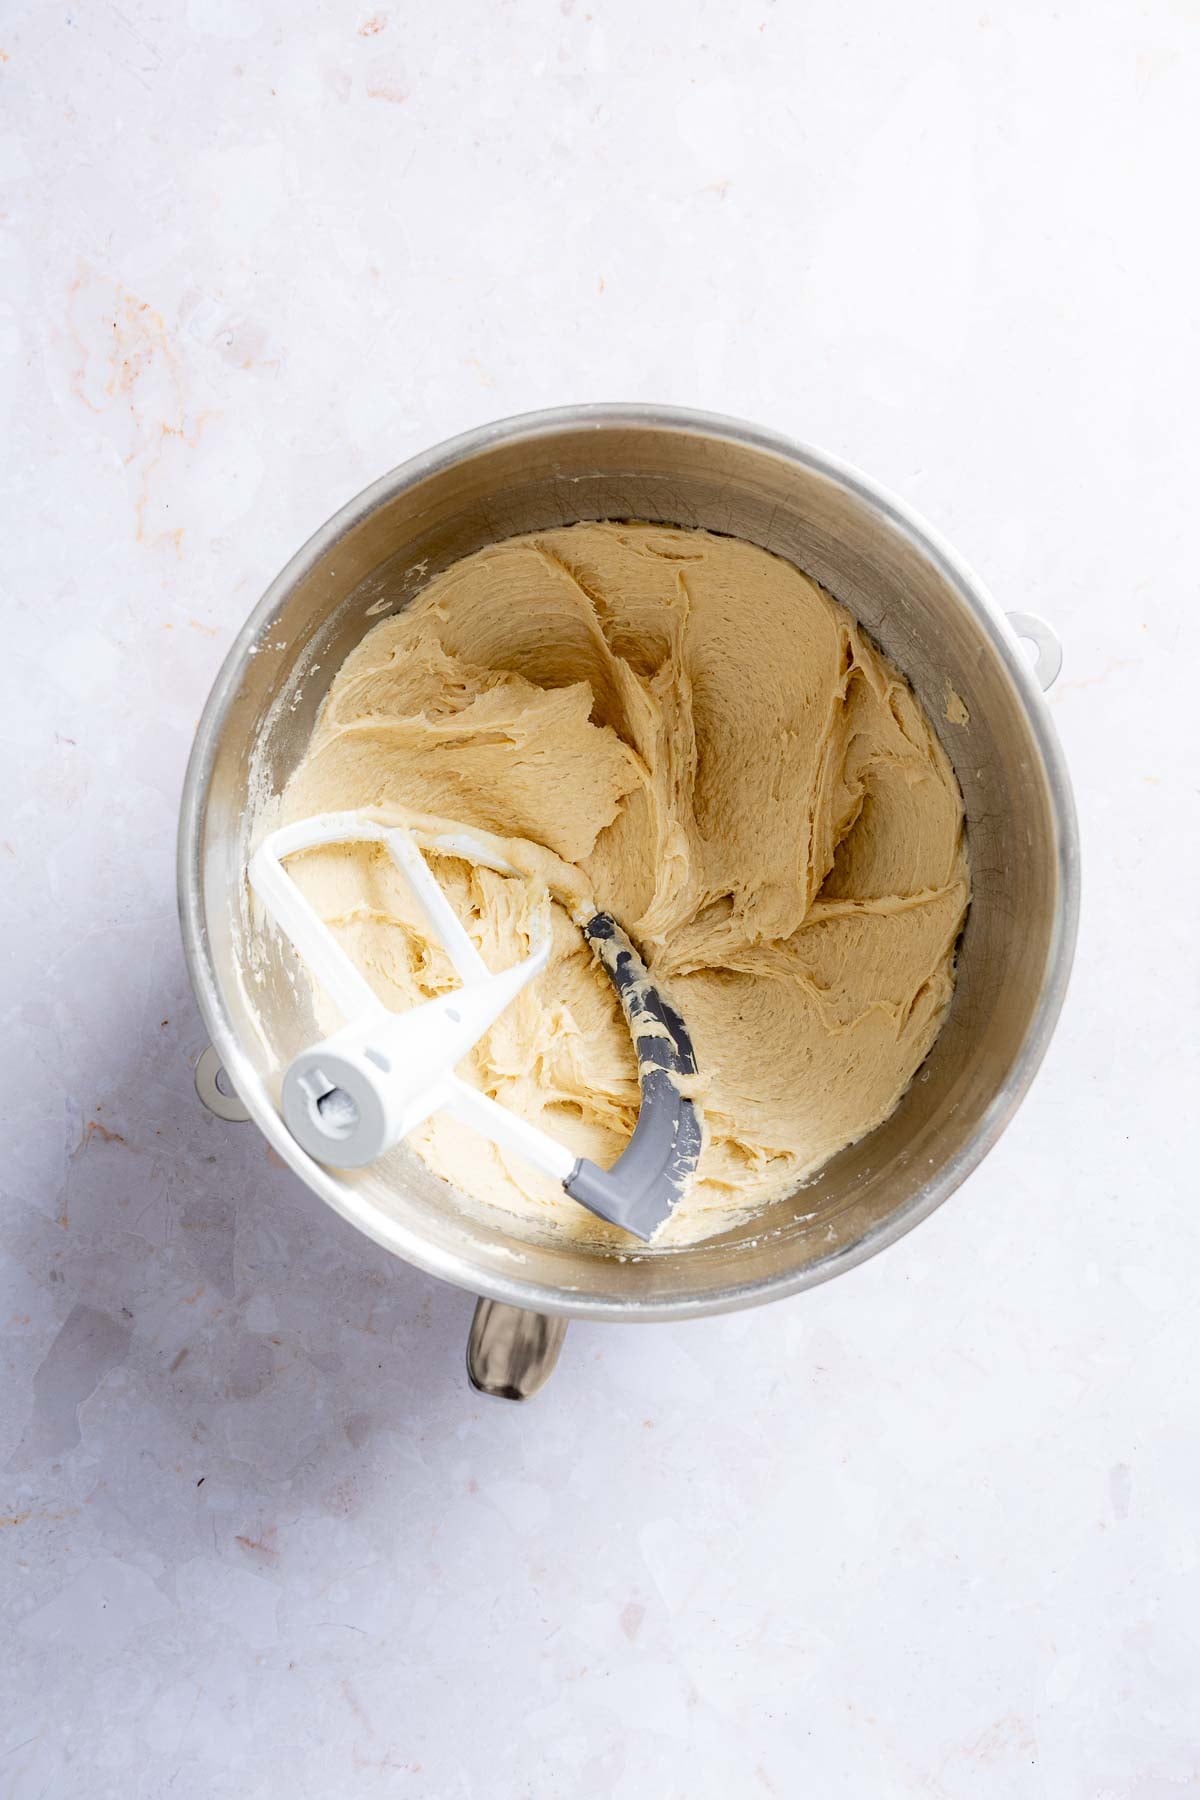
- Step 3: Blend on medium speed for 2-3 minutes. The dough will be smooth, thick, and sticky.
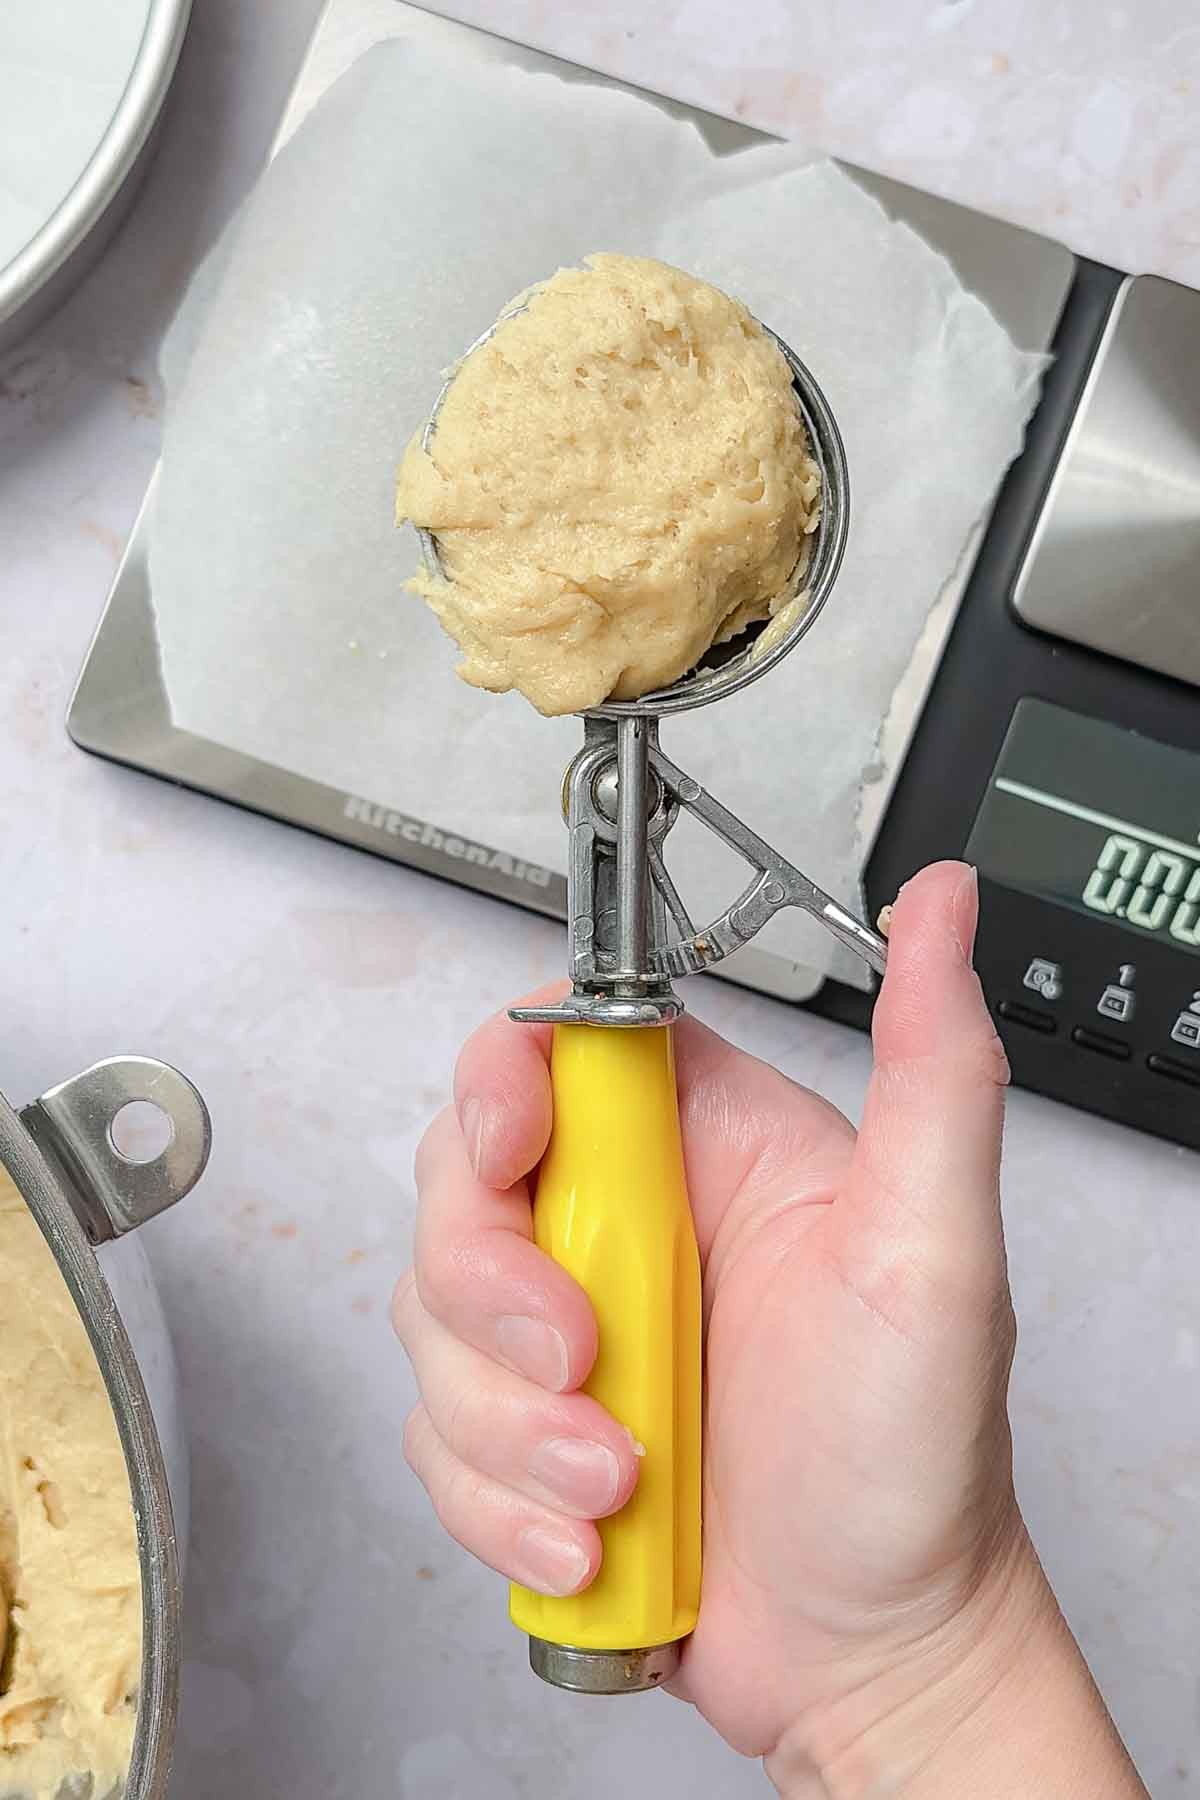
- Step 4: Use a large cookie or portion scoop to scoop the dough into 8 equal portions.
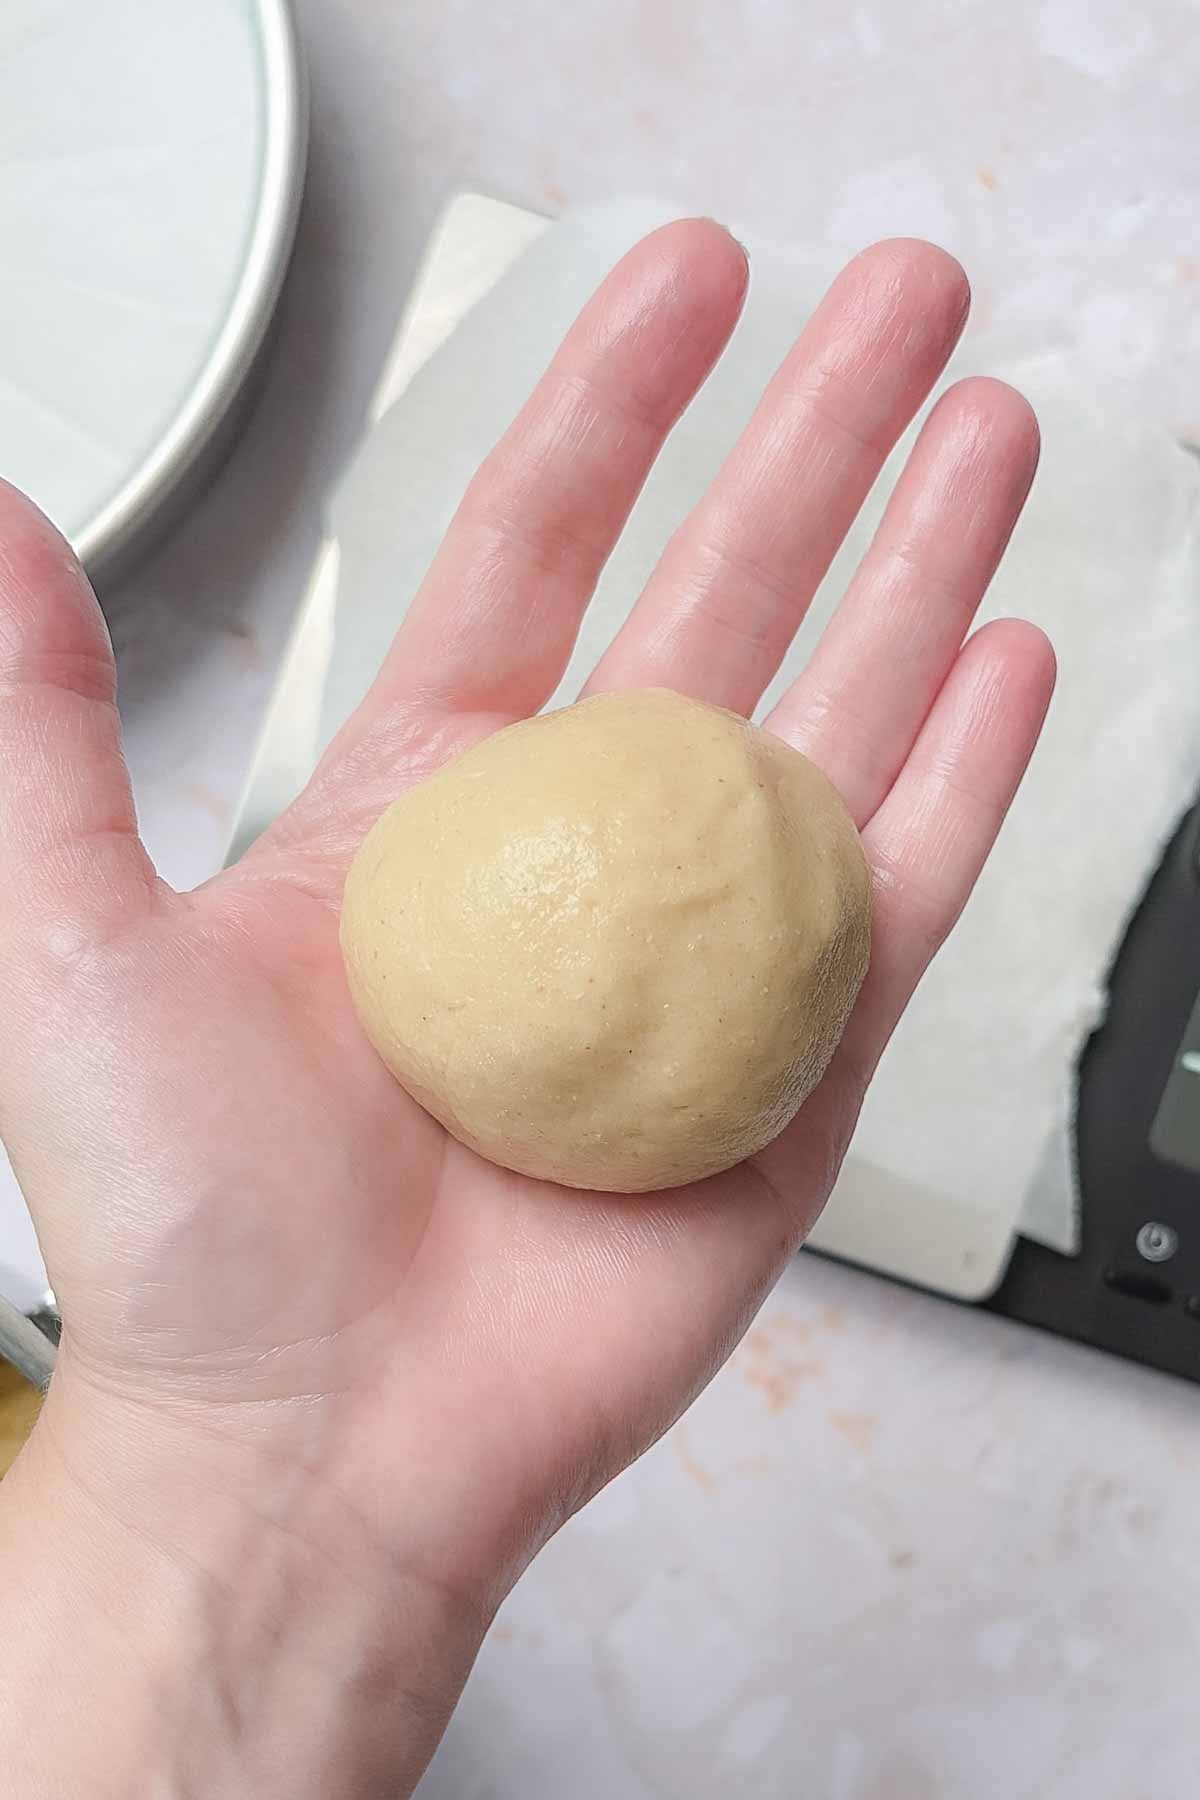
- Step 5: With greased hands, gently shape each portion into a smooth ball of dough.
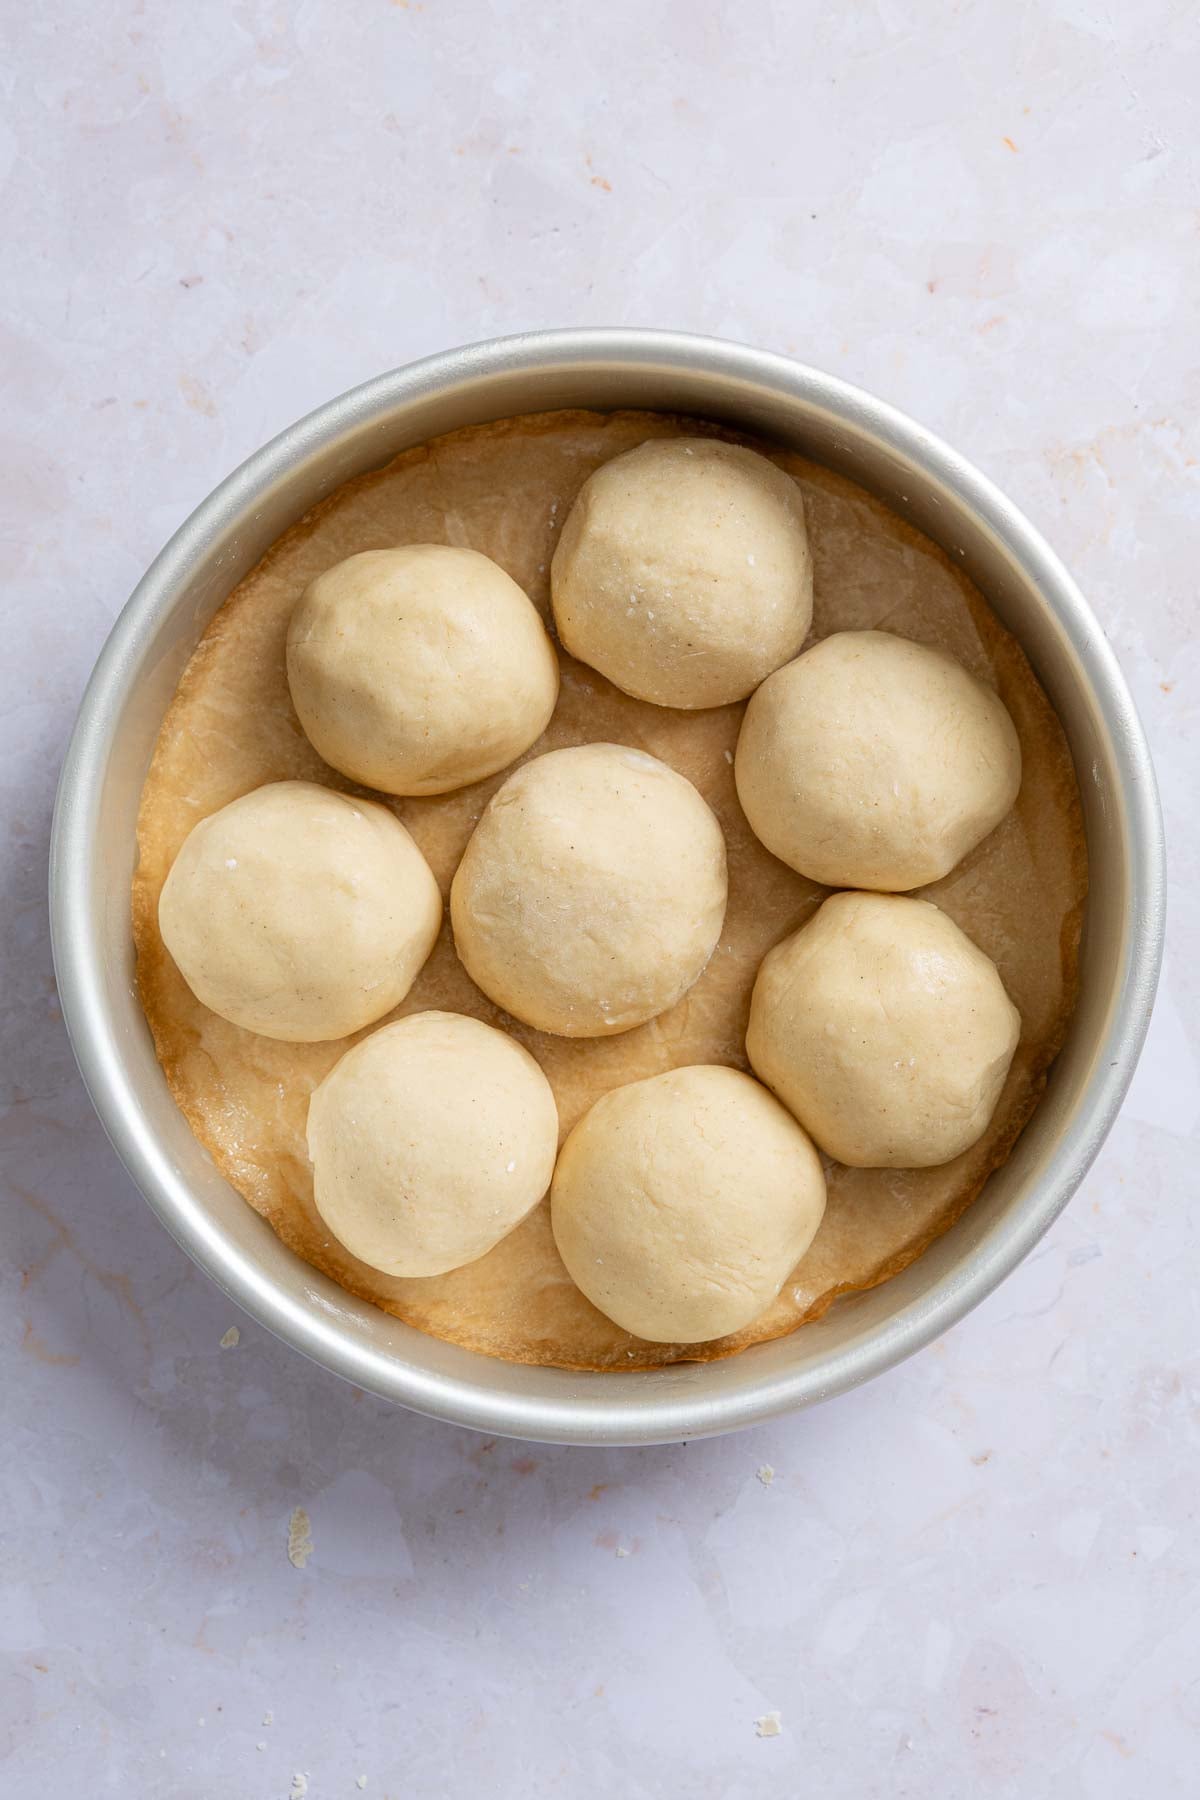
- Step 6: Arrange the dough balls evenly in the prepared pan. Let them rise in a warm spot for 45 minutes to 1 hour.
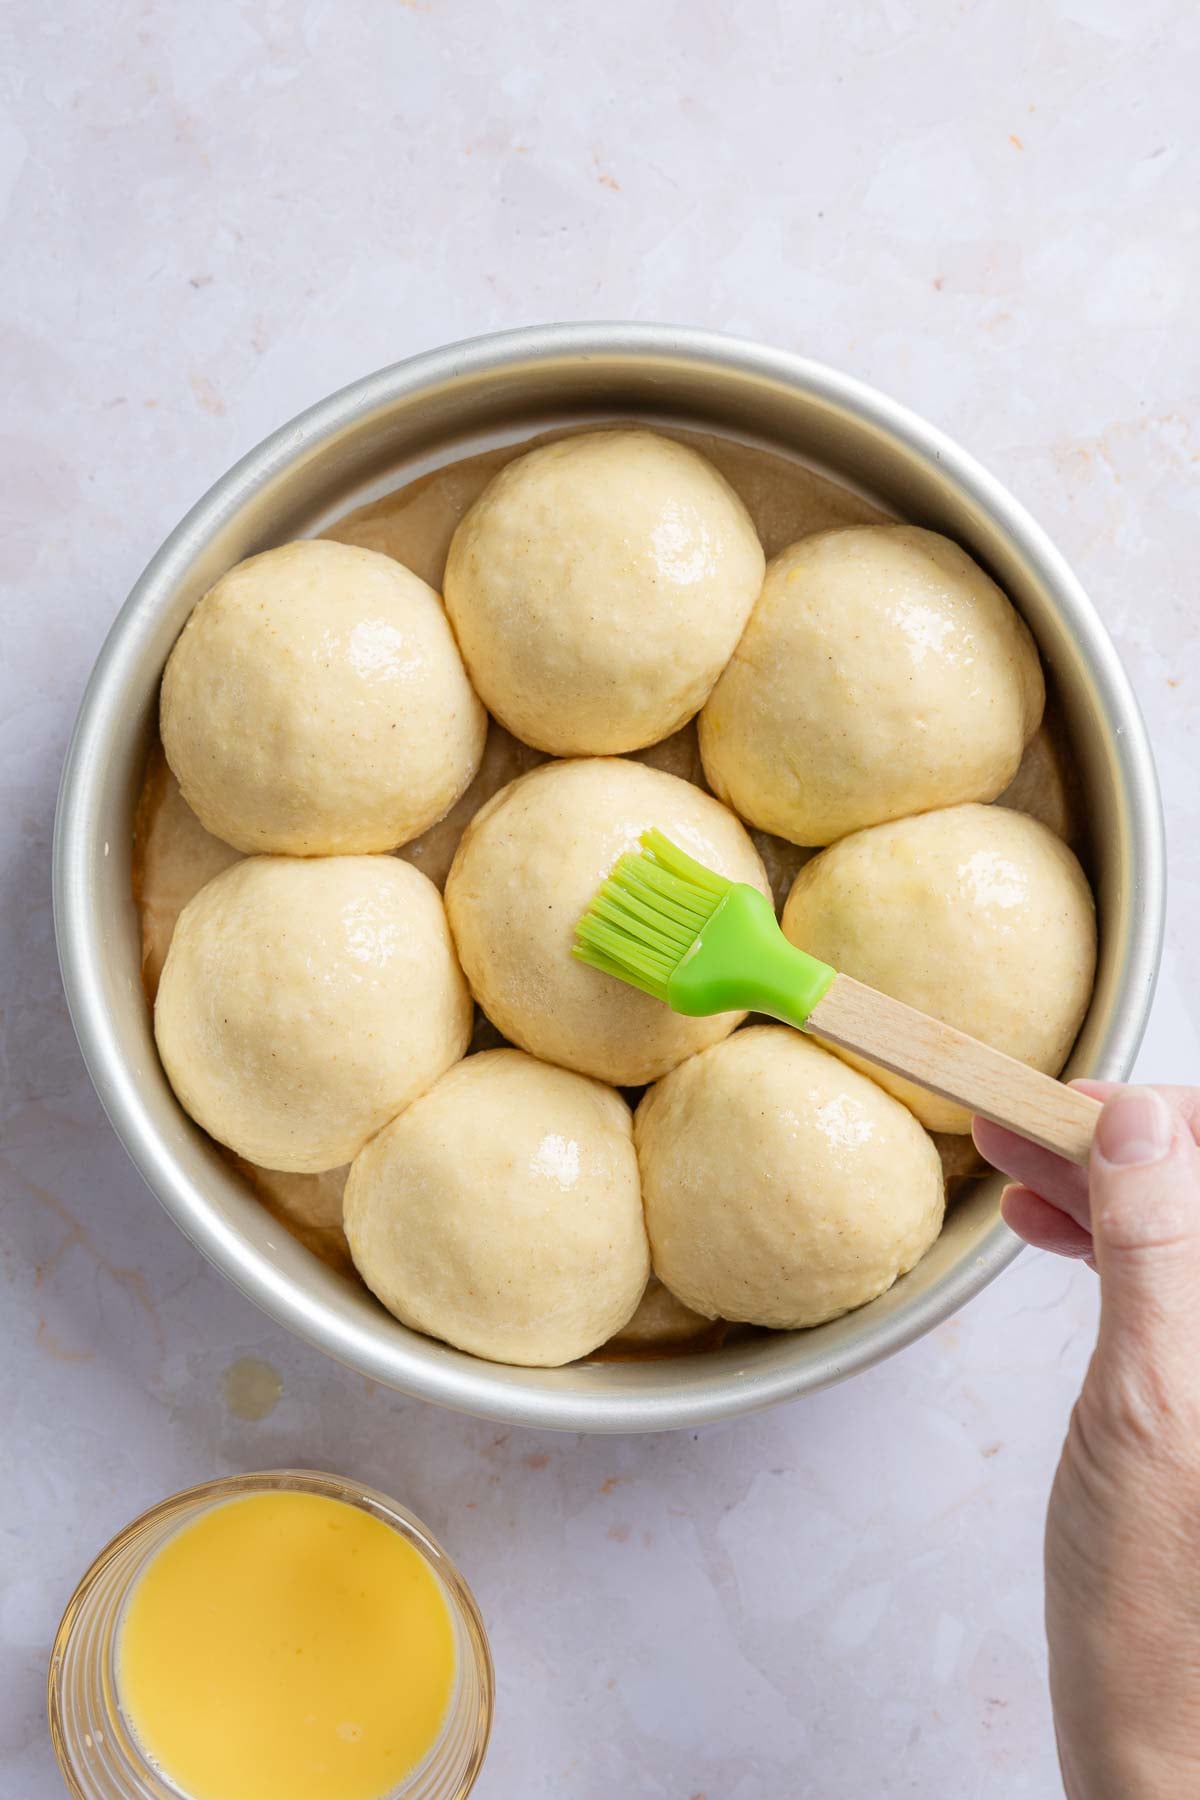
- Step 7: When the dough has risen, brush with melted butter before baking.
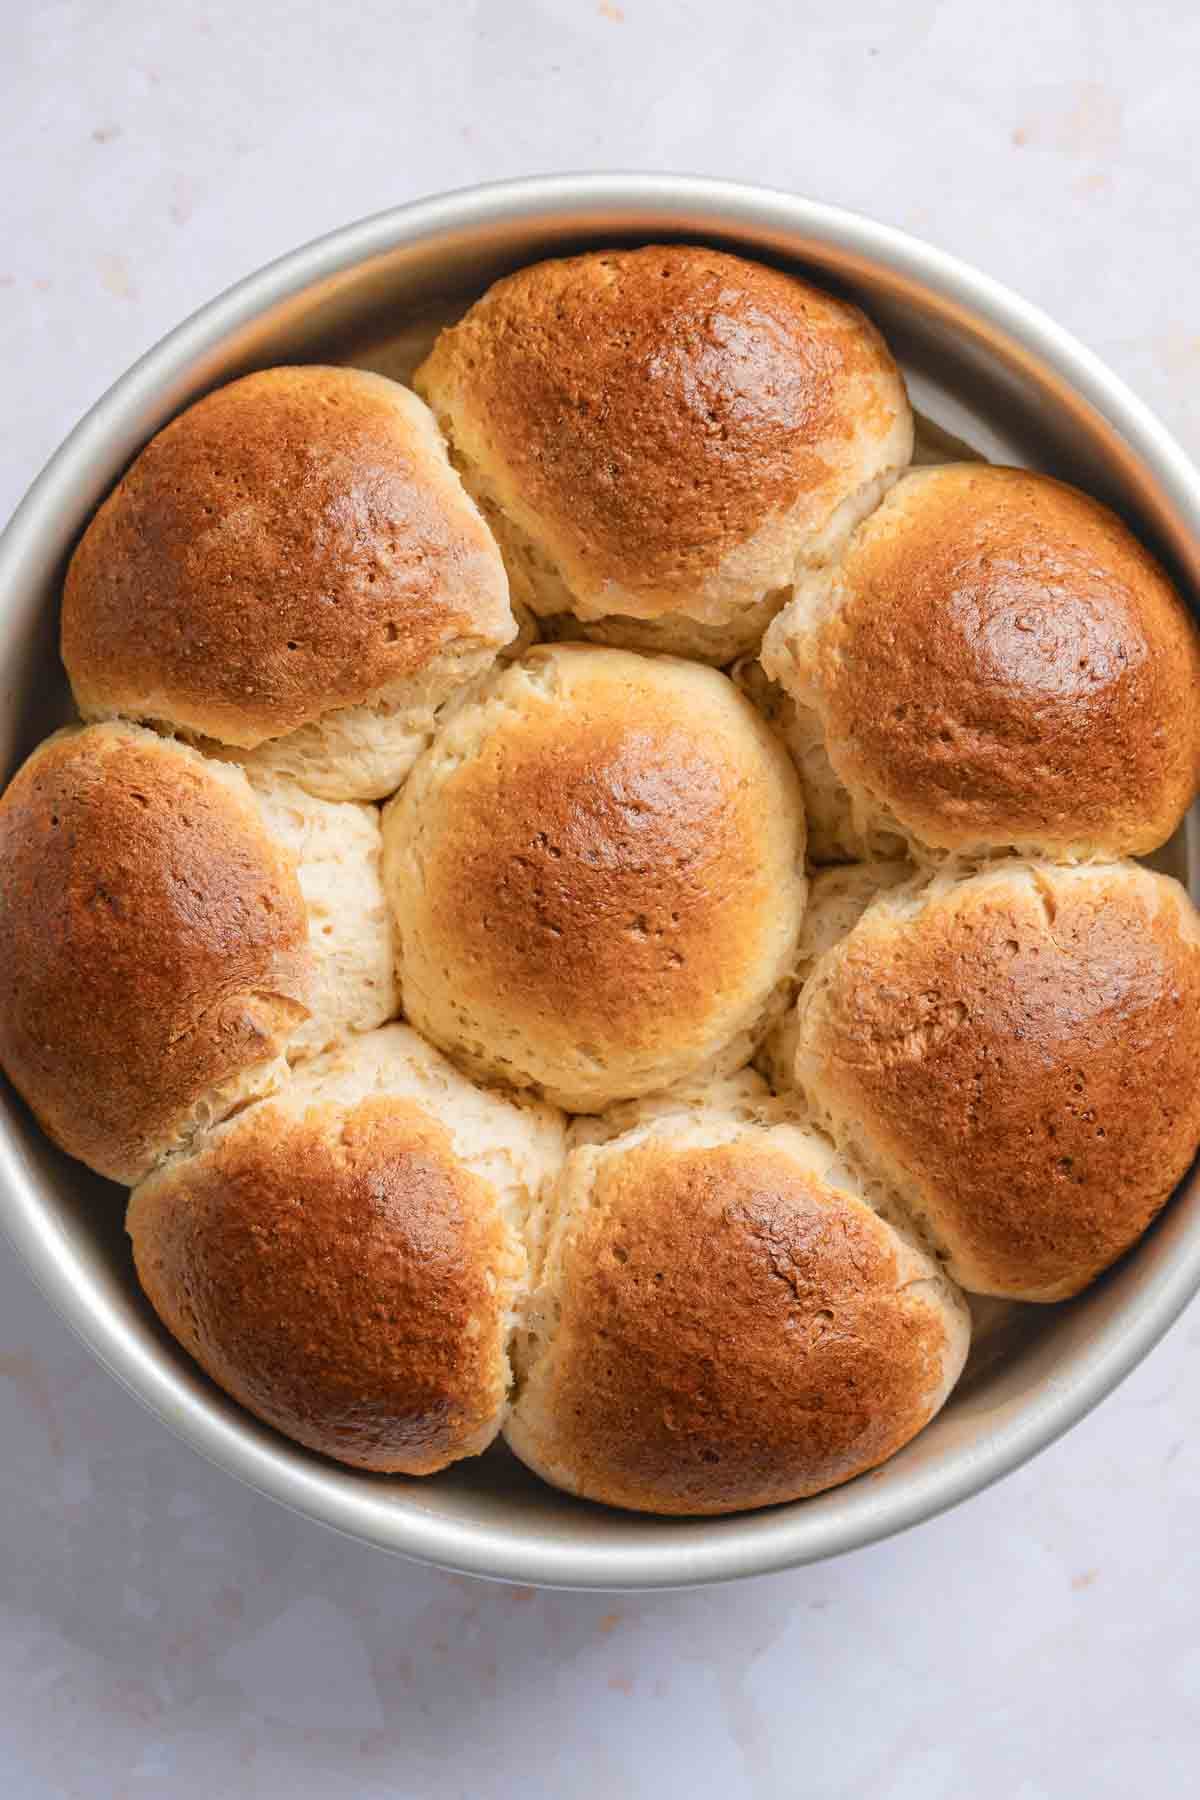
- Step 8: Before removing from the oven, ensure the rolls are golden brown and the internal temperature is at least 205°F. Brush with more melted butter after removing from the oven.
How Do You Know When They're Proofed?
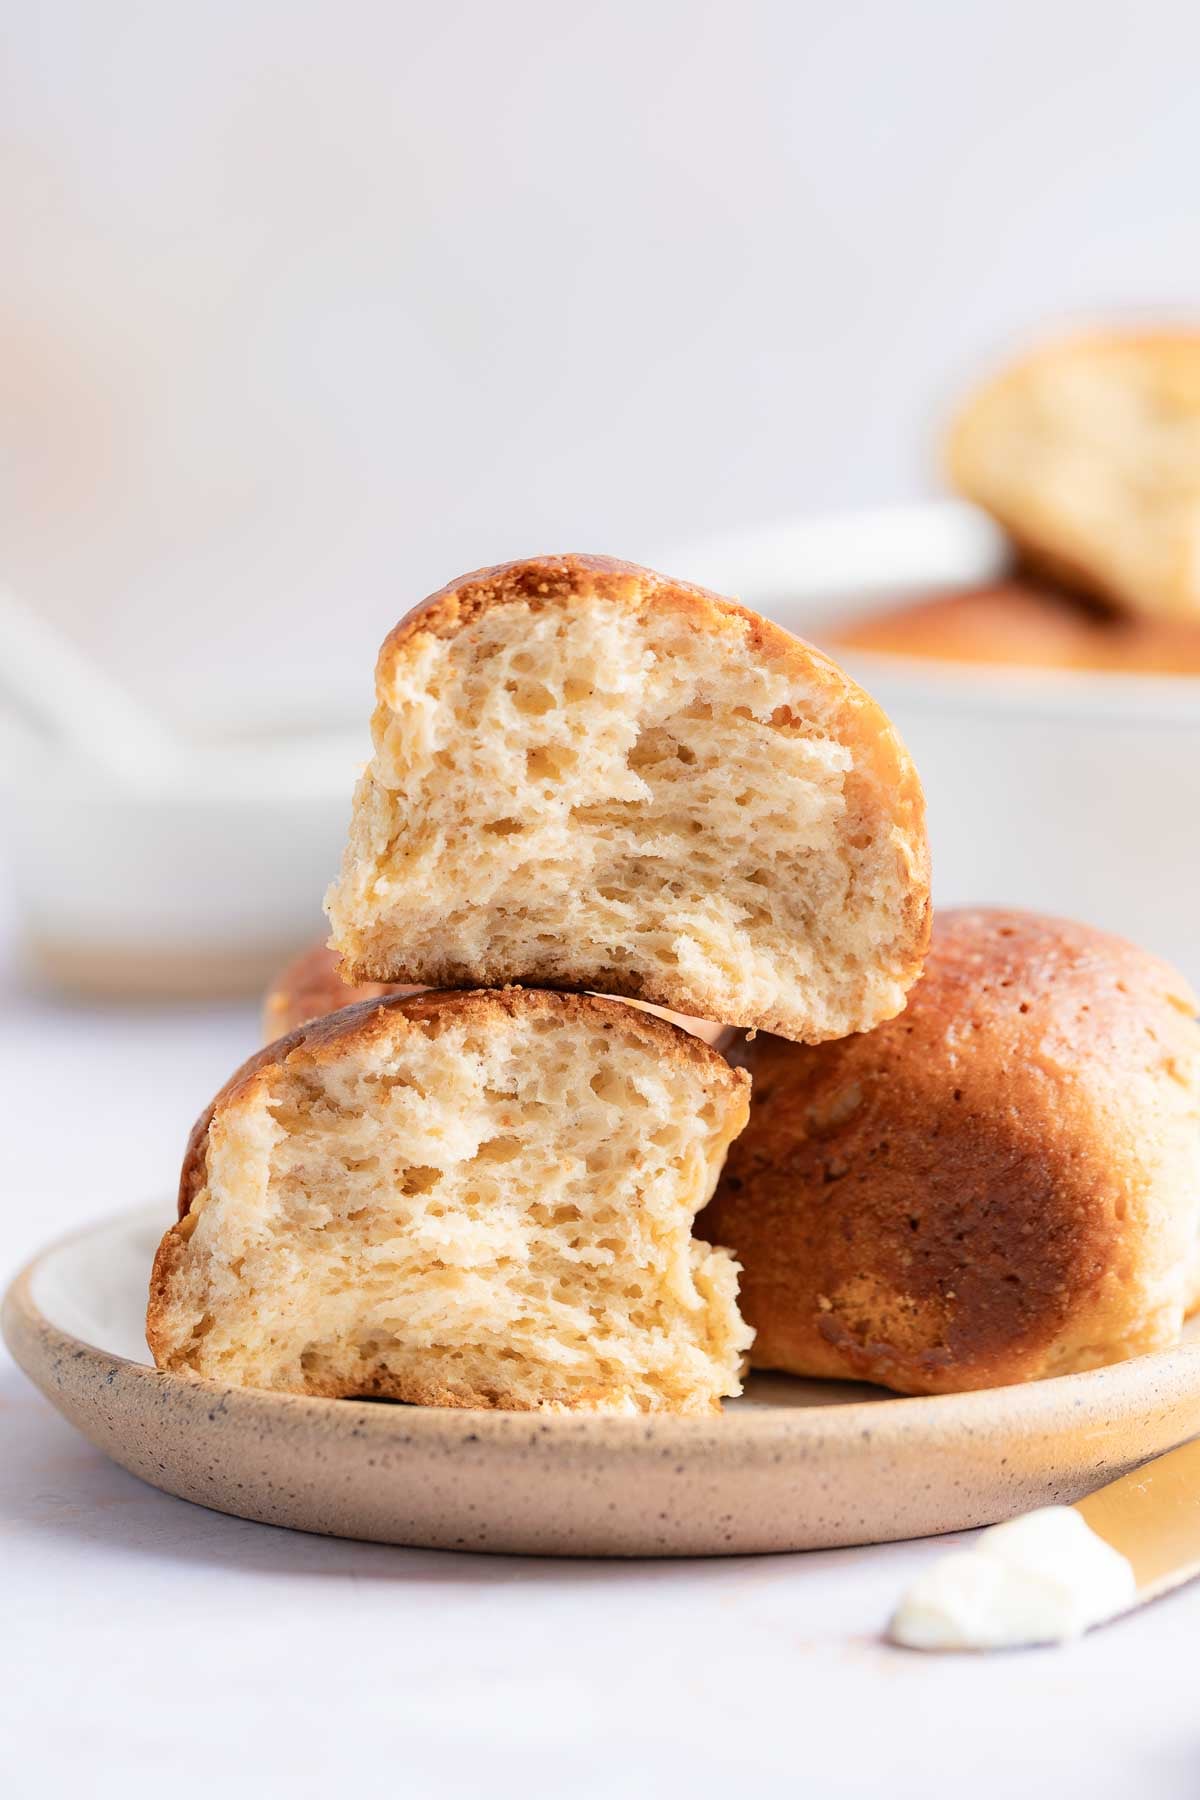
It can be tricky to tell when a gluten-free bread is properly proofed. There's a fine line between under-proofed, properly proofed, and over-proofed, and it takes some practice to recognize each stage. Look for these signs in properly proofed rolls:
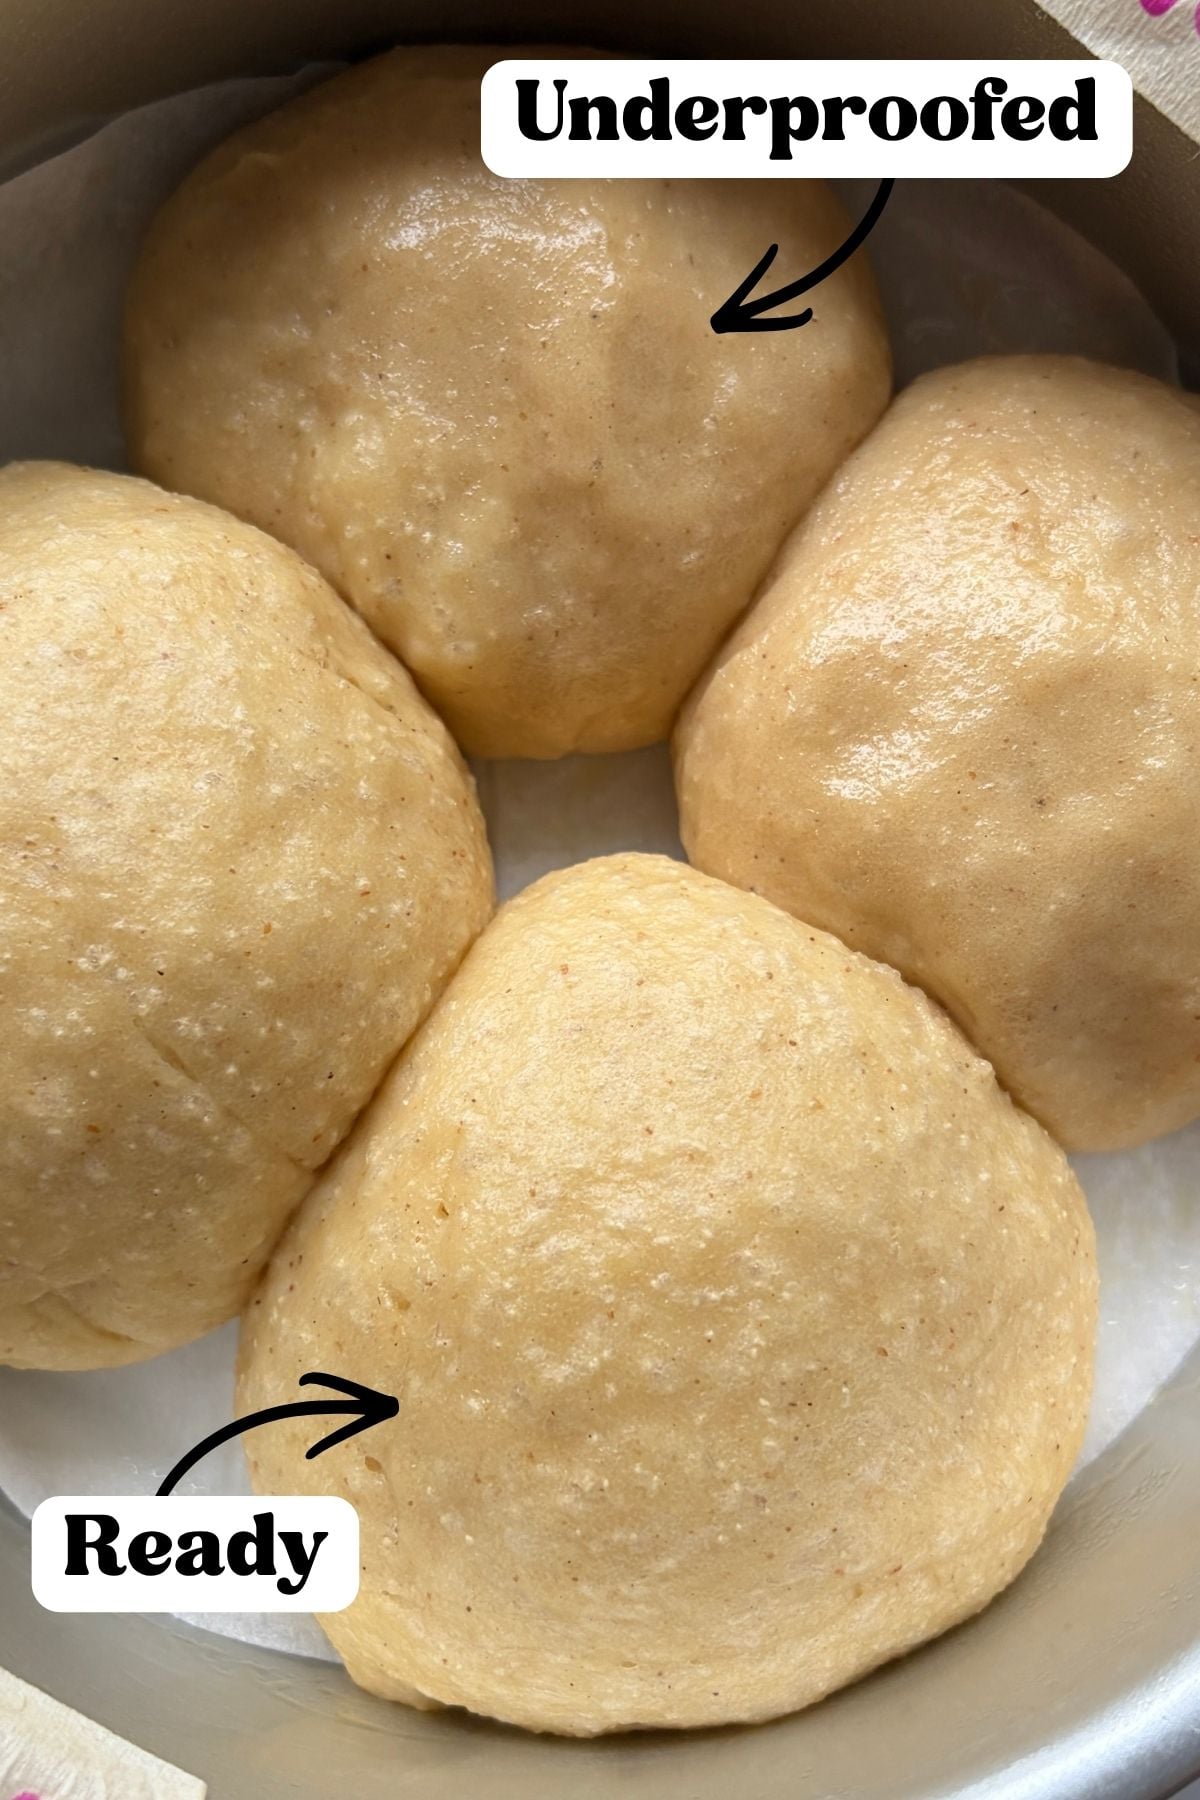
- Rolls are visibly puffy. They should appear full, light, and pillowy.
- Bubbles: When the dough is expanded to its fullest, it will look like there are air bubbles just under the surface. If air bubbles have broken through the tops, the rolls are likely over-proofed. Bake them as soon as possible.
- Poke test: Gently poke one roll with your fingertip. The dough should feel like a soft marshmallow and the indent may slowly bounce back. If the roll feels dense or firm, it is not ready.
Can I Make the Rolls Ahead?
You can make these rolls ahead, but I'll be honest, they are best enjoyed freshly baked and warm!
Especially during the holidays though, I understand wanting to do some prep work ahead of time. In that instance you can shape the rolls, cover the pan, and let them begin to rise until slightly puffy, about 30 minutes or so. Then refrigerate the rolls up to overnight. They should finish proofing during this time.
When you're ready to bake, remove the pan from the refrigerator and let the rolls sit at room temperature while the oven preheats. If they look fully risen, go ahead and bake them. If they still need more time to proof, let them finish rising in a warm place before baking.
Top Recipe Tips
- Measure in grams, not cups: Use a digital kitchen scale to measure ingredients by weight, rather than cups. This will give you the most consistent results, especially with starchy flours that are hard to measure by volume.
- Use the paddle attachment: Don't use the dough hook for your mixer, the paddle attachment is much better for mixing gluten-free bread dough which is more like a thick batter.
- Temperature is key. A digital instant read thermometer will help ensure you have correctly warmed the wet ingredients and that you're baking the rolls to the proper internal temperature.
- Be sure your environment is warm enough for a rise. If your kitchen is cold, turn your oven on to 'warm' for about 5 minutes, then turn the oven OFF. Place the baking pan in the oven with the light on to rise.
Troubleshooting Tips
| Problem | What to Check |
|---|---|
| The rolls aren’t rising. | Check that the yeast is fresh and the proofing area is warm. Move the rolls somewhere warmer and give them more time. |
| The dough is too loose to shape. | Let the dough rest for the full 5–10 minutes before shaping. Confirm that potato flour and psyllium powder were used and measured correctly. The dough will be soft but the rolls will dome up more as they rise. |
| The baked rolls are dense. | They were likely under-proofed, or extra flour was added. Next time, let them rise until visibly puffy and resist adding more flour. |
| The rolls shrank after baking. | They may have needed more proofing or baking time. Let them become soft and puffy before baking, then bake the rolls to at least 205°F. |
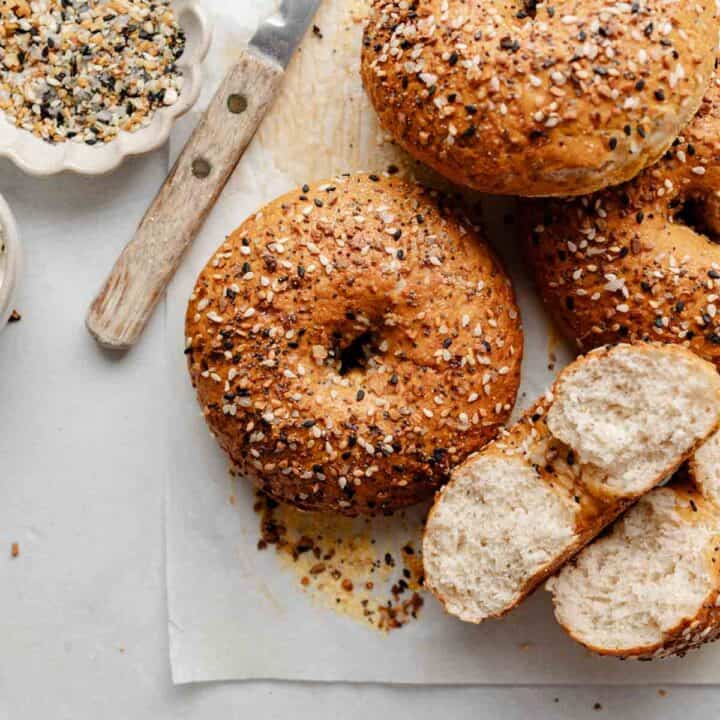
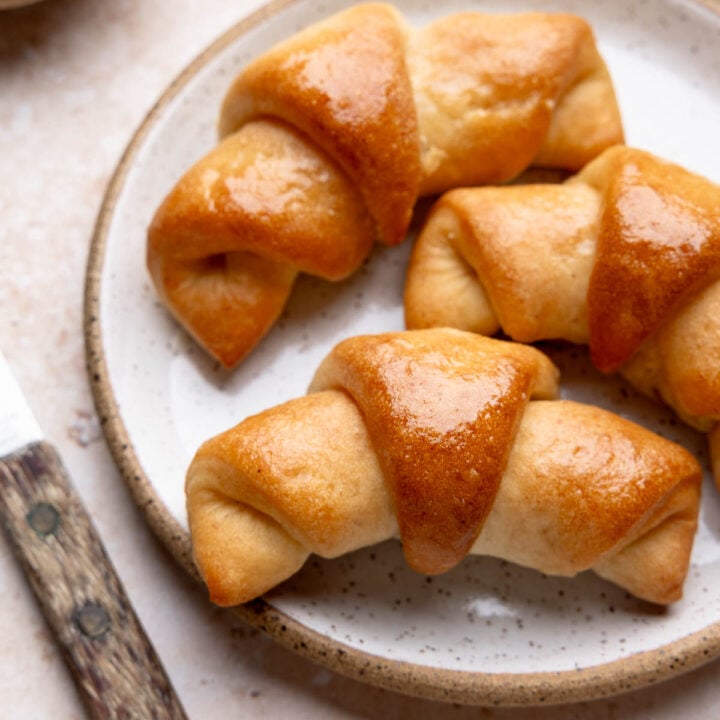
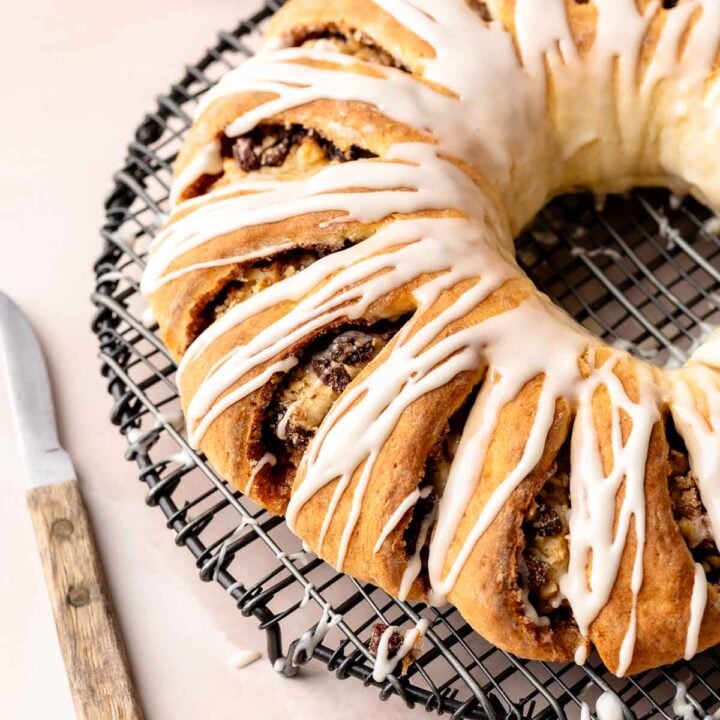
More Gluten-Free Yeast Bread Recipes


Recipe

Gluten-Free Hawaiian Rolls (King's Copycat)
Video
Equipment
- 8-inch round cake pan or 9x5 inch loaf pan
- 2-ounce cookie/portion scoop or ¼ cup measuring cup
Ingredients
- 250 g Caputo Gluten-Free Flour
- 54 g brown sugar (¼ cup)
- 8 g potato flour (2 teaspoons)
- 6 g psyllium husk powder (2 teaspoons)
- 6 g instant yeast (2 teaspoons)
- 2 g table salt (½ teaspoon)
- 28 g unsalted butter (2 tablespoons, plus more for brushing tops of rolls.)
- 140 g 2% milk
- 25 g honey (1 tablespoon)
- 100 g eggs (2 large eggs)
Instructions
- Grease an 8-inch round cake pan or 9x5-inch loaf pan and line the bottom with parchment paper.
- Add the gluten-free flour, brown sugar, potato flour, psyllium husk powder, instant yeast, and salt to the bowl of a stand mixer. Whisk to combine.
- Melt the butter in a 2-cup glass measuring cup or microwave-safe bowl. Add the milk and honey, then whisk to combine. Warm the mixture in the microwave to 120 to 130°F.
- Whisk in the eggs until well combined. Check the temperature again. If it falls below 120°F, rewarm it in short intervals, whisking after each one.
- Pour the warm liquid mixture into the dry ingredients. Mix with the paddle attachment on medium speed for 2 to 3 minutes, scraping the bowl occasionally. The dough should be thick and smooth. Let the dough rest for 5 to 10 minutes before shaping.
- Use a greased 2-ounce scoop, about ¼ cup, to divide the dough into 8 portions. With greased hands, gently shape each portion into a smooth ball. Arrange the rolls evenly in the prepared pan.
- Cover with plastic wrap. Place the pan in a warm spot and let the rolls rise for approximately 45 minutes to 1 hour, or until noticeably puffy and almost doubled in size.
- When the rolls are almost fully proofed, preheat the oven to 350°F.
- Brush the tops with melted butter. Bake at 350°F for 25 to 30 minutes, until golden brown and the center rolls reach an internal temperature of at least 205°F.
- Brush the warm rolls with more melted butter immediately after baking.
Notes
- Measuring ingredients, especially the flour and milk, by weight is preferred. Smaller amounts, less than 10g, should be measured in teaspoons/tablespoons, especially if you don't have a scale that accurately reads down to 0.01g. To convert to grams or cups, click the "metric/grams" or "us/cups" button at the top of the ingredients list.
- Caputo Gluten-Free Flour contains gluten-free wheat starch. It is suitable for people with celiac disease but not for anyone with a wheat allergy.
- Potato flour and potato starch are not interchangeable. Be sure to use potato flour.
- Gluten-free dough does not always fully double during proofing. Properly proofed rolls should look visibly puffy and feel soft, almost like a marshmallow. If the dough still feels firm, it likely needs more time.
- Finding a warm place to rise: If your kitchen is cool, briefly warm your oven, turn it off, and place the rolls inside with the oven light on. Remove the rolls before preheating the oven for baking.
Storage:
- These rolls are best enjoyed warm within a few hours of baking. Once completely cool, store leftovers in an airtight container at room temperature for up to 2 days. Avoid refrigerating them because gluten-free bread tends to become dry and firm in the refrigerator.
- Reheat individual rolls in the microwave for 10 to 15 seconds. For longer storage, wrap the cooled rolls tightly and freeze them for up to 1 month. Thaw at room temperature and reheat before serving.
Save This Recipe!
Estimated Nutrition
* Nutritional information is provided as a courtesy and should be used as an estimate only. See the nutrition policy for more information.

Maria says
They tasted delicious and were fairly easy to make. The only part I had issues with was the proofing. I thought I did 45 min but they rose so much that they all turned into one big bread that filled the entire 8" pan. I am assuming I over proofed as I had big air bubbles in them when I checked them.
Katie Olesen says
Hi Maria! I’m so glad you enjoyed them! Rise times can vary quite a bit depending on how warm your kitchen is, so yours may have been ready before the 45-minute mark. Next time, start checking them a little earlier. They’re ready when a gentle press slowly springs back and leaves a slight indentation.
AC says
Hello! Can you double or triple the batch with the same results?
Katie Olesen says
Yes, you can definitely double batch! I haven't tried a triple batch in one go though.
Kathy says
I have a wheat allergy, not celiac . Is the Caputo flour safe for me to use ?
Katie Olesen says
No, it's not recommended for someone with a wheat allergy.
Meg Mayo says
Have you tried making this with half Caputo Fioregut and half Cup4Cup? I do this sometimes to "tone down" the strong wheat taste I get with CF as the only flour.
Katie Olesen says
I have not tried this. It's an interesting thought. I've found adding a touch of whole grain flours, like brown rice or sorghum, helps with this but haven't tried adding a flour blend.
Jeanne says
These are soooo SOFT and delicious! I read other reviews and loved that someone suggested KAF pizza flour, as it is so much more reasonable. It worked great! I'll be making these again into shapes for hotdog buns. I don't eat lots of hot dogs, but I'm from Cincinnati and miss eating Skyline as cheese coneys with home made Skyline chili. So this fills an occasional need for me. ♥ Thank you so much!
Katie Olesen says
I haven't had a chance to try my Fioreglut recipes with KAF yet, so I am glad to hear the recipe worked well with it! Thanks for letting me know and I am so glad you enjoyed the recipe!
Paula says
Can you sub the egg for Flax egg
Katie Olesen says
I haven't tried in this recipe, so I can't say for sure.
Victoria says
Can dough be frozen then thawed to bake?
Laura says
I love these rolls. I accidentally let it rise in a bowl all together without forming the rolls. Could I make this into bread? Instead of individual rolls?
Katie Olesen says
I think you could make it as bread. You can also form the rolls and let them rise a bit longer. I used to do it that way, but felt the one rise was easier. The second rise won't rise quite as much but it still works.