


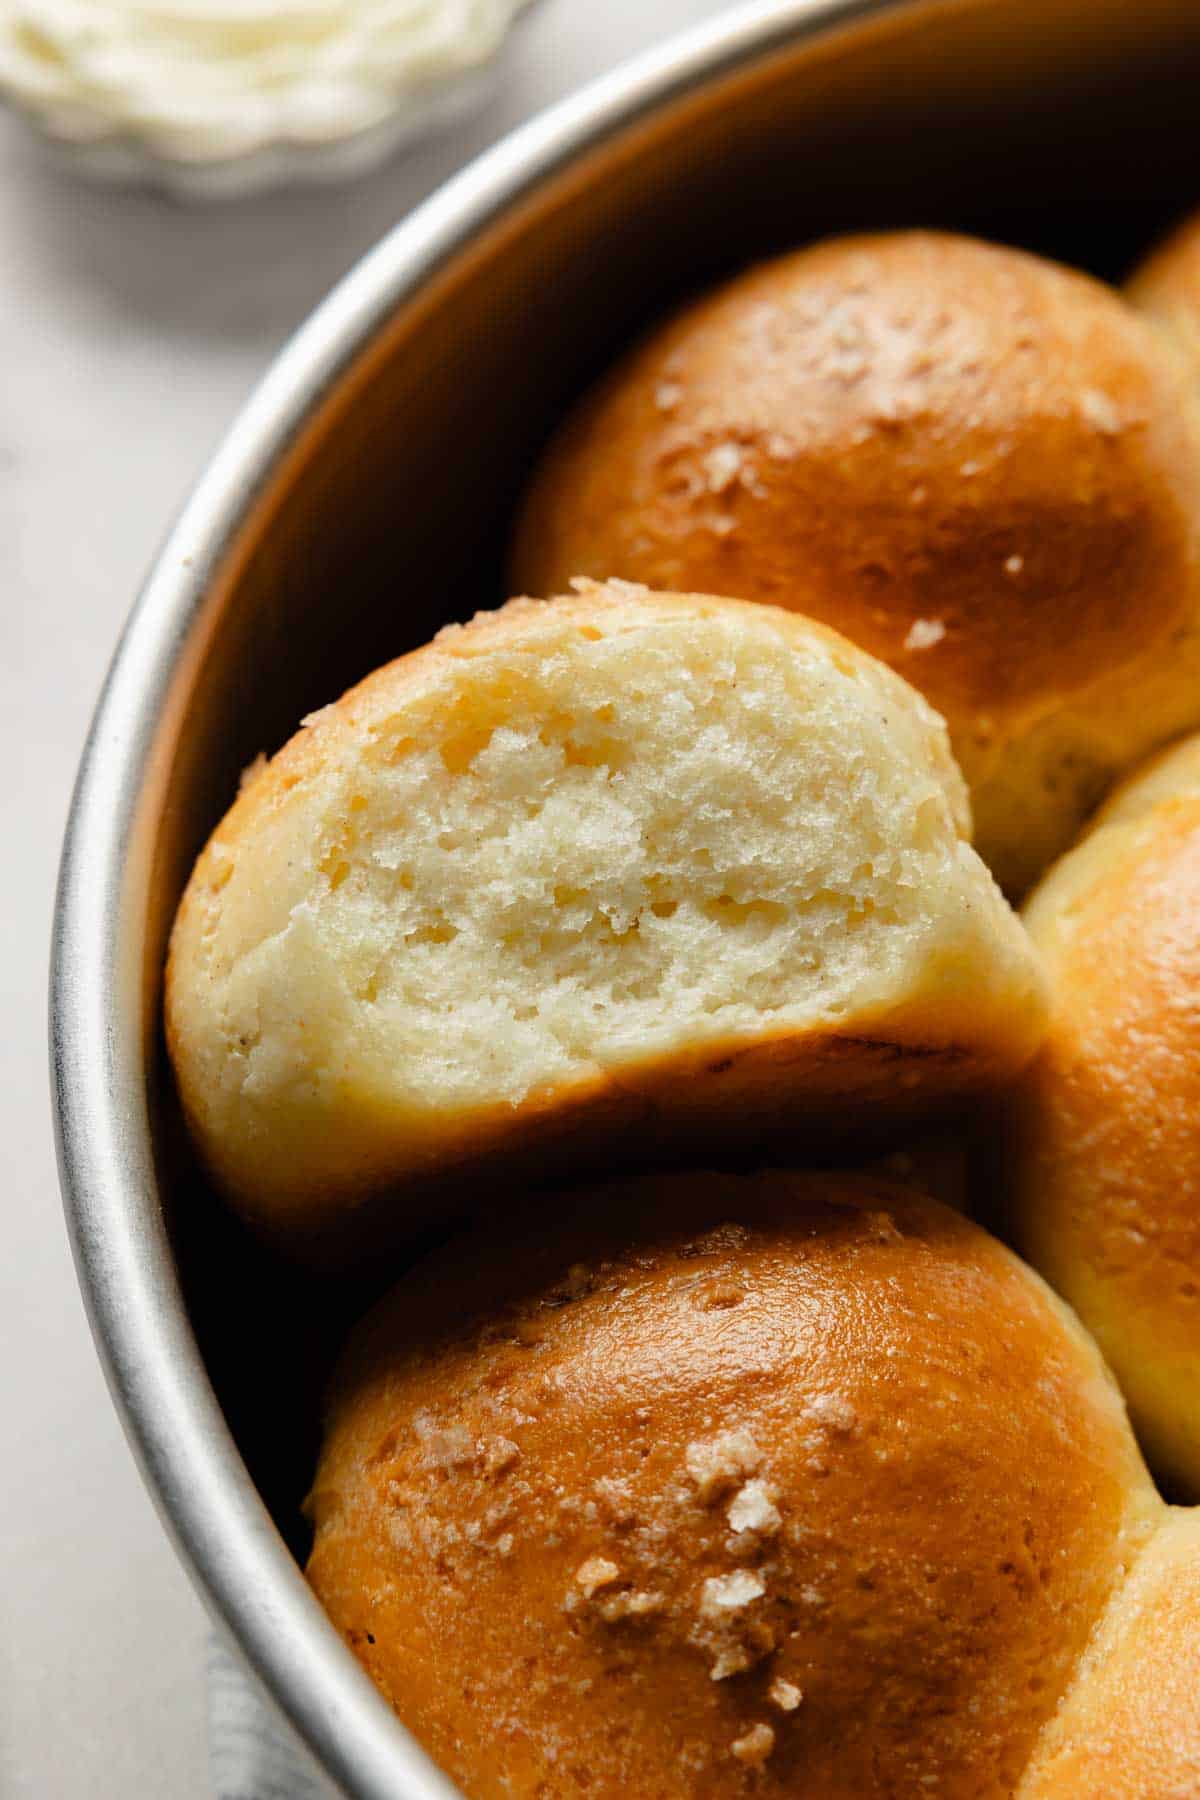
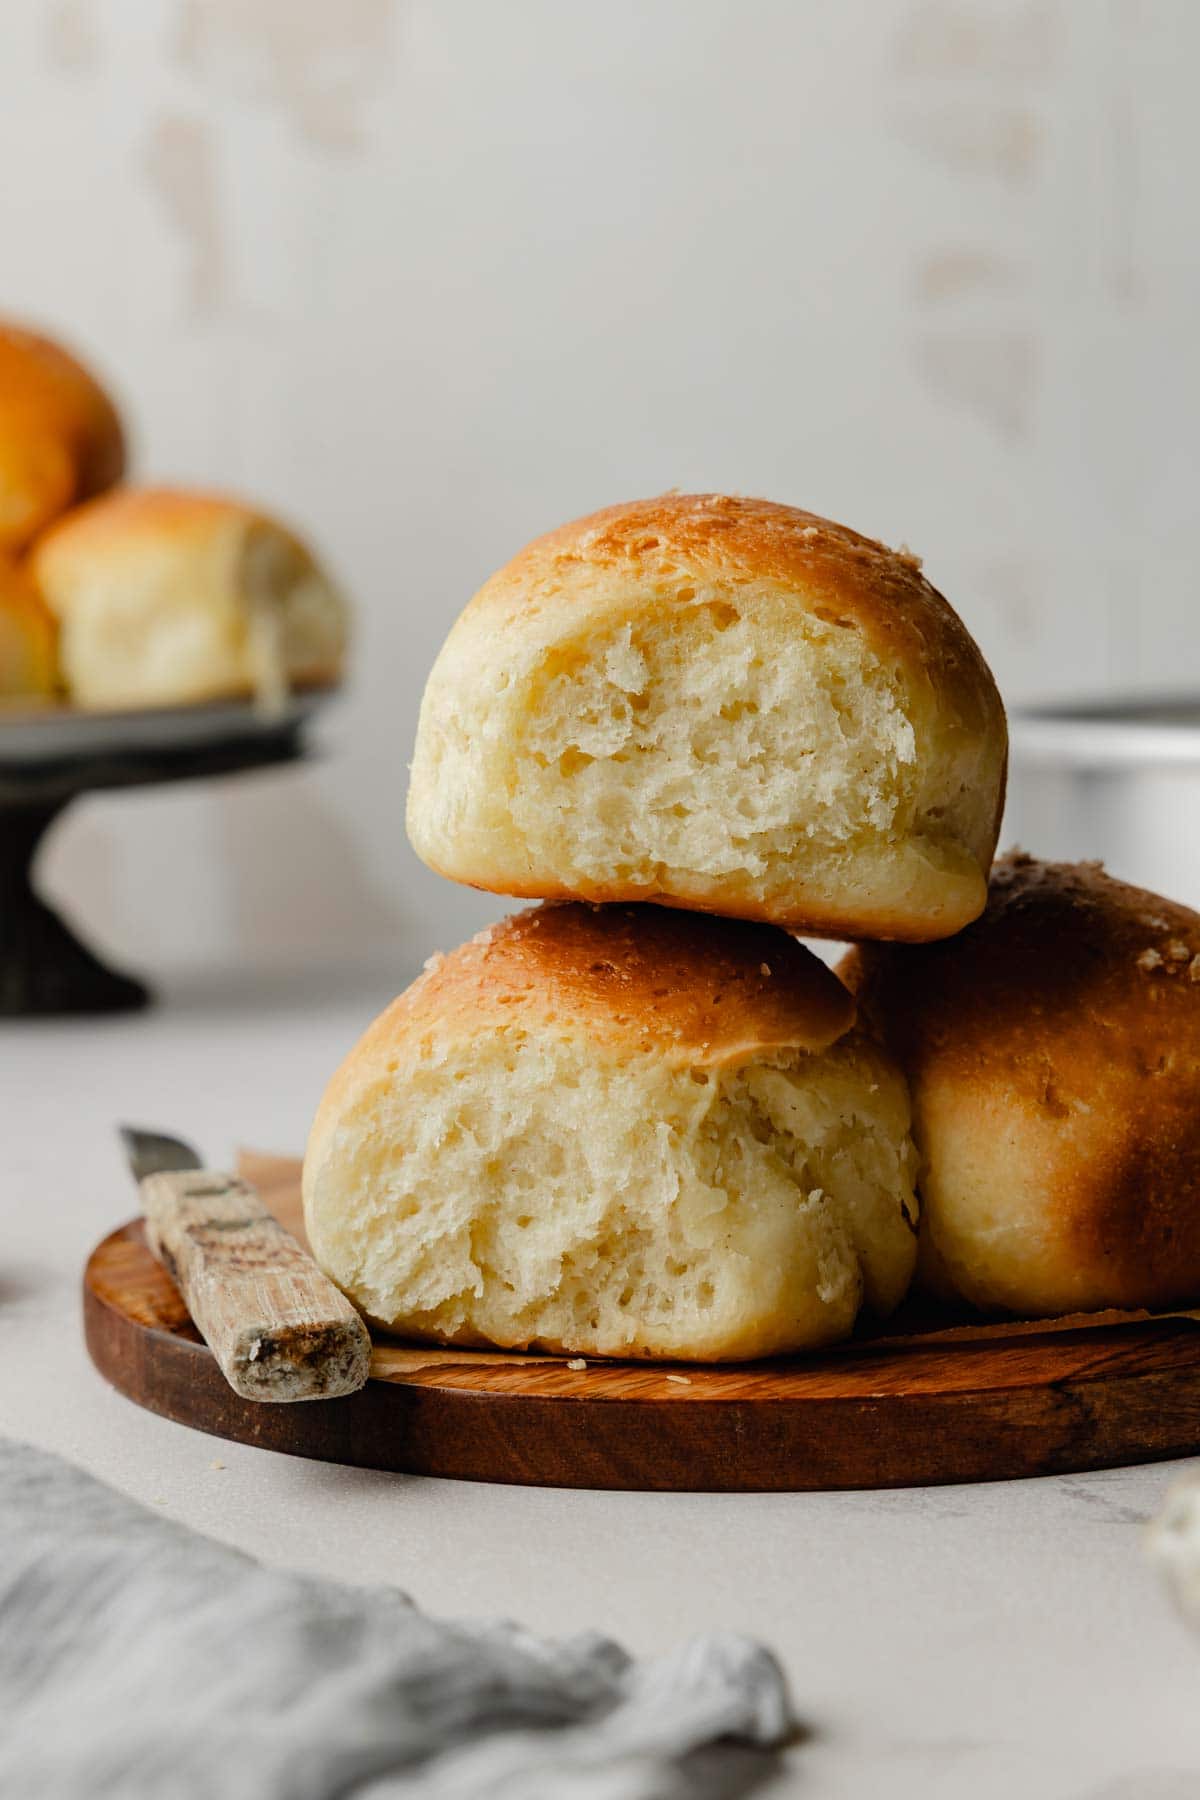
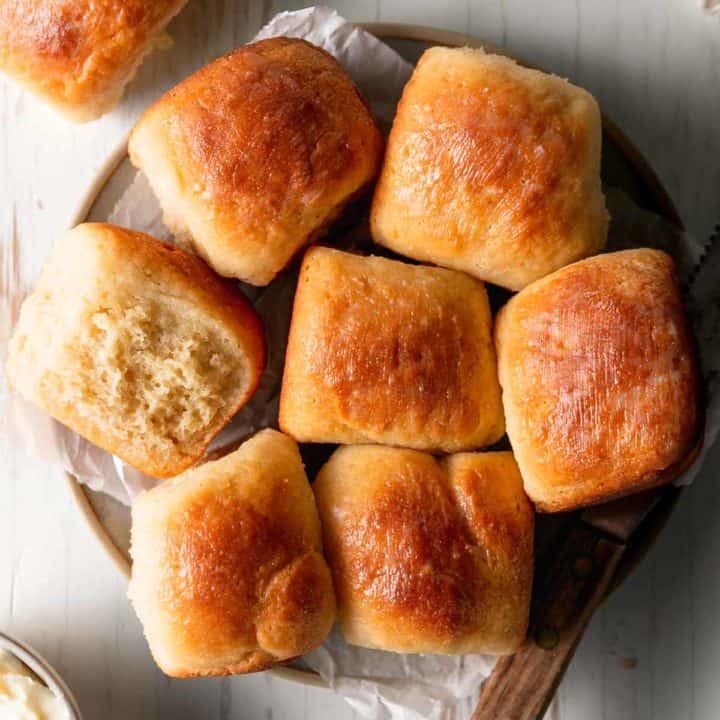
There's just something about a basket of warm, gluten-free pull-apart dinner rolls that instantly makes any dinner feel cozy. These rolls are soft, fluffy, and only require one rise!
Katie's Recipe Testing Notes
One thing about me is I'm never satisfied with good enough-especially when it comes to gluten-free carbs. As I learn and grow into a stronger gluten-free baker, I can't help but go back to previous recipes and revamp them. This is one of those recipes. It's the third version I've shared, and I believe it's the best yet.
My non-GF daughter agrees these are perfect-and she happily tested all my versions as after-school snacks.
The biggest change this time around is the dough: it's less hydrated and much easier to handle, but still bakes up soft and fluffy. I also simplified the ingredient list and added psyllium husk powder for better structure.
Everything I learned here helped me update my gluten-free hamburger buns recipe, which also led to the creation of my gluten-free hot dog buns.
Simplified Ingredients
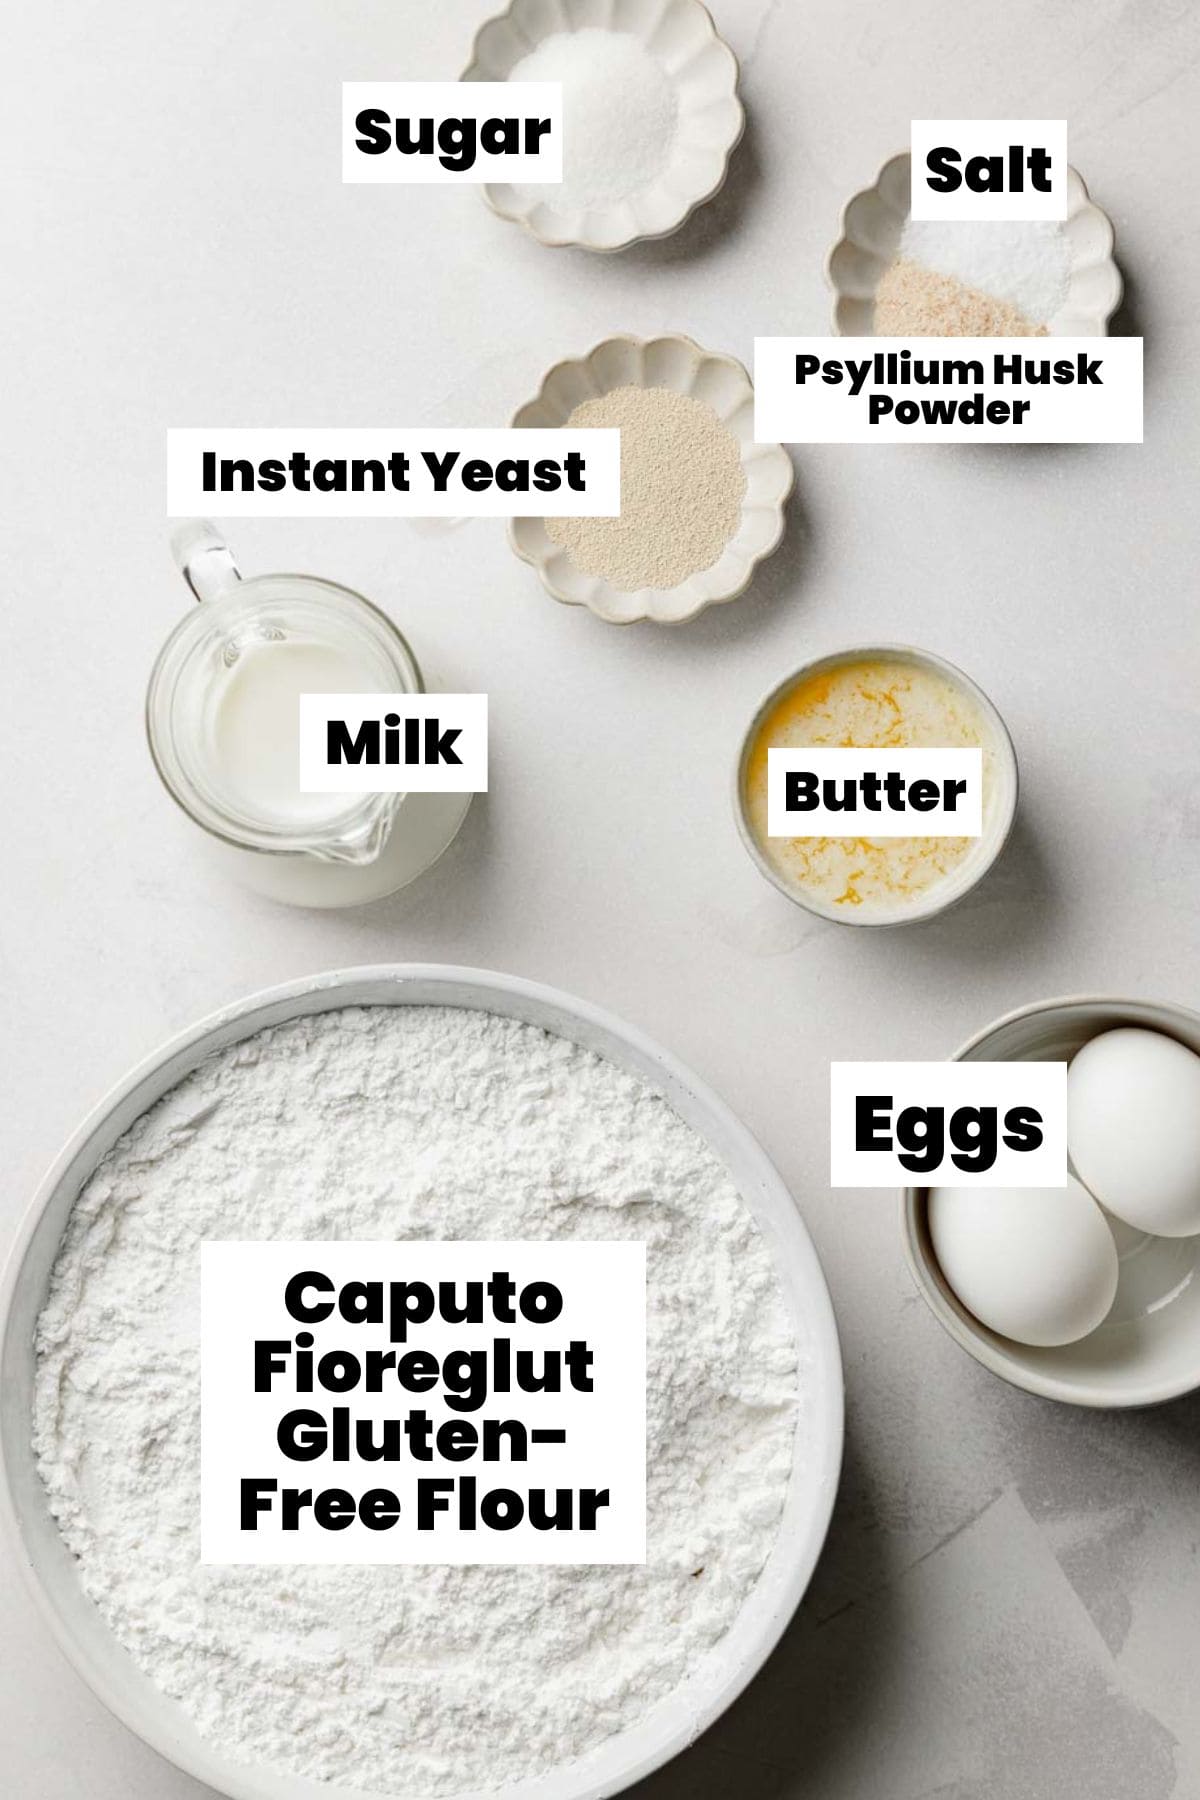
- Caputo Fioreglut Gluten-Free Flour Blend: This is the only flour blend I recommend for this recipe. The recipe specifically designed for it and it is the only flour that will give you the soft and fluffy results you're looking for. Fioreglut is gluten-free and safe for someone with celiac disease (like myself), but it does contain gluten-free wheat starch, so it is not recommended for someone with a wheat allergy. Read my full Caputo Fioreglut review for more information.
- Instant Yeast: Also labeled as bread machine or rapid rise yeast, this type of yeast does not need to be dissolved in water first. It can be mixed right in with the dry ingredients. Discover why I love instant yeast here!
- Eggs: Important for the structure of the dough. I don't have any substitutes to share. If you try something that works, let us know in the comments.
- Psyllium Husk Powder: This helps with elasticity and structure, mimicking the binding properties of gluten. After testing with both whole husk and the powder, I preferred the powder, but you can use whole husks if that's all you have-this psyllium husk conversion calculator can help you determine how much to use.

Get the Goods!
Caputo Fioreglut
I recommend you buy Caputo Fioreglut from Brick Oven Baker. They have great prices and you can use code: KATIE for 10% off your first order!
How to Make Gluten-Free Dinner Rolls
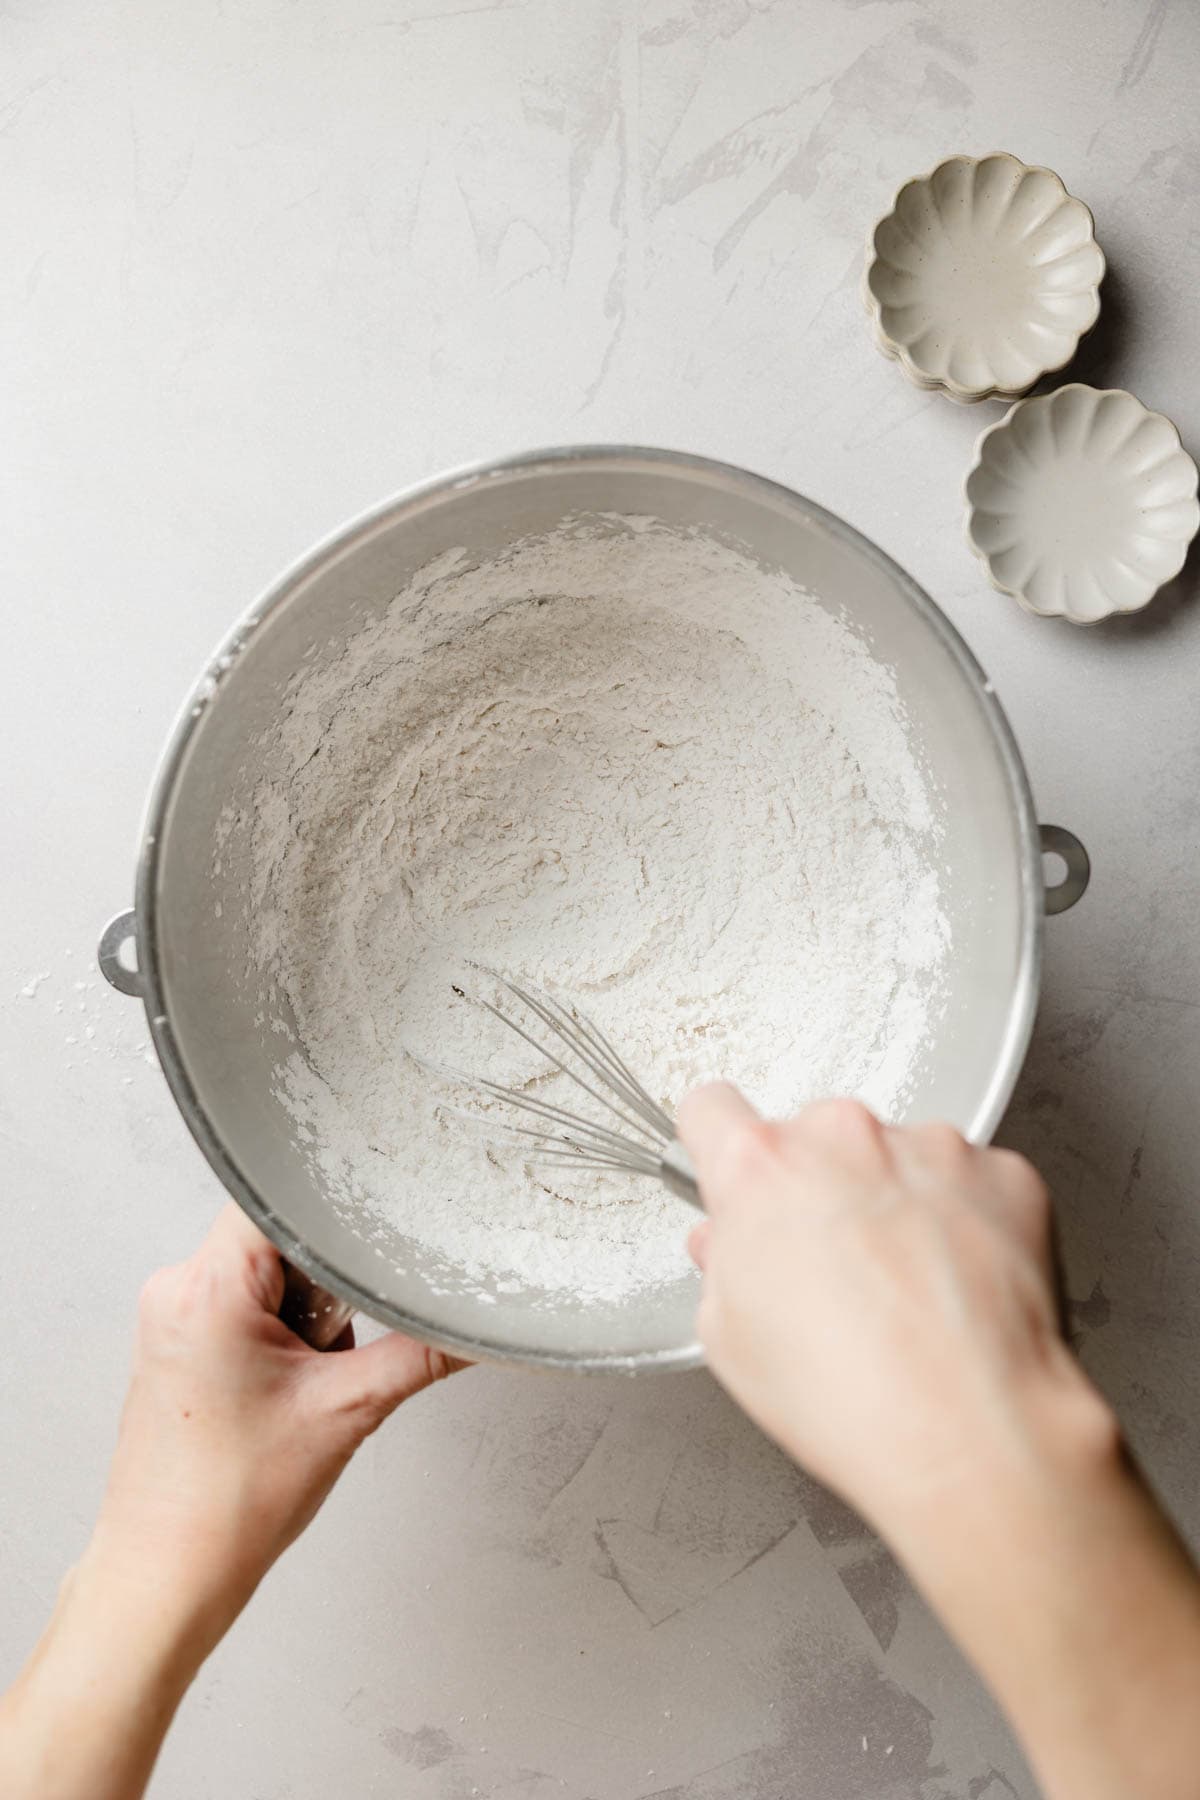
- Step 1: Whisk together the dry ingredients. This includes the gluten-free flour, instant yeast, sugar, salt, and psyllium husk powder.
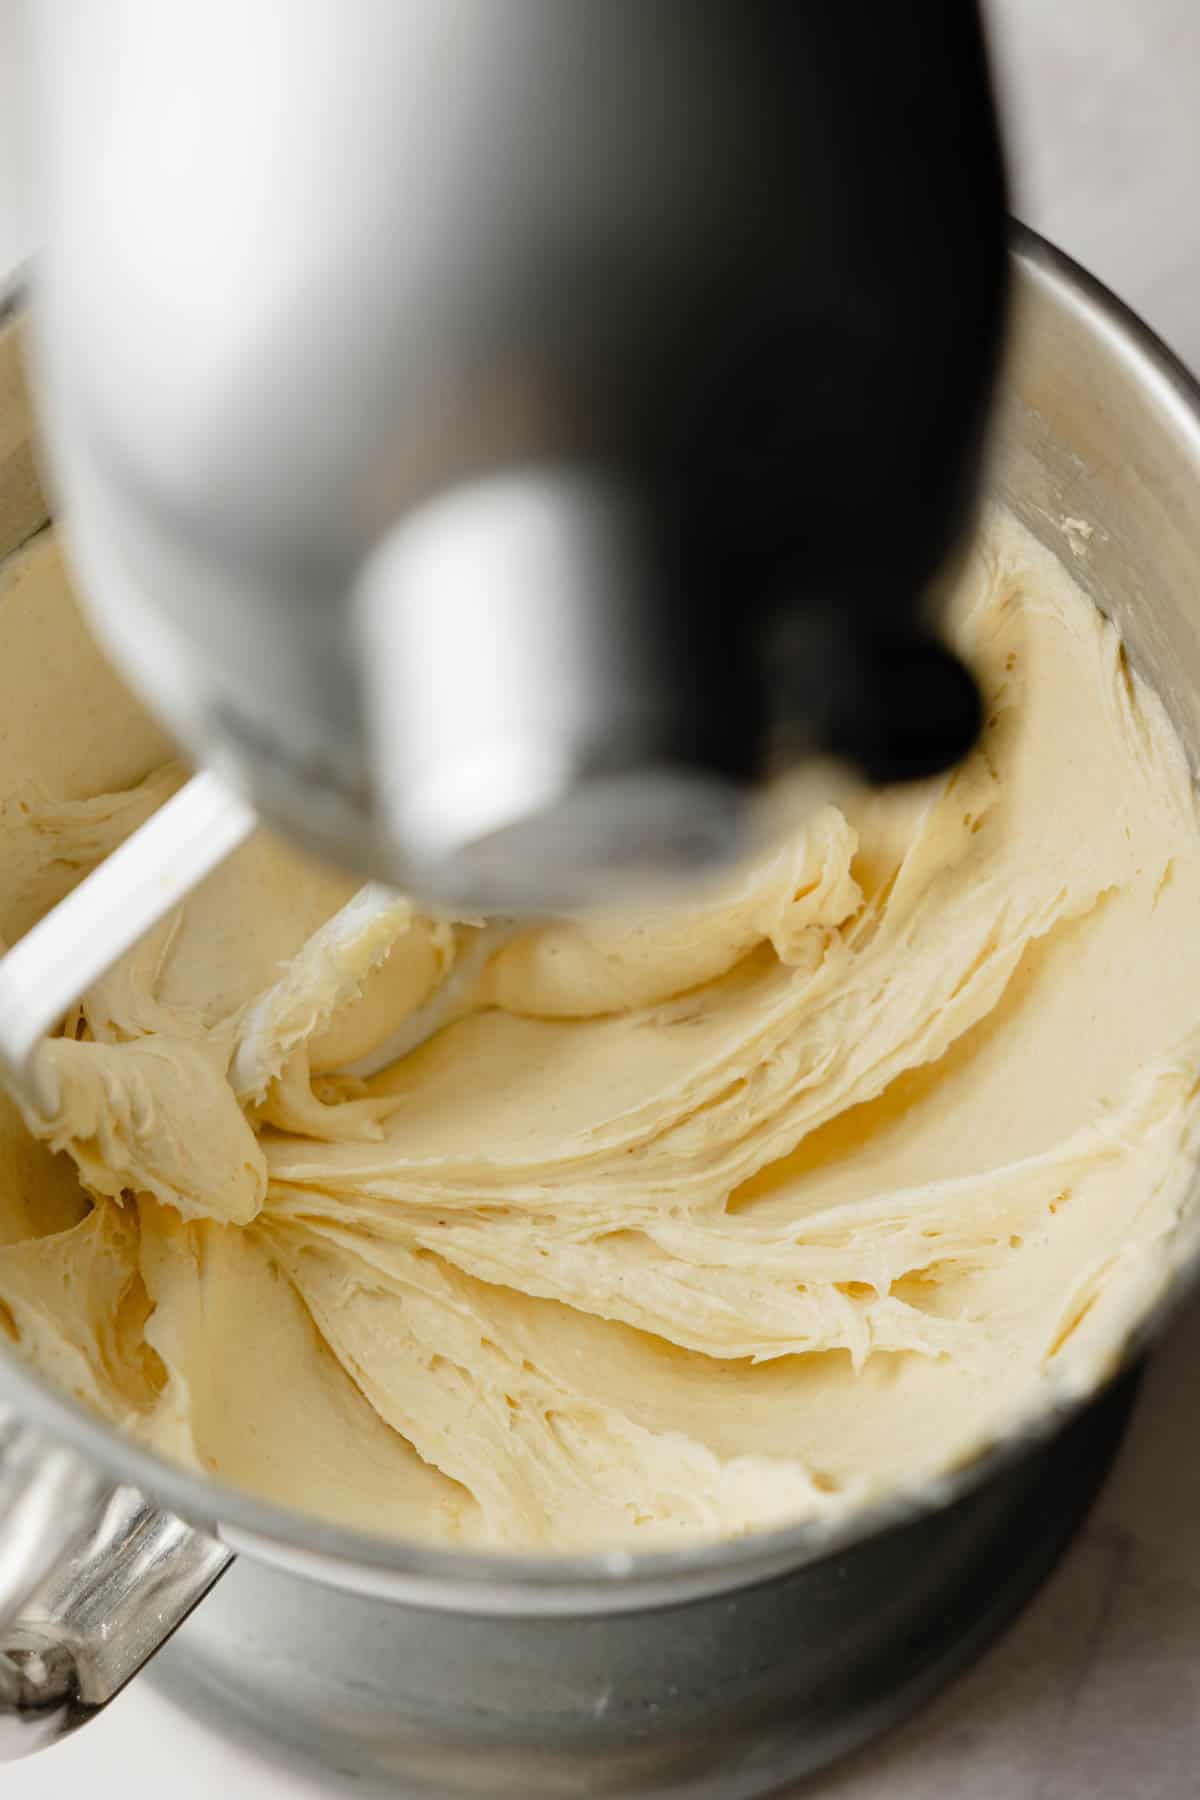
- Step 2: Add the warmed milk, butter, and eggs to the flour mixture. Blend on medium speed for two minutes, scraping the bowl as needed to make sure everything is evenly combined.
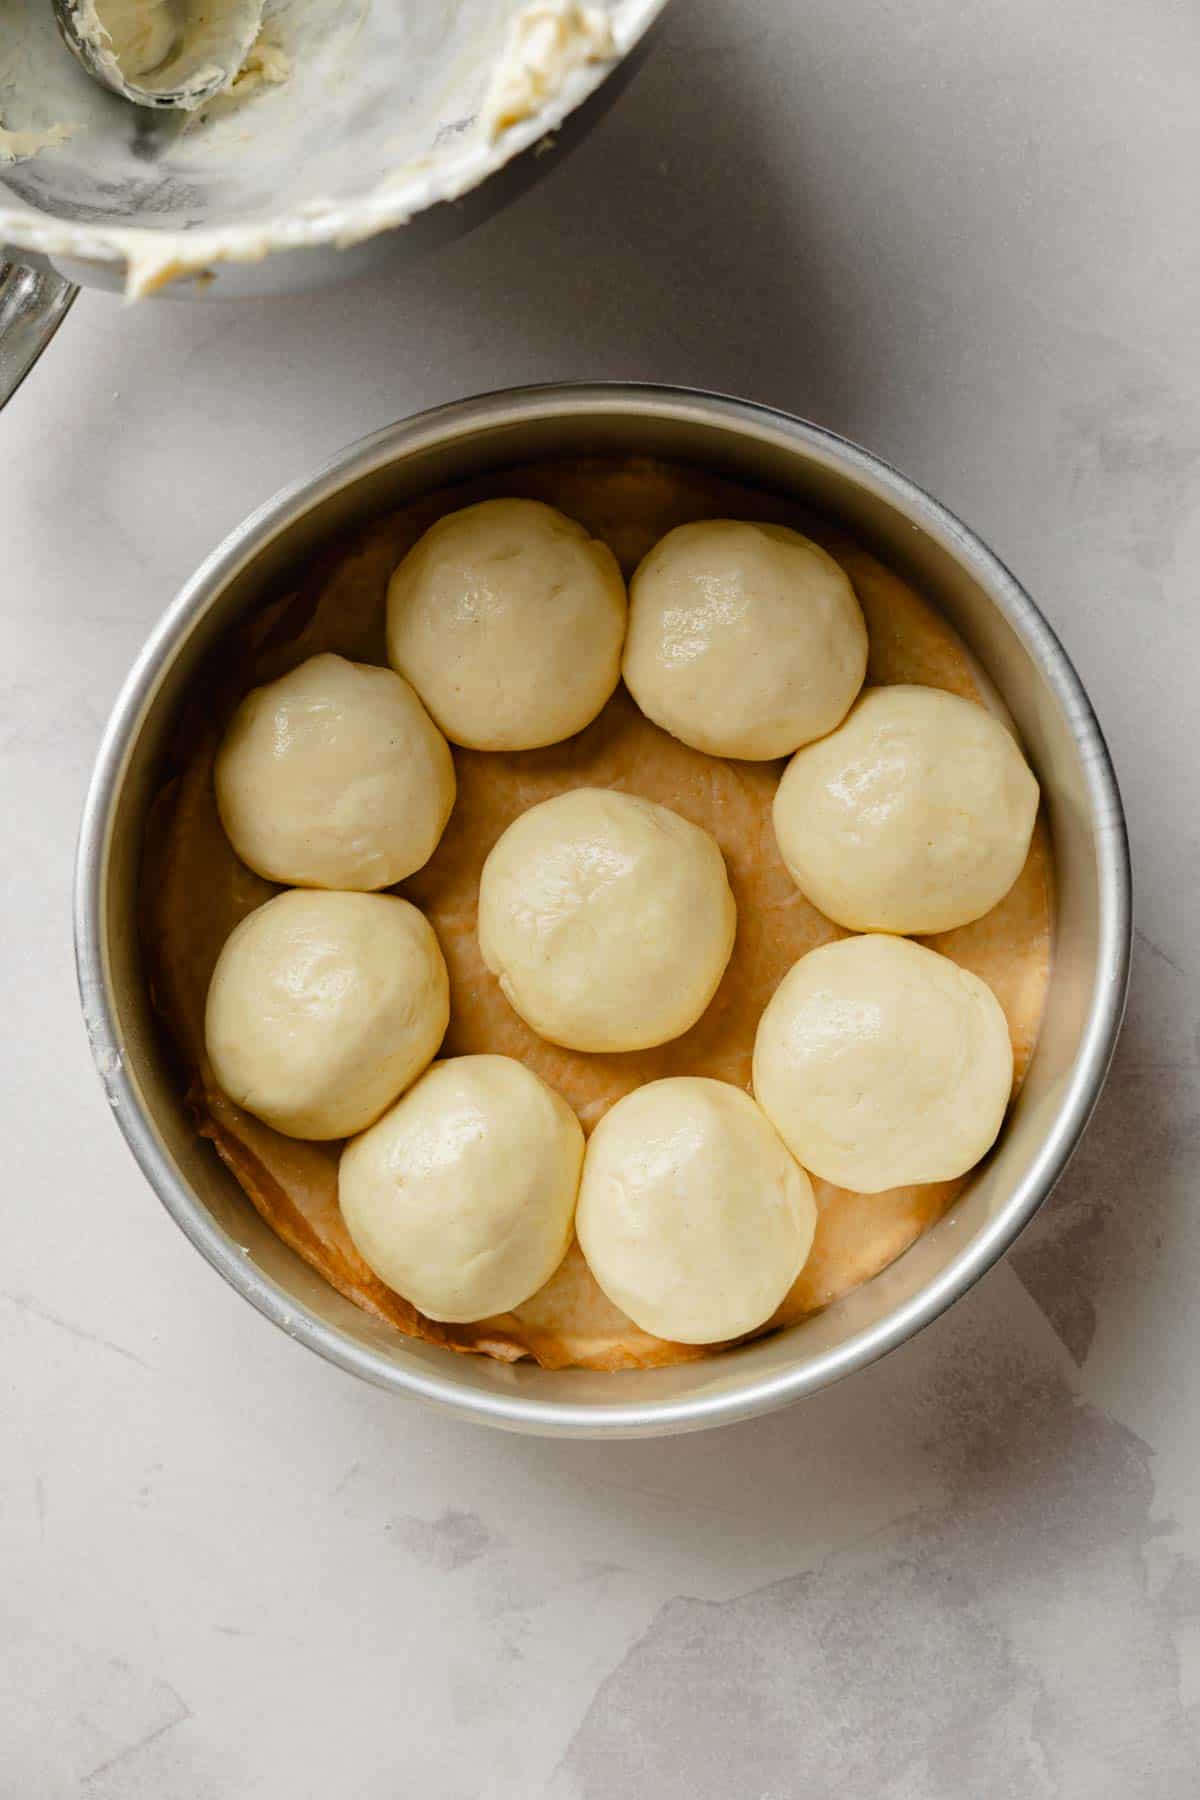
- Step 3: Scoop ¼ cup portions of dough, about 80 grams each, and place them in the prepared cake pan. You can spray your hands with oil and gently form them into balls if you want smooth tops.
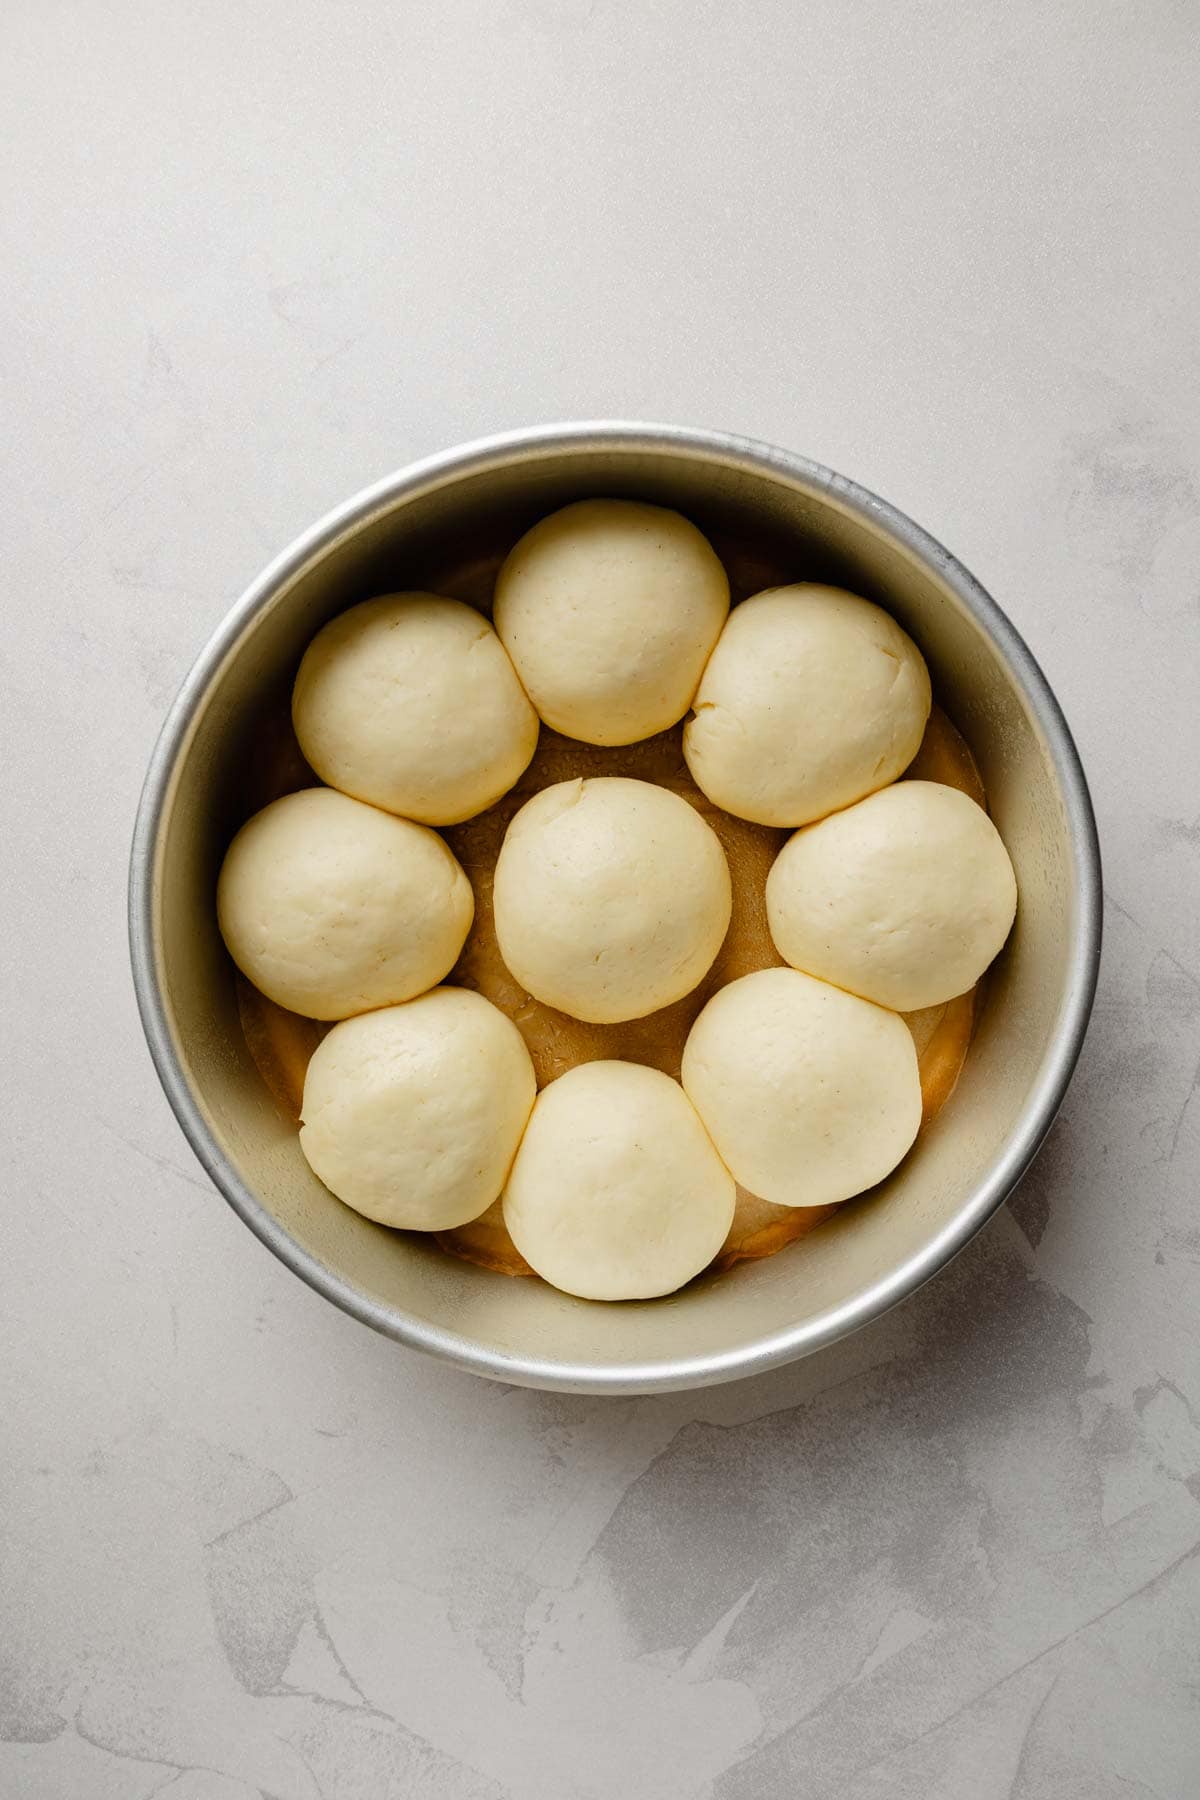
- Step 4: Cover the pan with plastic wrap and allow the gluten-free dough to proof for 1 hour in a warm place. When the dough is nicely puffed, it's time to preheat the oven. Bake the rolls according to the instructions in the recipe card below.
Save This Recipe!
Top Recipe Tips
- Be sure your ingredients are at the proper temperature. The milk and butter should be between 120-130°F, and the remaining ingredients, including the eggs, should be at room temperature. This helps ensure the yeast activates properly and the dough rises as it should.
- Make sure your yeast is fresh. This is yeast that hasn't expired, has been refrigerated if open, and is not older than 6 months.
- The rolls may not fully double in size. They should look puffy and tightly nestled, refer to pictures above for guidance.
- The dough will be sticky, don't add more flour!
- If you only have whole psyllium husks, use ½ tablespoon compared to 1 teaspoon of psyllium husk powder.
Storage and Make-Ahead Options
These rolls are best enjoyed freshly baked! I highly recommend baking and serving them warm, if possible.
If you need to make them ahead, prepare the dough and let it proof for 30-45 minutes, just until the rolls start to look puffy. Then, place them in the refrigerator for up to overnight.
When you're ready to bake, take the rolls out of the refrigerator about an hour before preheating the oven. This gives the dough time to come to room temperature. Then, bake as directed in the recipe.
Recipe FAQs
Yes! While Fioreglut does contain psyllium husk, I find that adding a bit more improves the structure of certain yeast breads, helping them hold their shape and develop the right texture. If you omit it, the dough will be much harder to work with.
I have not tested King Arthur Gluten-Free Bread Flour in this recipe. If you want to give it a try, refer to the process photos above to gauge the proper dough hydration and texture. Since the composition of the flours is different, you may need to make adjustments to achieve the right consistency. Let me know how it goes if you experiment with it!
You can use active dry yeast but you'll need to dissolve it in warm water (about 110°F) and let it sit for 5-10 minutes until foamy before adding it to the dough along with the rest of the wet ingredients.
Yes, I saved it for you! Find the original dinner rolls here.
More Gluten-Free Bread Recipes
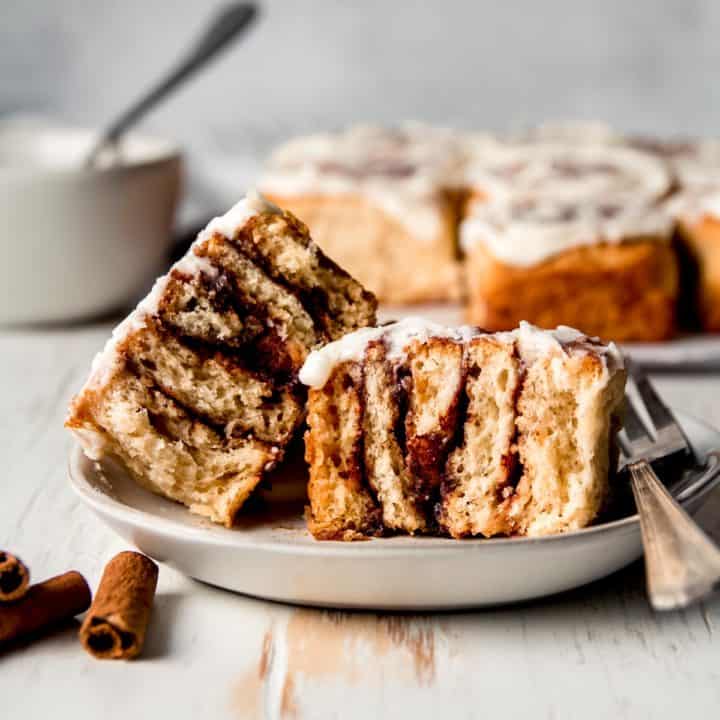
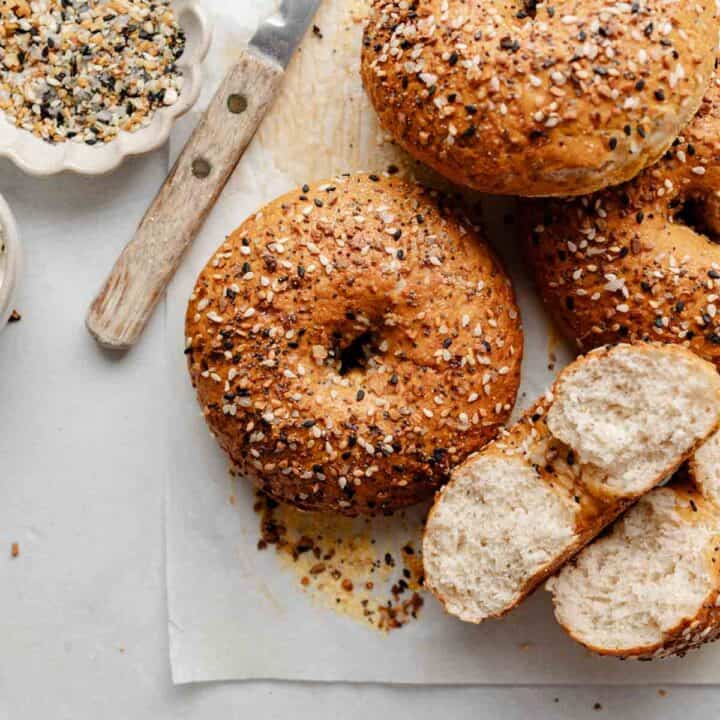
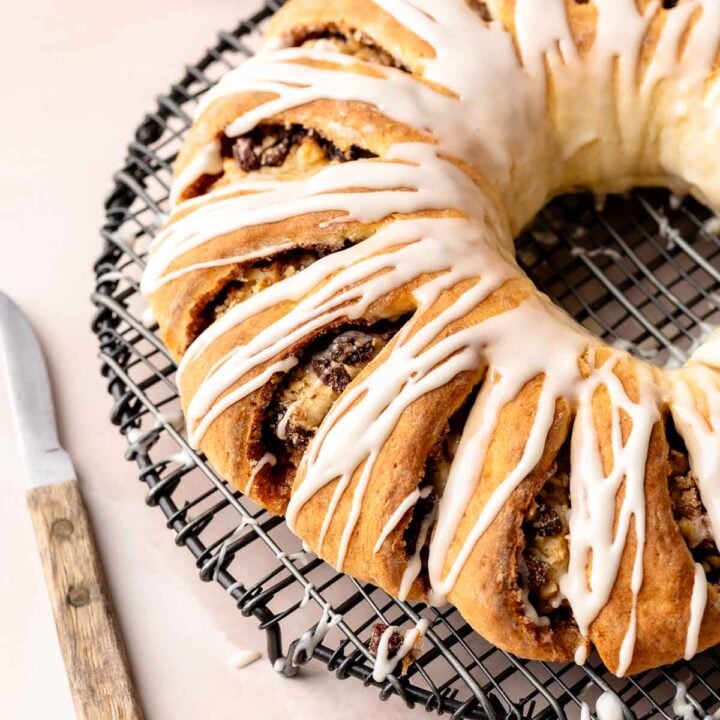
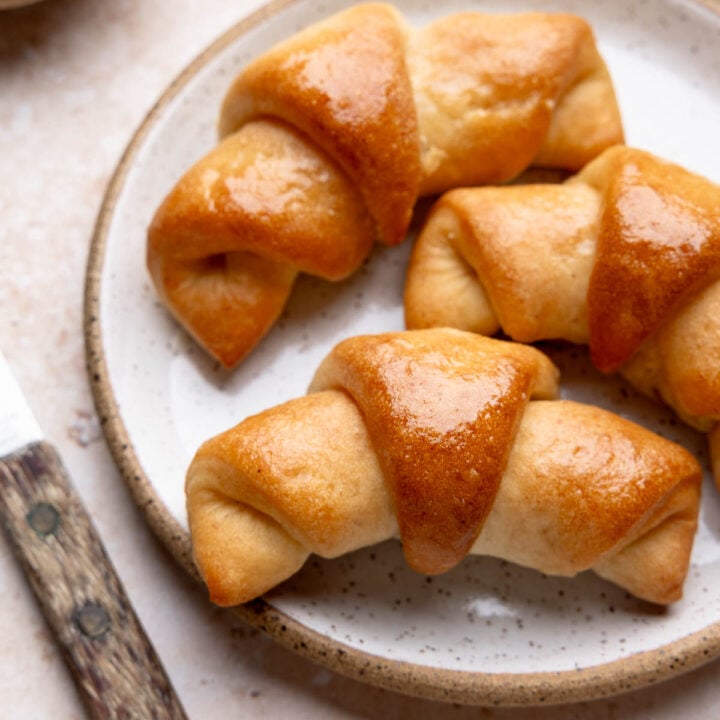
If you enjoy making gluten-free recipes with Caputo Fioreglut, be sure to check more of the gluten-free yeast bread recipes I've made-like cinnamon rolls and bagels! You simply must try my gluten-free crescent rolls recipe!

Recipe

Gluten-Free Dinner Rolls (One Rise)
Equipment
- 9-inch cake pan
Ingredients
- 384 g Caputo Fioreglut gluten-free flour blend (other flours not recommended)
- 7 g Instant or Rapid Rise yeast
- 8 g granulated sugar
- 6 g kosher salt
- 3 g psyllium husk powder (½ tablespoon if using whole husks)
- 185 g milk (warmed to 120-130°F)
- 57 g butter (melted (plus more for brushing tops))
- 2 large eggs ((100 grams) room temperature (plus 1 for egg wash))
- Optional: flaky sea salt (for finishing)
Instructions
- Line a 9-inch round cake pan with parchment paper; grease the bottom and sides with oil or cooking spray.
- In the bowl of a stand mixer, whisk together the gluten-free flour, instant yeast, sugar, salt, and psyllium husk powder.
- Warm the milk and butter together to 120-130°F.
- With the mixer on low, slowly pour in the warm milk and butter. Then add the room temperature eggs. Increase speed to medium and mix for 2-3 minutes, scraping down the bowl as needed. The dough will be thick and sticky - like a stiff cake batter.
- Use a large cookie scoop to portion 9 (¼-cup) scoops of dough weighing 80g grams each. Place them in the prepared pan, with 8 around the edge and 1 in the center.
- Grease your hands and gently smooth out the tops. For even smoother tops, spray hands with cooking spray and gently toss each roll in your hands to smooth out bumps and toss it into a ball. (This can be difficult for some to do, you don't have to do it if you don't want to.)
- Cover with plastic wrap and place in a warm spot. Let rise about 1 hour, until the rolls have puffed and are nearly doubled.
- Preheat the oven to 350°F. Remove the plastic wrap. Brush the tops with an egg wash of 1 beaten egg whisked with 1 tablespoon of water. Sprinkle with flaky sea salt, if desired. Bake for 35-40 minutes, until golden brown and the center registers at least 190°F.
- Brush rolls with melted butter as soon as they come out of the oven. Serve warm.
Notes
- Be sure your ingredients are at the proper temperature as noted in the recipe.
- The rolls may not fully double in size. They should look puffy and tightly nestled, refer to pictures in the blog post for guidance.
- The dough will be sticky, don't add more flour!
- Ensure you're using fresh yeast. This is yeast that hasn't expired, has been refrigerated if open, and is not older than 6 months.
- Be sure to use instant yeast, if you only have active dry yeast, do not mix it with the dry ingredients. Instead, dissolve it in the warm milk (110-120°F) for 5-10 minutes before proceeding with the recipe.
- If you only have whole psyllium husks, as opposed to psyllium husk powder, take note of the proper amount to use in the ingredients section above.
- I highly recommend using weighted measurements for accuracy. If you want to use cups, toggle between 'us/cups' and 'metric/grams' buttons at the top of the list of ingredients.
Save This Recipe!
Estimated Nutrition
* Nutritional information is provided as a courtesy and should be used as an estimate only. See the nutrition policy for more information.

Sarah says
Haven’t tried yet but can I make these a day ahead of time to serve on Thanksgiving?
Katie Olesen says
You can, but you'll definitely want to rewarm them before serving.
tara says
Can I substitute soy milk instead of regular milk?
Katie Olesen says
Yes that should be fine.
Steph Ruter says
So I made the recipe and had to concer grams to cups/tbs etc of each. When I mixed it all it was as if I hardly added the milk/eggs/butter.
I converted the 384gm flour to 4 cups flour and it was crazy dry. I had to add more milk/butter/eggs . Until I got a sticky dough-like consistency Waiting for rising and to bake…. TBD.
Any suggestions ?
Katie Olesen says
384 g of Fioreglut is equal to about 3 cups, not 4. That’s why your dough seemed dry. For accuracy, I always recommend using the gram measurements, but you can also toggle between grams and cups by clicking the us/cups button at the top of the ingredients list. This is noted in the recipe notes as well.
Don M 111 says
Since first discovering this recipe at Christmas, I've made rolls, baguettes. Even regular loaves of bread. It works for everything it's delicious. I don't know what I'd to do without it.
Katie Olesen says
So glad you're enjoying the recipe! Thanks so much for the kind review!
Barbara says
These are sooooo good!! I didn't have milk so I used half & half with a little water mixed in. I made them yesterday, let them rise, didn't have time to cook them so put them in the fridge until today. I took them out of the fridge 2 hours before cooking and they were amazing! Thank you so much for this recipe 😊
Don M 111 says
I've had Celiac disease for 25 years. I've made or purchased just about every type of bread I could find. This is fantastic The rolls are delicious The whole family loves them. I'm the only one with The disease I also made baguette, they turned out wonderful. I love this recipe.
Katie Olesen says
So glad you are enjoying the recipe, Don! Thanks for the kind review!