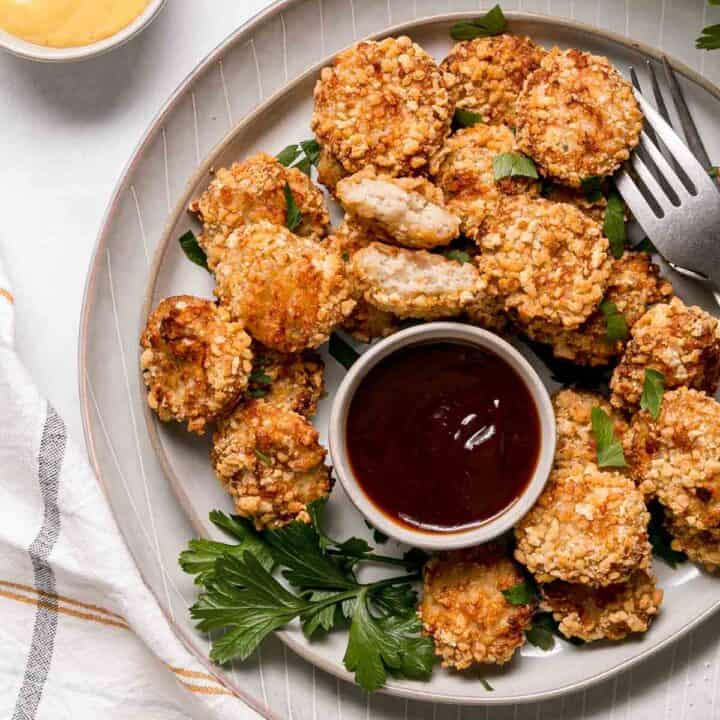
Check out these Homemade gluten-free chicken tenders. They are crispy and delicious! Not only are they easy to make but you can make a big batch and freeze some for later. They can be fried, baked, or even cooked in the air-fryer.
💌 Want to Save This?
Unsubsribe at any time.
Jump to:
Why You'll Love This Recipe
Sometimes you want a salad. Other times you want a golden, crispy, and crunchy gluten-free chicken tender dunked in your favorite sauce... and a side of fries!
Finding gluten-free chicken tenders out in a restaurant may be hard to do, but lucky for us, making homemade chicken tenders is actually quite easy! It only requires a few ingredients and a little bit of your time! With this flexible recipe, you have a lot of choices for breadcrumbs and even cooking methods! As if that wasn't enough, these tenders also freeze very well, so you can spend the time making them now and save some for later, too!
But wait! It gets even better! You don't just have to eat these as plain tenders dunked in your favorite sauce! Sometimes I make these tenders and cut them up for Gluten-free Sweet Fire Chicken.
We have also been known to make homestyle bowls with them. It's a bowl of instant pot mashed potatoes, topped with corn, and these chicken tenders cut into bites. Then the whole thing is drizzled with gluten-free peppery sawmill gravy. Oh man, is that good! These tasty chicken tenders could even be used to make Chicken Parmesan.
So many fun dinner ideas from one chicken tender! You can even use chicken tenders to make gluten-free chicken cutlets that are perfect every time!
Another great chicken dinner is my gluten-free taco casserole, kids love it!
Ingredients & Substitutions
You only need five simple ingredients to make your own gluten-free chicken tenders! Here's what you'll need:
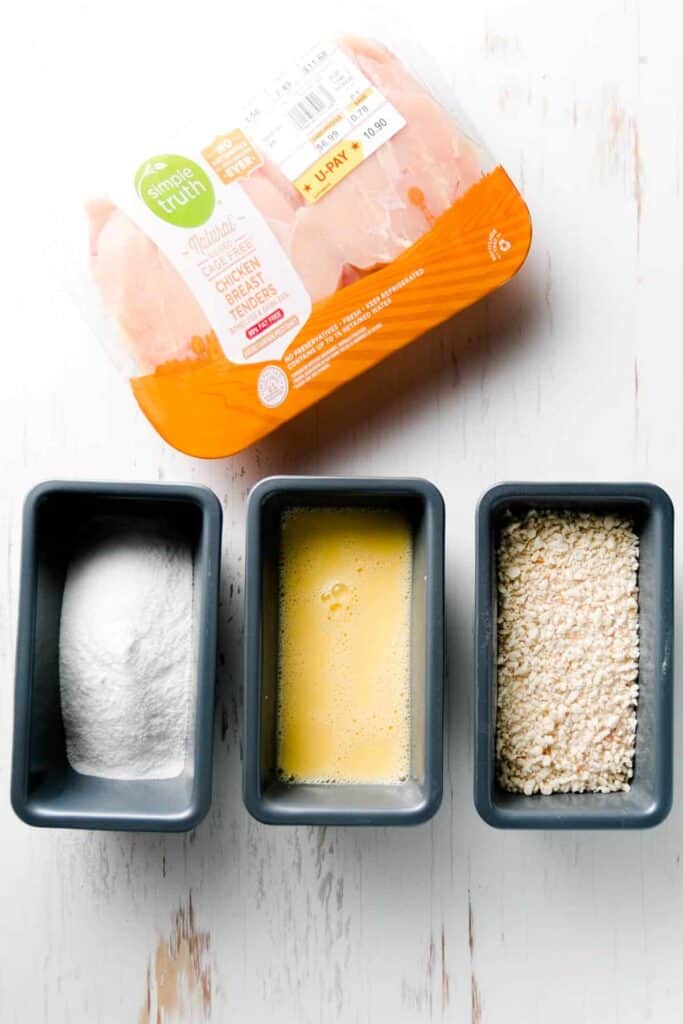
- Chicken breast tenderloins: If you can't find the tenders, you can also slice chicken breasts into 1-inch strips.
- Rice Flour: I use plain white rice flour or brown rice flour. You can also use any gluten-free flour blend or even cornstarch. Just use whatever you've got on hand.
- Egg Mixture: A mixture of egg and milk. If you are dairy-free, use your favorite neutral-flavored milk substitute or just use water.
- Gluten-free breadcrumbs: I like to use panko-style breadcrumbs because they get extra crunchy! Read more about the different breadcrumb choices in the next section.
Gluten-free Breadcrumb Options
You have a lot to choose from as far as breadcrumbs go! Here's a quick rundown of the store-bought varieties I've come across so far:
- My Favorite: So far, my favorite breadcrumb for these tenders has been Kikkoman Gluten-free Panko style Breadcrumbs. They have the big coarse crumbs like regular panko, get the most crunchy, and don't over brown when they cook. I can only find them at Walmart, but you may be able to find them elsewhere. Just be careful when buying! The packaging between the regular and gluten-free varieties are very similar.
Runner up: 4C Gluten-free Panko Breadcrumbs. These are very similar to Kikkoman!
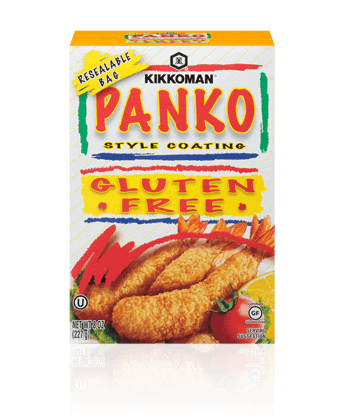
- Like but not for this: Generally, I like Aleia's brand panko breadcrumbs, but I find they over-brown when frying. If you plan to bake or air-fry the tenders, this brand will work just fine!
- Haven't tried: I have not tried Schar or Ian's gluten-free breadcrumbs, although I have seen my stores carry them. I will update if/when I try them! If you've tried them, let me know in the comments what you think!
- Other breadcrumb options: Crunched up cereals like Rice Chex, gluten-free Corn Flakes, or gluten-free Crispy Rice cereal are all good options if you can't find panko-style gluten-free breadcrumbs. You can also use crushed gluten-free stuffing mix.
While I tend to use store-bought breadcrumbs, you could absolutely use homemade breadcrumbs if you wanted to. Just toast leftover slices of bread until they are dried out and then pulse them in a food processor to make breadcrumbs.
Breading Chicken Tenders
Making gluten-free chicken tenders is as easy as 1-2-3! All you have to remember is F-E-B (Flour - Egg - Breadcrumb).
- Dip the tenders in rice flour.
- Then dip in the egg mixture.
- Lastly, press them into the breadcrumbs.
Pro-tip: It is helpful to keep a wet and dry hand throughout the breading process, otherwise you will also end up breading your fingers! Alternatively, poke a fork into the chicken to pick it up. Then you don't have to use your hands.
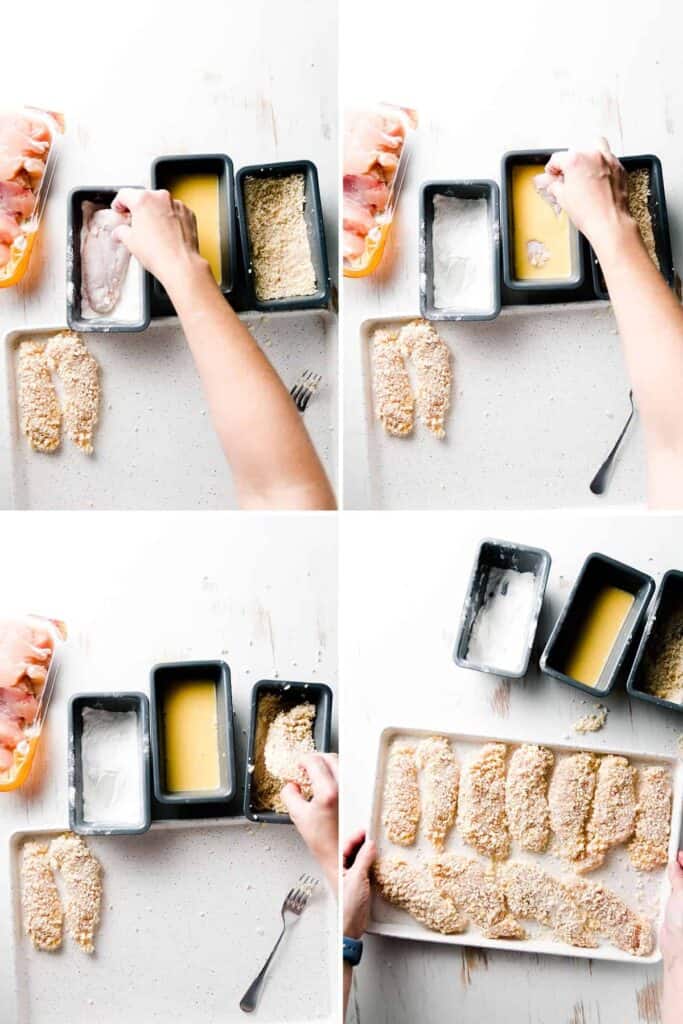
Once coated, set the chicken tenders on a tray and keep going until all of your pieces have been breaded. Then it's time to let them rest!
Pro-tip: Let the tenders rest for at least 30-minutes before frying or baking. This gives the coating time to adhere to the chicken.
If you like, you can make the tenders several hours ahead of time and keep them in the fridge until you're ready to cook them. I really can't stress enough how important it is to let them rest before you start the frying or baking process! If you don't let them rest, your breading is likely to just fall right off.
Cooking Options
Now the fun part! It's like a choose your own cooking adventure, but I do I have opinions to share! Let's talk about three ways you can cook these tenders. The good, better, and best options!
Good: Bake the tenders in the oven. This can be done by lining a pan with parchment paper or foil, spraying the tenders with a spritz of oil, and then baking at 425°F for 15-25 minutes. Use the convection setting if you have it to get them more crispy. This option is quite easy and healthy!
Better: Spritz with oil and then cook in an AirFryer at 400°F for 10-15 minutes or until golden brown and cooked through. This option results in super crunchy chicken tenders! They are good like this and it is definitely a healthy option! I like how crunchy they get. My only complaint is the breading tastes drier compared to the next option.
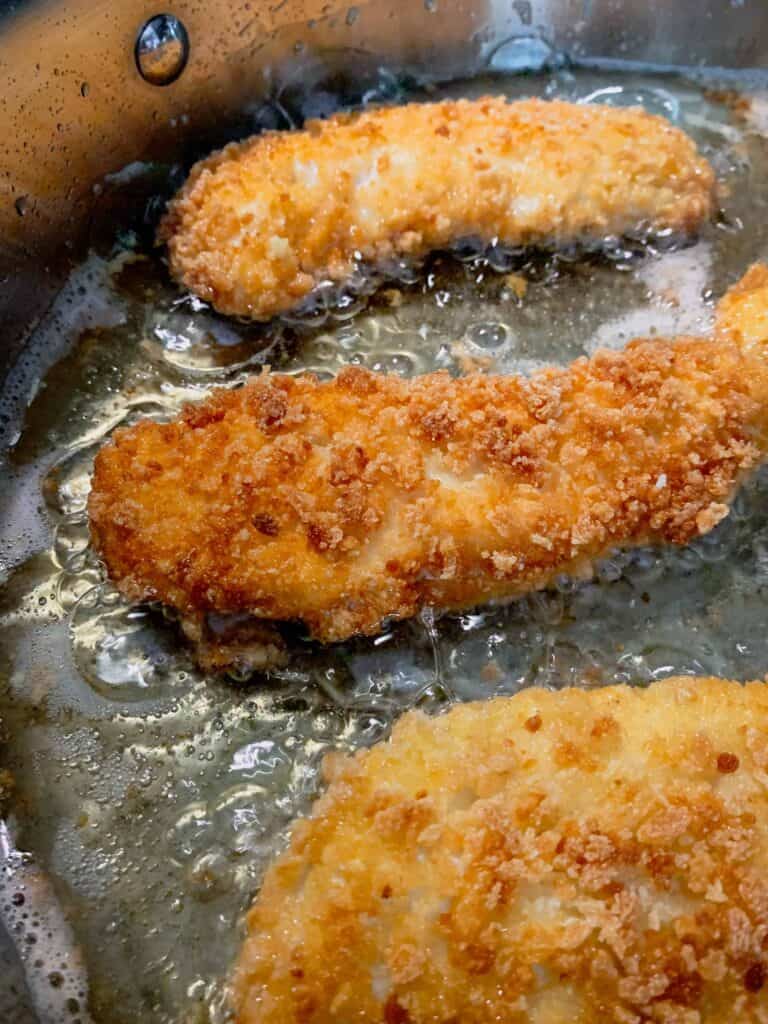
Best: Fried! Fry the chicken tenders in a shallow amount of oil until golden brown and cooked through. This is definitely the best option if you want a truly delicious chicken tender. While not the healthiest option, it sure does taste the best! So, if you want to indulge in the very best tasting gluten-free chicken tender you can make at home, go for the fried option!
Freezing Chicken Tenders
Here's a big perk! You can make a big batch of these chicken tenders and freeze some for later! To freeze:
- Bread the chicken tenders with the flour, egg, and breadcrumbs.
- Place in a single layer on a baking sheet.
- Freeze until solid.
- Place in a large zip-top bag and keep frozen.
To cook the tenders, remove the desired amount from the freezer and bake/fry as normal. You don't have to thaw before cooking, but you will need to add a few minutes to the cooking time.
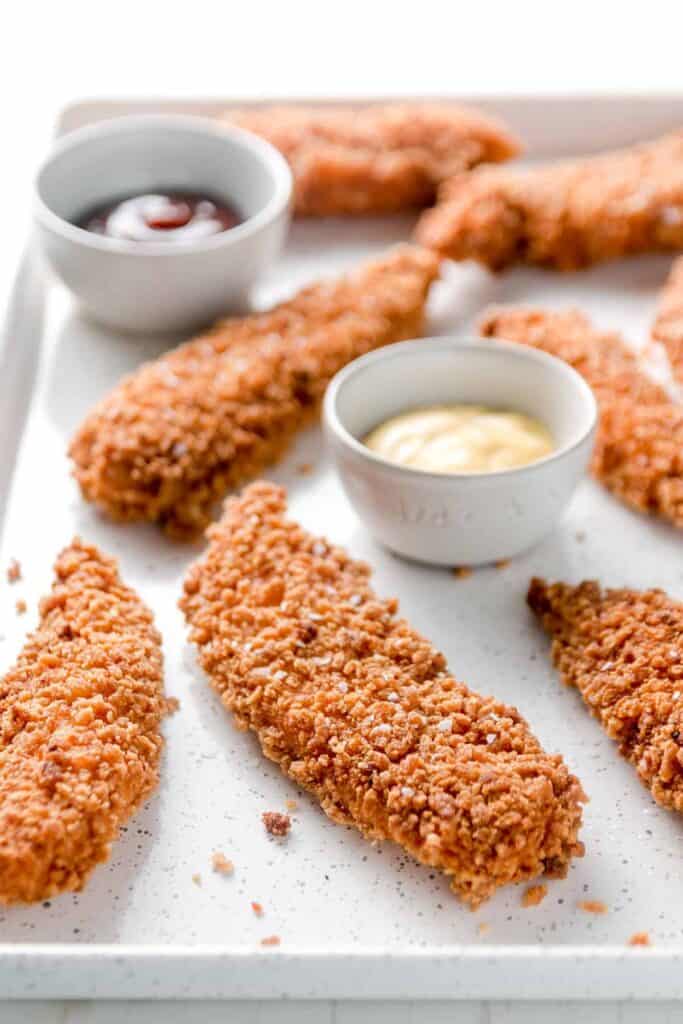
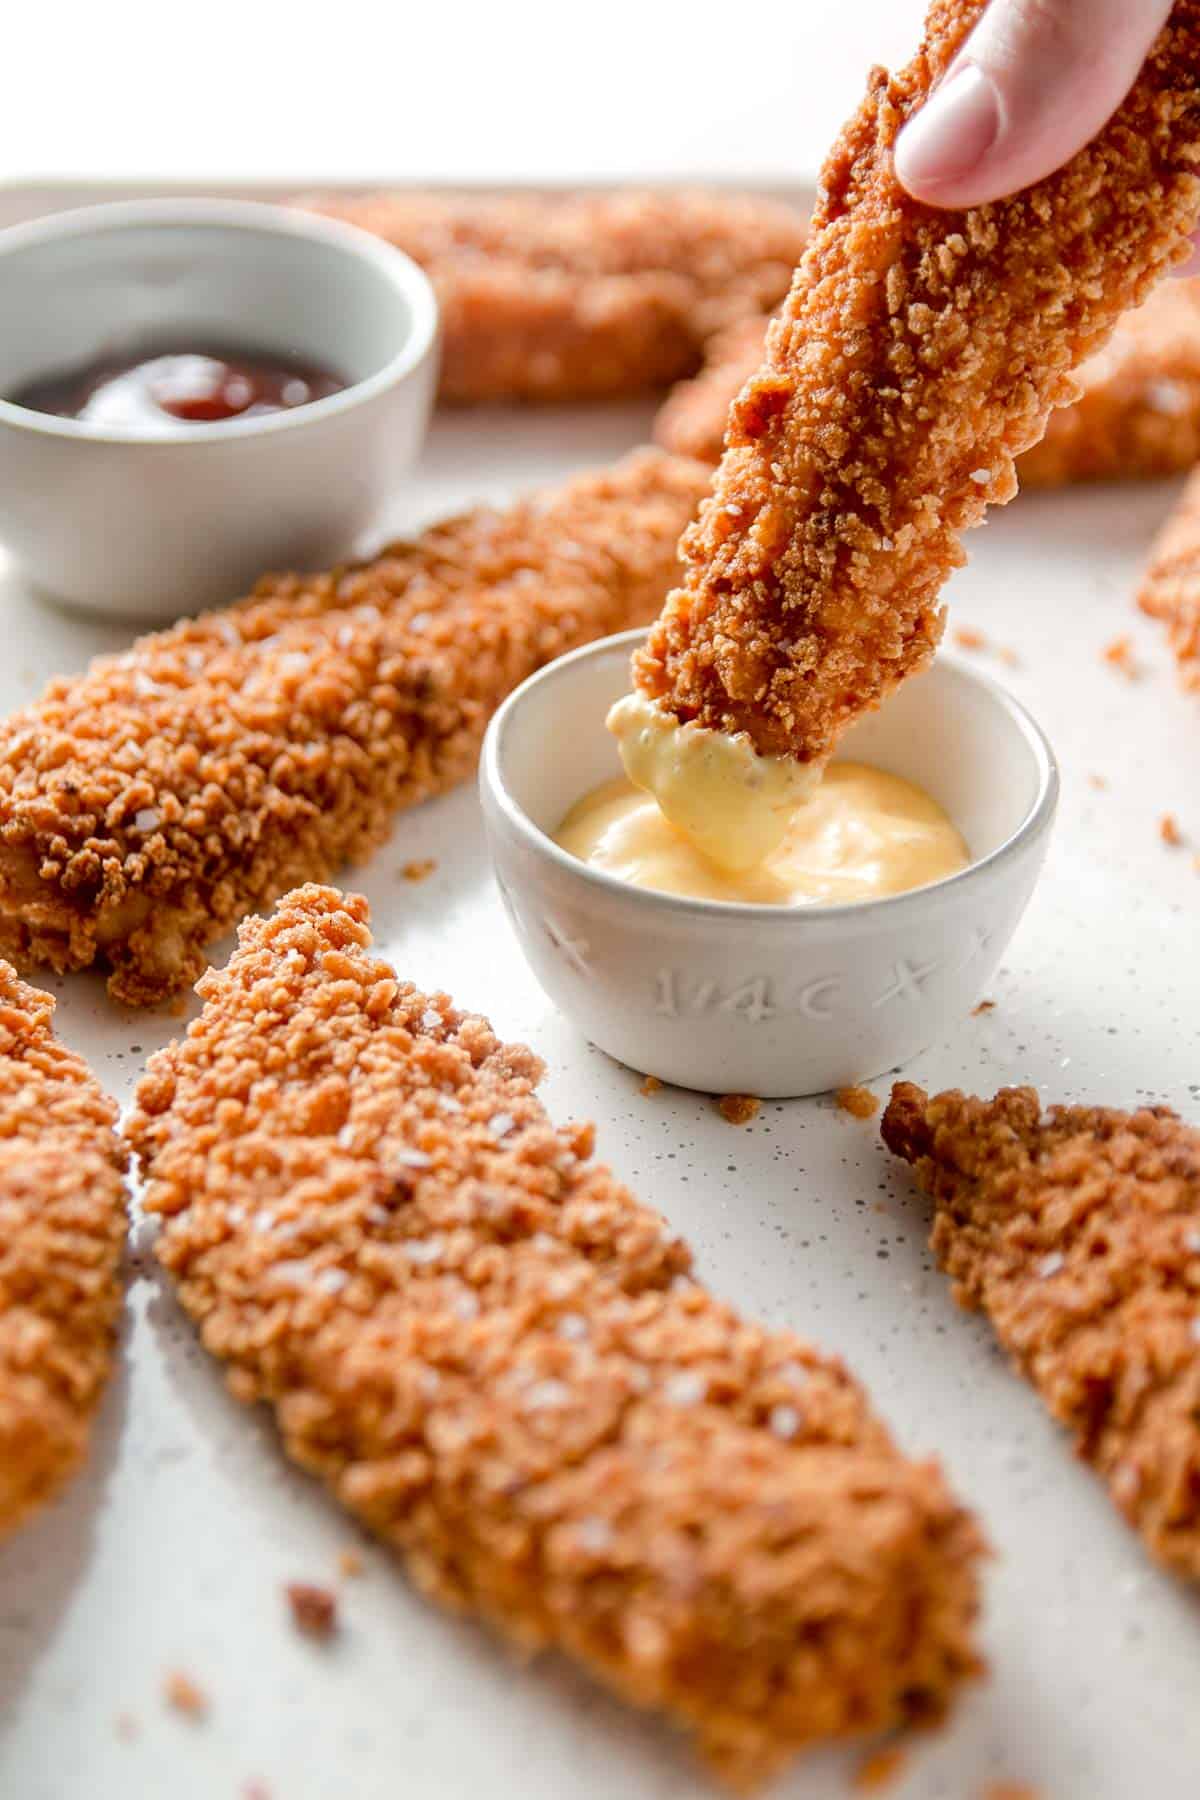
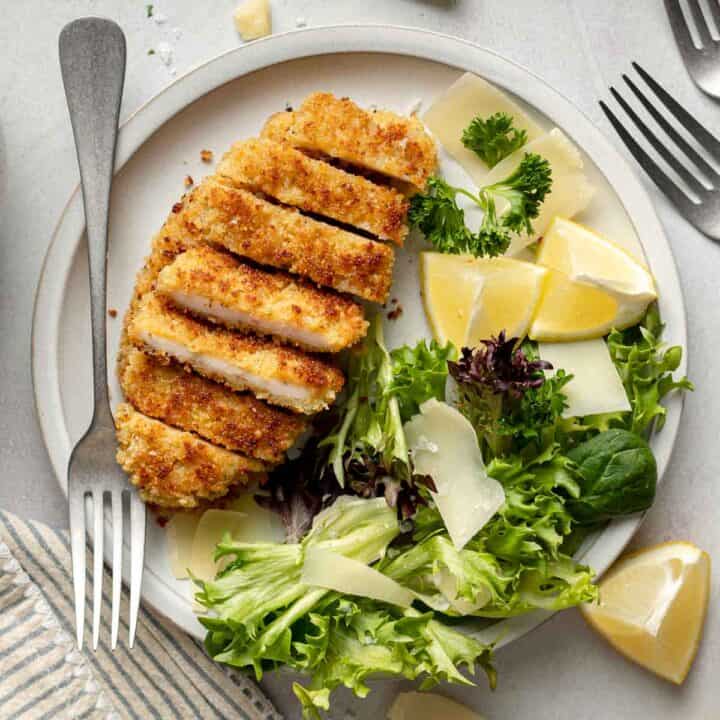
I mean just look at those crunchy tenders! They really are delicious! I hope you enjoyed this recipe! If so, I'd really appreciate a 5-star rating down below! And don't forget to pin this recipe for later!
Still Hungry? Subscribe Here!
More Gluten-Free Chicken Recipes You'll Love
Want to learn a little something? Read this post, are rotisserie chickens gluten-free?
Recipe
Gluten-free Chicken Tenders
Ingredients
- 1.5 pounds Chicken tenders,, or chicken breasts sliced into 1-inch strips
- 1 pkg Gluten-free panko breadcrumbs,, like Kikkoman gluten-free panko
- Rice flour,, gluten-free flour blend, or cornstarch
- 2 Eggs
- ¼ cup Milk,, non-dairy substitute, or water
- Canola oil,, for frying if using that cooking method.
Instructions
Breading the Chicken Tenders
- Gather three bowls or pans to make a breading station:Put rice flour in one, eggs & milk in another, and breadcrumbs in the third. (You can eyeball the measurements of flour and breadcrumbs and add more later if you run out while breading.) Whisk the eggs and milk together. Season the flour and breadcrumbs with salt, pepper, and/or dried seasonings, if desired.
- Dip one chicken tender at a time into each of the three mixtures: Start by coating with rice flour. Then dip in the egg mixture, allowing the excess to drip off. Lastly, press into breadcrumbs until the tender is evenly coated.
- Set the tender aside on a sheet tray and coat the remaining chicken tenders.
- Allow the tenders to rest on the sheet tray in a single layer for at least 30 minutes before cooking. (If you are going to freeze some, place them in a single layer and freeze until solid before putting them into ziptop bags for storage.)
Cooking the Chicken Tenders
- Pan fry (preferred method): Add enough canola oil in a large pan to cover the bottom with about ½-inch of oil. Heat over medium heat until hot. Test the heat by dropping a small breadcrumb into the oil. If it immediately sizzles, the oil is hot enough. Fry in batches, making sure not to overcrowd the pan. Flip the tenders when the first side is golden brown and cook until the internal temperature of the tenders is 165°F, about 3-4 minutes per side. Remove to a paper towel-lined plate and sprinkle with a little coarse salt, if desired.
- Air fry: Spritz the tenders with oil. Place in the air fryer and cook at 400°F for 10-15 minutes or until golden brown and cooked through to 165°F.
- Bake: Place the tenders on a parchment-lined baking sheet. Spritz with oil. Bake at 425°F for 15-20 minutes or until golden brown and cooked through to 165°F. Use the convection setting if available to get them extra crunchy.
Notes
- Don't skip the resting phase. It really helps the breading adhere to the tender!
- No need to thaw frozen tenders before cooking. You will need to add a few minutes to the cooking time.
Nutrition
* Nutritional information is provided as a courtesy and should be used as an estimate only. See the nutrition policy for more information.



Katie says
Hi there! I haven't tried the recipe but I want to! I had a question for you....is there any substitute for the egg that I can use? I have an egg allergy as well as gluten. Thanks so much!
Katie Olesen says
If it were me, I'd just use buttermilk. The store-bought kind is nice and thick and would work just as well as egg.
Priscilla says
If I don't have "packages" of panko but rather a 15 oz container, how much do I need for the recipe? Likewise, how much rice flour do you recommend separating for the breading station?
Katie Olesen says
The package is an 8 oz package. As far as rice flour I don’t typically measure, but I would start with 1/2 cup and add more if needed.
Kathy says
These are so good. My grandkids love them, too. And easy!