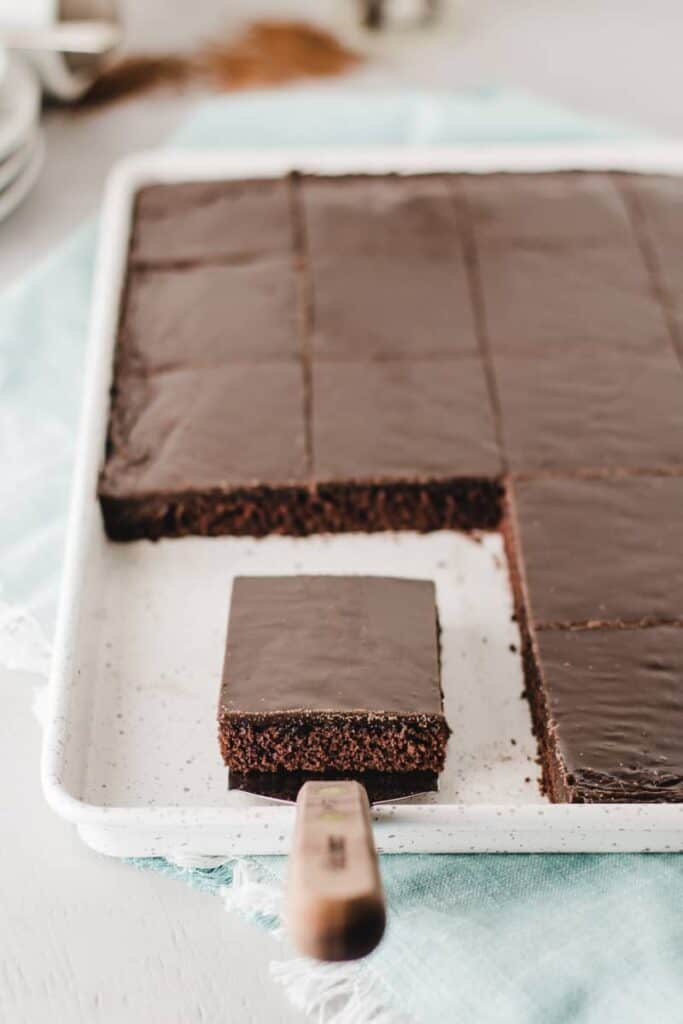
Get ready for the most amazingly delicious, moist chocolate cake! If you're looking for the perfect chocolate cake to bring to potlucks or coffee with friends, you've found the perfect recipe! No one will believe that this Gluten-free Texas Sheet Cake is actually gluten-free!
💌 Want to Save This?
Unsubsribe at any time.
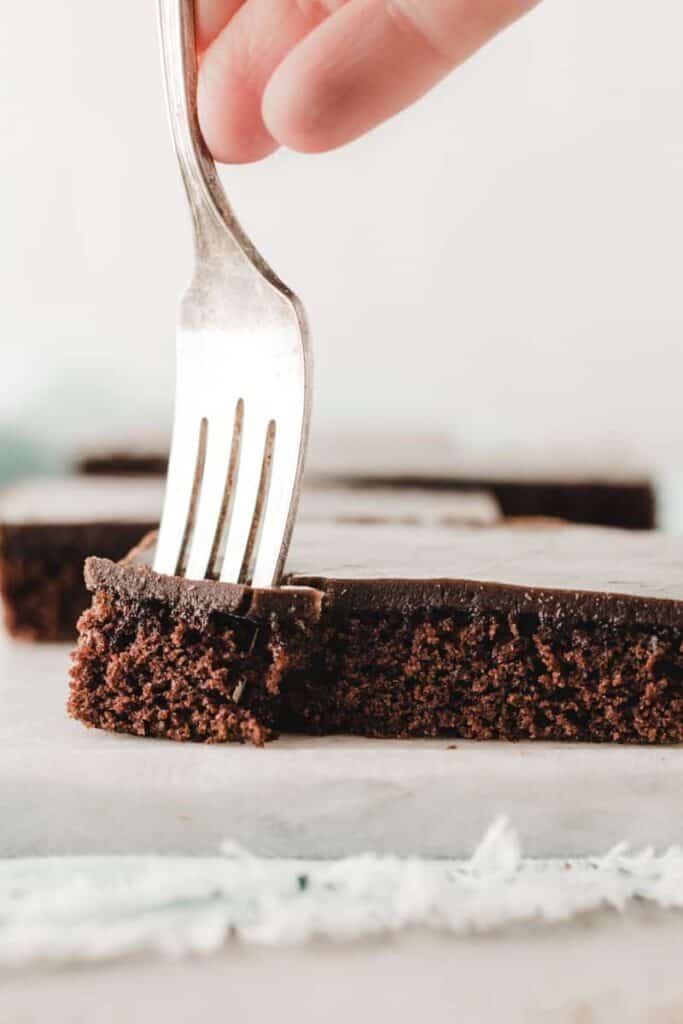
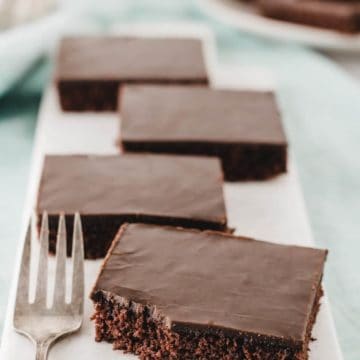
A classic Texas Sheet Cake starts with a thin layer of chocolate cake, that's not too sweet, not too dense. It is topped with a chocolate glaze icing that really makes people swoon! Not to mention, this cake stays fresh for days, DAYS! Which we all know with gluten-free baked goods is quite a miracle in of itself!
This dessert is relatively quick and easy to prepare. It's also perfectly portable, can be eaten with or without plates and forks, and is a total crowd pleaser! I mean it's chocolate cake with chocolate frosting, what's not to love?! This Texas Sheet Cake is one of my favorite recipes so far, there is just something magical about this cake!
Ingredients Needed for this Cake
All of the ingredients in this gluten-free Texas sheet cake are pantry staples, which means this is the perfect cake to whip up for a last-minute guest or that work potluck you forgot is tomorrow!
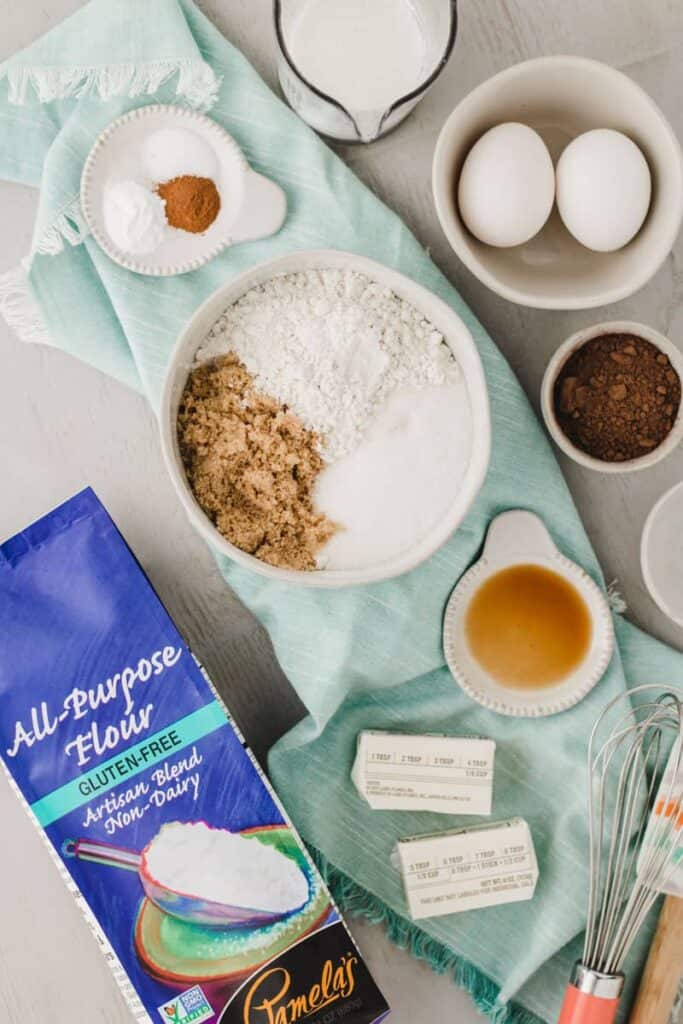
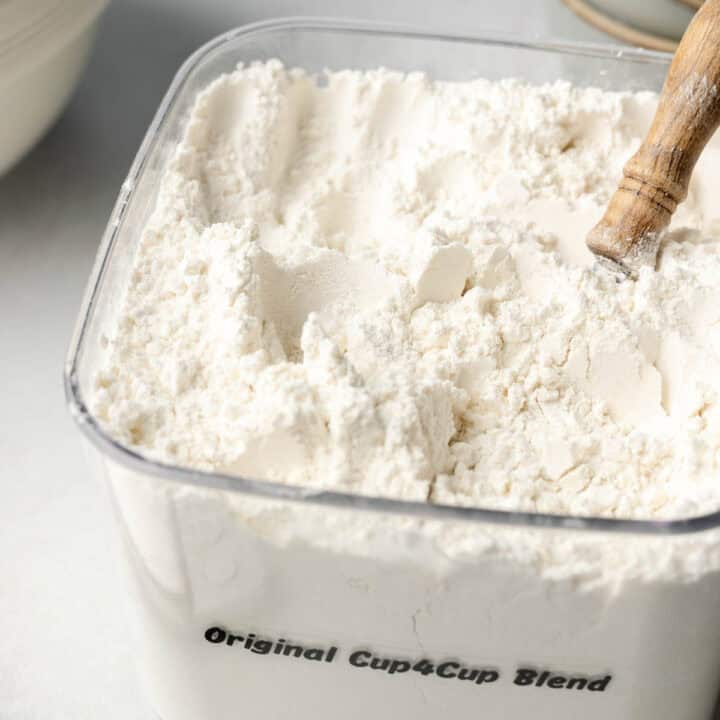
- Pamela's Gluten-free All-purpose Flour: You want an all-purpose mix for baking, one with xanthan gum or another binder already include.
- I also tested this recipe with Namaste's Perfect Flour Blend and had equally great results!
- Buttermilk: I know, no one likes to buy buttermilk. You can use either the real deal or substitute by placing 1 teaspoon of lemon juice or vinegar in a measuring cup, then fill up to ¼ cup with regular milk.
- Cocoa Powder: I used dutch-processed cocoa, but any good cocoa powder will work in this recipe.
- Cinnamon: Just a touch! It adds a little depth of flavor!
The baking science behind Texas Sheet Cakes
I said before that this cake was magical, but really there are two scientific factors that lend the perfect texture and flavor to this Texas sheet cake.
- The method for making a traditional Texas sheet cake is slightly different than most cakes. It technically uses what is called the reverse creaming method. This simply means that the dry ingredients, including sugars, are combined with the fat first. Then wet ingredients are added last. (The traditional creaming method involves creaming the butter with sugars and then the remaining wet ingredients first, and mixing in the dry ingredients last). This creaming method produces a
more even crumb and velvety texture for some cakes, including this one! - The other major impact comes from blooming the cocoa powder. Blooming the cocoa powder darkens the color and brings out
rich cocoa flavor. To bloom cocoa powder in this recipe, cocoa is whisked over low heat with the butter and a little water until the cocoa is dissolved. It only takes a minute or two but the results are quite noticeable!
I made this cake with and without blooming the cocoa and using both creaming methods. The cake itself turned out similarly but the recipe using reverse creaming and bloomed cocoa powder had a darker, richer color, a bolder cocoa flavor, and the perfectly sturdy texture!
Making the Cake
Step 1: Mix the dry ingredients together in the mixing bowl.
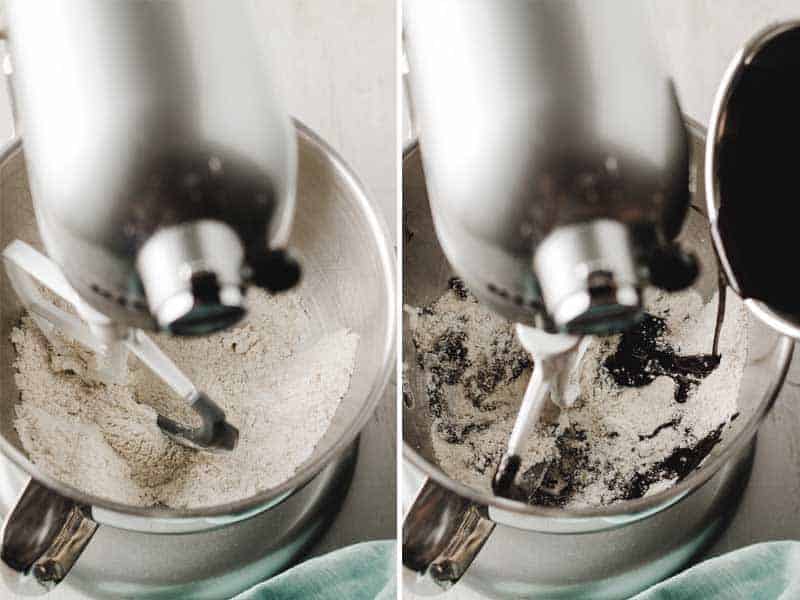
Step 2: In a small saucepan, combine butter, water, and cocoa powder. Whisk over low heat until cocoa is dissolved. Drizzle that cocoa mixture into the dry ingredients, mixing until just combined.
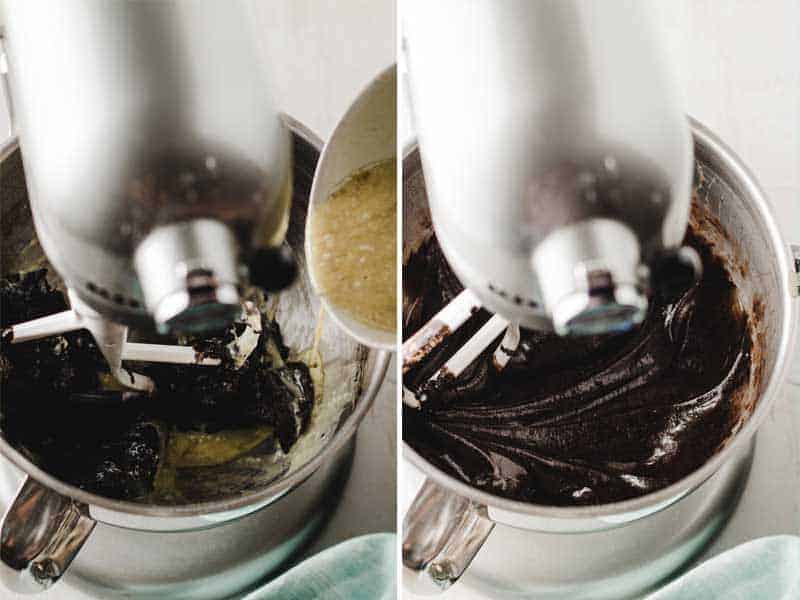
Step 3: Drizzle in the whisked wet ingredients and mix well until just combined.
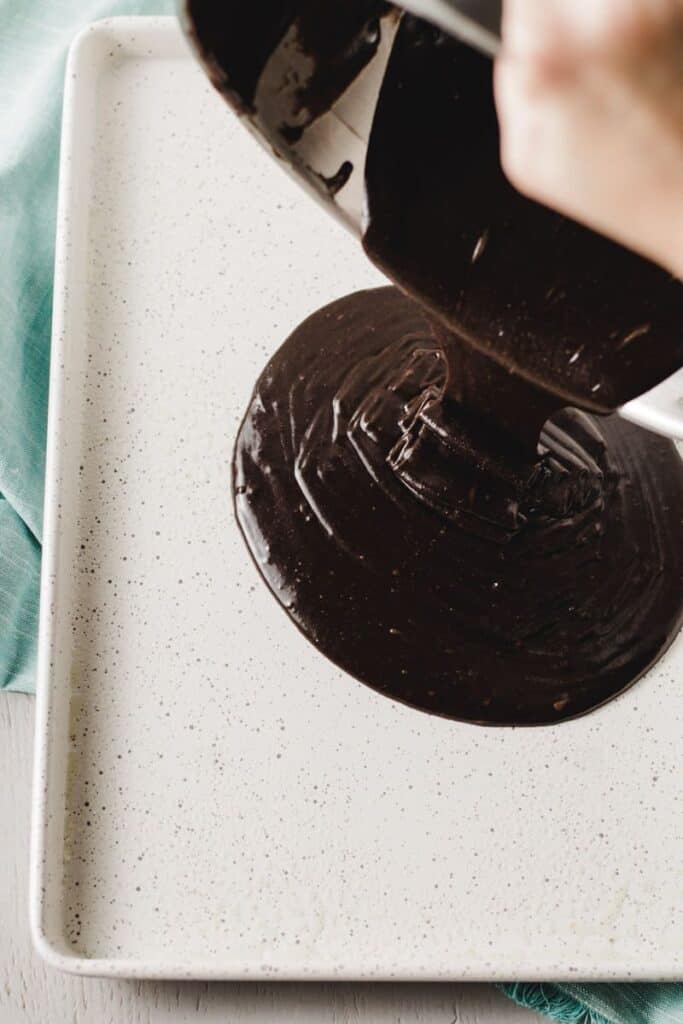
Step 4: Pour the batter into a greased sheet pan and bake!
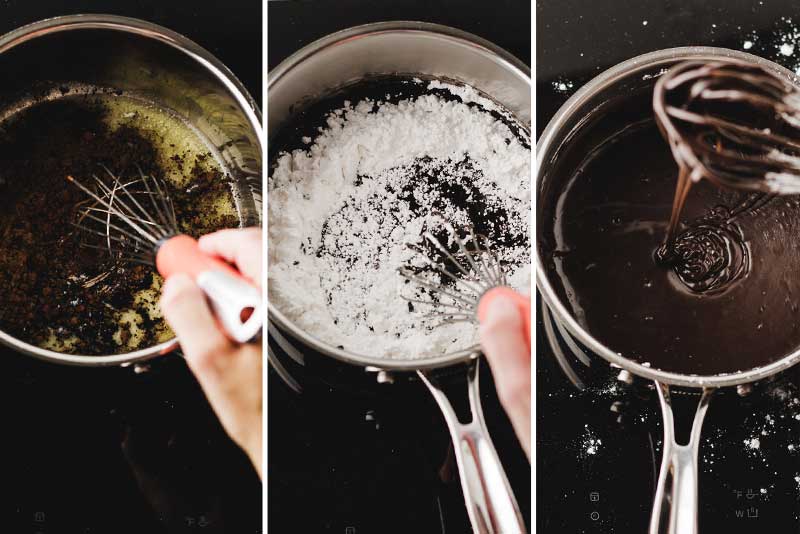
Step 5: As soon as the cake comes out of the oven, it's time to make the icing. (You may find it helpful to measure out the ingredients while the cake is baking.) Melt the butter in a saucepan, then whisk in the cocoa powder, milk, and vanilla. After that, gradually whisk in the powdered sugar. Whisk over low heat until the powdered sugar is dissolved.
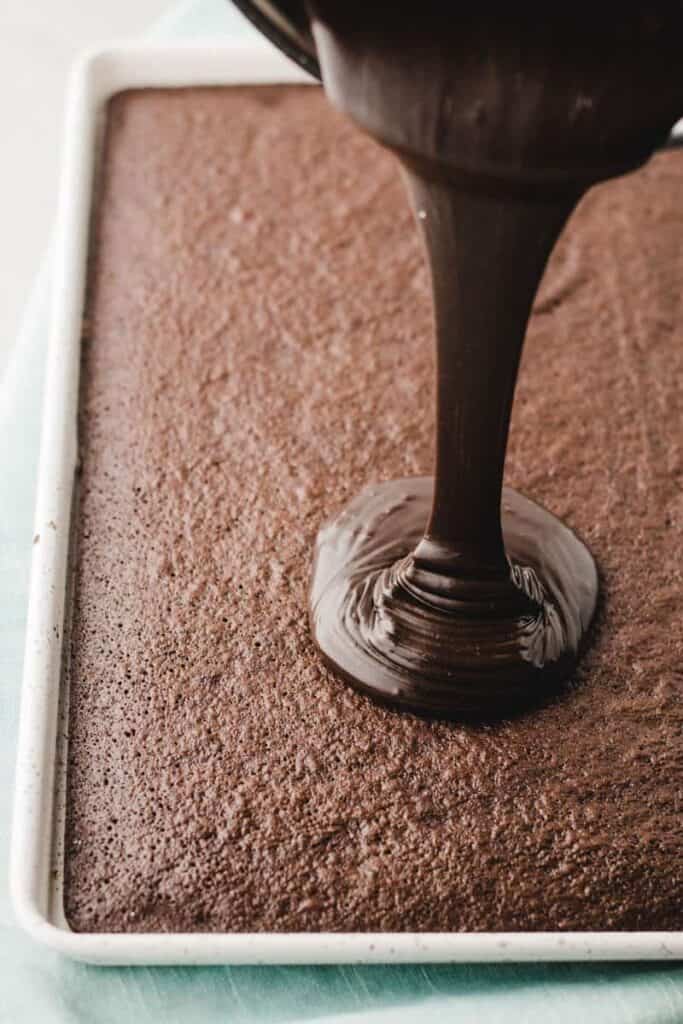
Step 6: While the cake is still warm, pour the icing over the cake, working quickly to spread it in an even layer over the entire cake. Let the cake cool completely before slicing.
FAQ & Helpful Tips
- Does this cake need to be refrigerated? No! You can surely pop it in the refrigerator to cool and set the icing more quickly, but I would recommend storing the cake tightly wrapped at room temperature.
- How long will it last? This is what I loved most about this cake. It stays fresh for days... DAYS. You can keep it at room temperature for at least 4 days if tightly wrapped and it will still be just as good as the day it was baked. It's truly amazing, especially for a gluten-free cake, which tends to dry out more quickly than traditional baked goods.
- What size pan should I use for this cake? Use a short-rimmed 9x13-inch pan or 10x15-inch pan for this recipe. If you want a traditional, large-sized Texas Sheet Cake, double the recipe and use a 13 X 18-inch or 12 x 17-inch pan.
- Why did the icing crack? Work very quickly to spread the icing! It begins to set rather quickly after leaving the warm saucepan. Sometimes just moving the cake causes a crack after it sets. That's ok and somewhat unpreventable. Take heart, it is ok if the icing isn't perfect, it will still taste amazing!
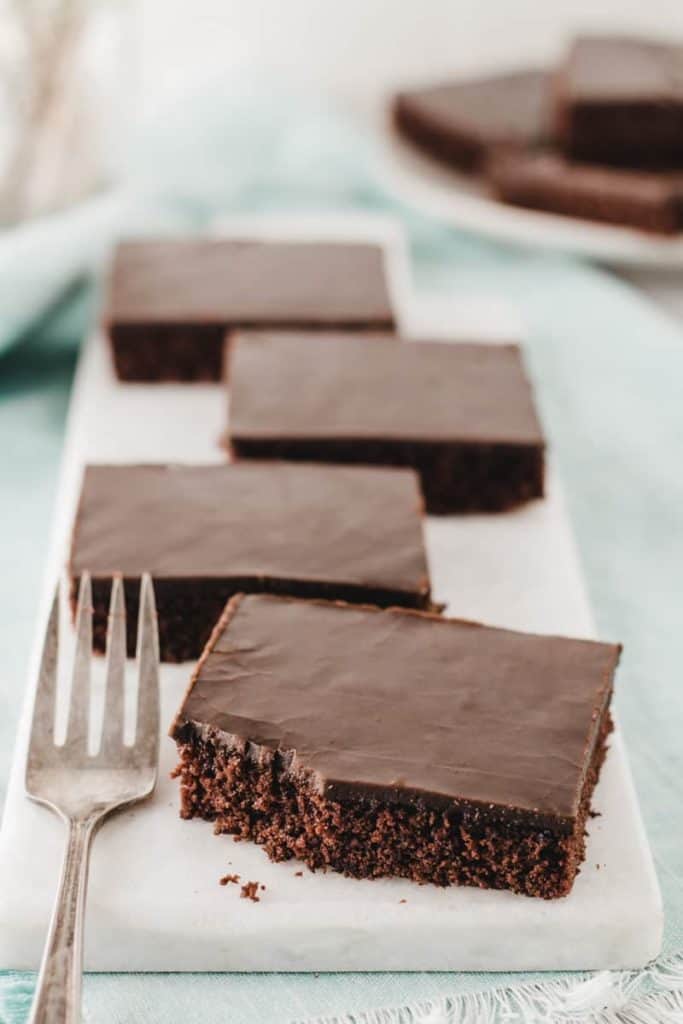
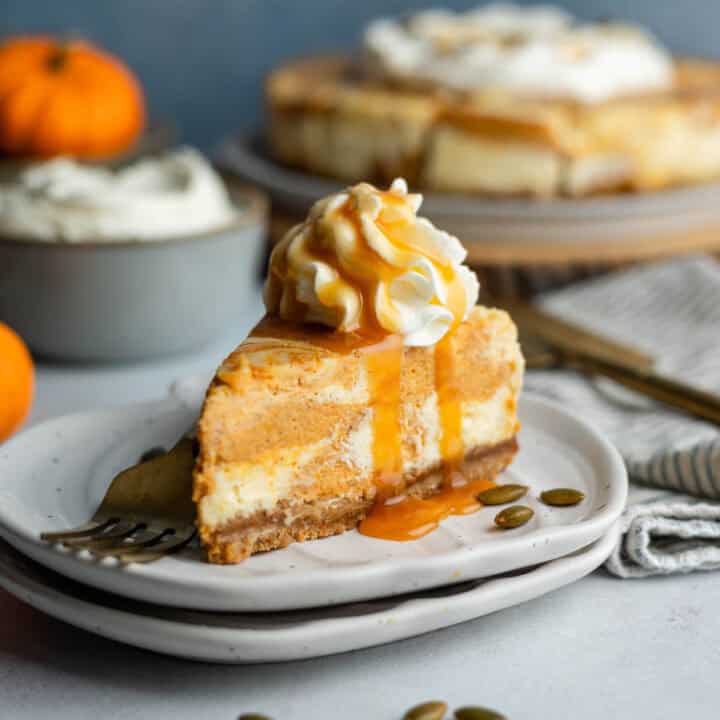
If you liked this recipe check out these Frosted Gluten-Free Pumpkin Bars, another potluck crowd-pleaser that can be eaten with or without a fork!
Recipe
Gluten-free Texas Sheet Cake
Ingredients
- 1 Cup Pamela's Gluten-free All-purpose Flour, , also tested with Namaste Perfect Flour Blend
- ¾ Cup Sugar
- ¼ Cup Brown Sugar
- ½ teaspoon Baking soda
- ¼ teaspoon Salt
- ¼ teaspoon Cinnamon
- ¼ Cup Buttermilk
- ½ teaspoon Vanilla
- 2 Eggs
- ½ Cup Butter
- 2 Tablespoons Cocoa Powder
- ¼ Cup Water
Icing Ingredients
- ¼ Cup Butter
- 2 Tablespoons Cocoa Powder
- ¼ Cup Milk
- ½ teaspoon Vanilla
- 3 Cups Powdered Sugar, sifted
Instructions
Make the Cake
- Heat oven to 375°F. Grease a 9x13 or 10x15 inch rimmed sheet pan.
- Whisk the flour, sugar, brown sugar, baking soda, salt, and cinnamon together in a large mixing bowl.
- In a separate bowl, whisk the buttermilk, vanilla, and eggs together.
- In a small saucepan over medium heat, whisk the butter, cocoa powder, and water together just until the butter is melted and cocoa powder is dissolved. Remove from heat.
- With the mixer on low, drizzle the cocoa mixture into the dry ingredients and continue to blend until just combined.
- Then pour in the wet ingredients and continue to mix until just combined. Scrape down the bowl as needed. Take care not to overmix the batter.
- Pour the cake batter into the greased sheet pan.*
- Bake for 15-17 minutes or until toothpick inserted in center comes out clean. Remove from oven and set on a cooling rack. Immediately make the icing.
Make the Icing
- Melt the butter in a small saucepan over medium-low heat. Whisk in the cocoa powder, milk, and vanilla. Slowly incorporate the powdered sugar, whisking until combined.
- By this time, the cake should have cooled for about 5-10 minutes but still be warm, pour the icing over the cake and work quickly to spread it evenly. Cool completely before serving.
Notes
Nutrition
* Nutritional information is provided as a courtesy and should be used as an estimate only. See the nutrition policy for more information.



Nicci says
This was amazing!! I made it with KAF 1-1 and you would never know it was gluten free! This cake has earned a spot in the dessert rotation at our house. Thank you for another delicious recipe!!
Katie Olesen says
Love hearing this! I am glad you enjoyed it!
Jodi says
Made this gluten free cake this morning. I came to a halt when the 3 cups of powdered sugar was recommended for the frosting. Way way too sweet and truly a glucose riser that’s for sure I want to taste chocolate not sugar. I did it with 1.5 cups of powdered sugar quite sufficient I may cut that back next time to 1 1/4 cups of powdered sugar.
Katie | Wheat by the Wayside says
Glad you were able to modify to suit your tastes, Jodi. 🙂
Judy Henderson says
I tried the recipe and I love it. I used Bob's Red Mill 1to1, baking flour, I love this flour, I use it for all my baking, even the non gluten free people can't tell if it is gluten free.
Katie | Wheat by the Wayside says
Glad you enjoyed the recipe, Judy! And happy to hear Bob's worked well, too!
Staci S. says
This cake has become a family favorite! We have made it several times over the last few years and it has turned out perfectly each time. Thank you for such great gf recipes!
Katie | Wheat by the Wayside says
So happy to hear that! Thanks for sharing!
Wanda says
I have no idea how anyone can rate this anything above 1 star. I followed the recipe to the letter and ended up with a very thin batter that was less than 1/4 of an inch high after it was poured into a 10 x 15 pan. It was a mess. I checked other recipes for a gluten free Texas Sheet Cake and found that all of them require about 2 cups of flour, compared to the 1 cup in this recipe. No wonder there was not enough batter to actually make a cake.
Katie | Wheat by the Wayside says
Hi Wanda,
The batter is supposed to be thin, as noted in the recipe. A texas sheet cake is not as thick as a regular cake is. The cake in the pictures was baked in a 10x15-inch pan and as you can see it bakes up to be about 1-inch thick or so. This recipe only calls for 1 cup of flour because it is a small batch recipe. It is about 1/2 of the size of a normal texas sheet cake recipe that would be baked in a regular-sized cookie sheet or sheet pan which measures, 13 X 18-inch or 12 x 17-inch, depending on your pan. If you happen to want to bake this cake in a regular-sized sheet pan, you need to double the recipe as noted in the recipe notes. I'm not sure if you tried baking the cake but if it didn't turn out, I would double-check the size of your pan, the type of flour you used, and the expiration dates on your baking soda. I've made this cake many, many times without fail. Many other readers have enjoyed this recipe as well.
Hope that clears up any confusion. Have a great day!
Debbie says
Can u make this into a log cake ?
Katie Olesen says
I have't tried this so I can't say for sure.
Tracy says
This cake is absolutely delicious!! It is true that no one would even know this is a gluten free recipe! The texture and flavor are perfect! This is definitely our new go to Birthday cake recipe from now on!! I made this 3 days ago and it just gets better each day!
Katie Olesen says
I’m so happy you enjoyed it!! ? Thanks for sharing! There’s nothing better than chocolate cake!
Lucinda says
Making this w pamalas flour is key. I’ve tried it twice w Namaste flour to have it turn into a ‘blob’ of batter that would not even spread on to the cookie sheet.
Choose your flour wisely.
Katie Olesen says
Sorry to hear that Lucinda. I’ve made it many times with Pamela’s and no issues. Since it was a recipe made in partnership with Pamela’s I didn’t test with other flours at the time. It sounds like maybe the batter with Namaste is turning out too thick. It was definitely a pourable consistency with Pamela’s.
Katie Olesen says
Lucinda, I wanted to touch base with you again after your troubles and let you know that I tested out the recipe with Namaste's Perfect Flour Blend. I really want my readers to have success with my recipes! I was unable to replicate your problem. The recipe worked as well for me as Pamela's did. The batter was very liquid and easily poured into the sheet pan, which is the consistency it should be. I am wondering if either some of the measurements were off in your initial attemps or if perhaps the batter was over-mixed causing the sweet rice flour in the Namaste blend to become gelatinous. I corrected the recipe instructions to reflect not to overmix the batter. If you have any other quetsions, feel free to reach out!
Suzanne says
This looks so good! What a great recipe when serving a crowd!
Christine says
Great recipe! The cake is moist and has a true cake like texture! I made it with special dark cocoa powder and it was just right. Thank you!!
Kathy says
This really is the best Texas Sheet Cake! No one will believe it's gluten free, unless you show them this recipe.