
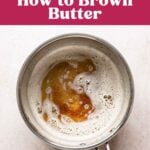
Brown butter is one of the easiest ways to add deep, rich flavor to a recipe. In just a few minutes, regular butter transforms into a toasty, nutty ingredient with rich caramel-like flavor.
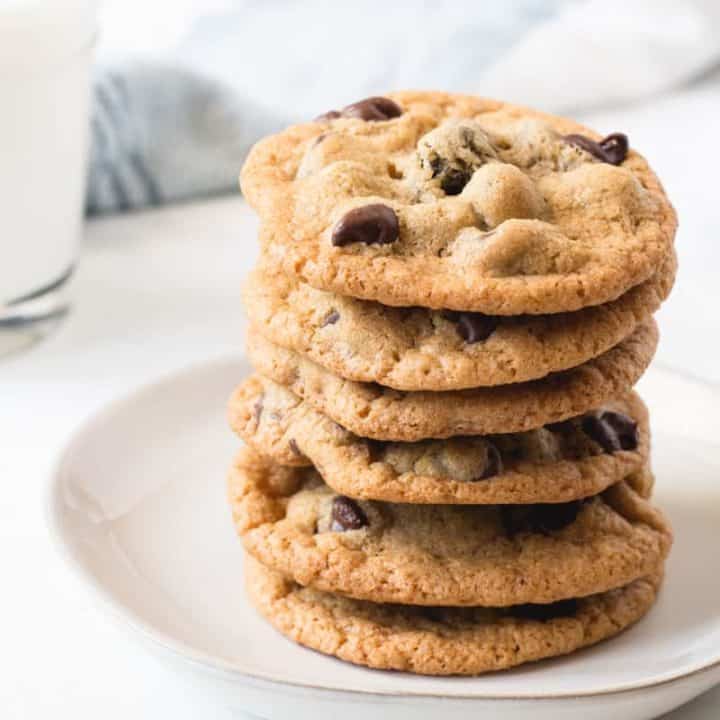
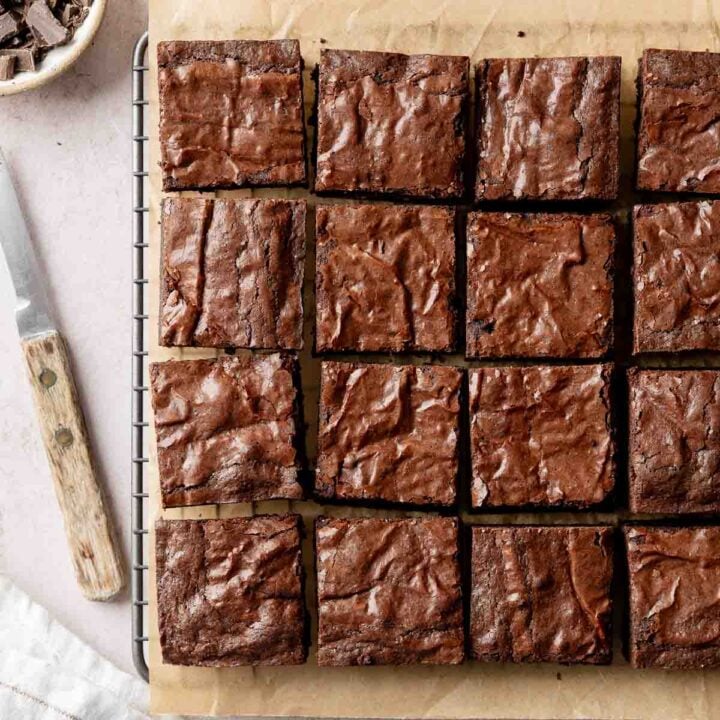
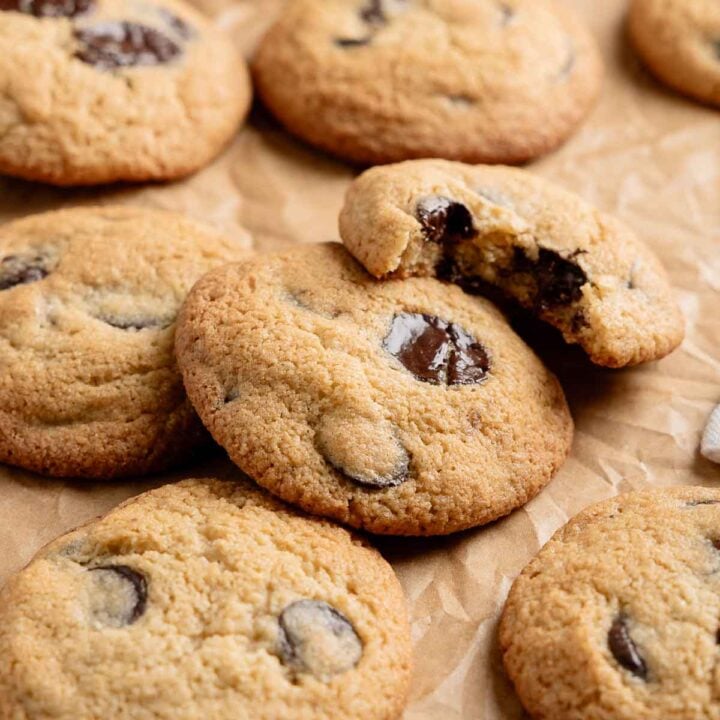
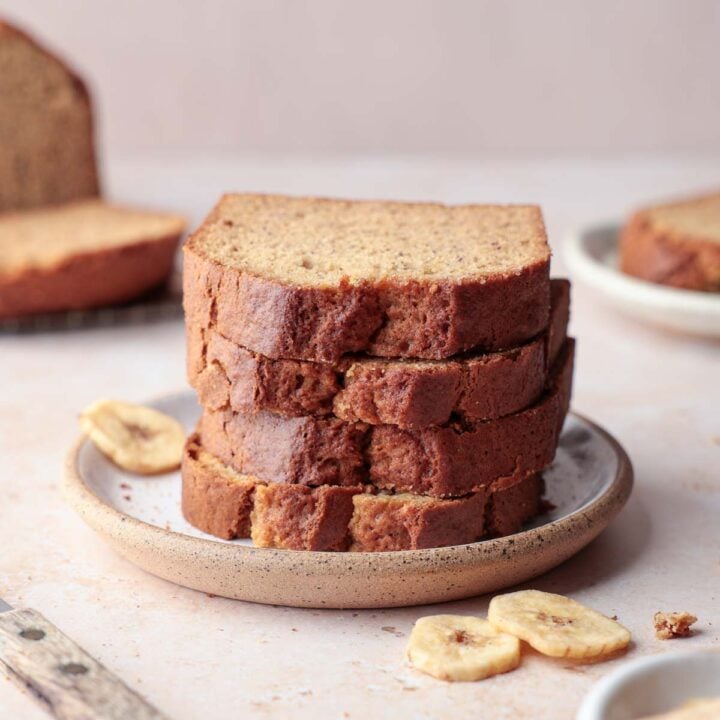
The first time I made it, I couldn't believe how simple it was or how much flavor it added, and now I want to add it to everything from my gluten-free blondies to pumpkin oatmeal cookies and savory recipes, too.
What Is Brown Butter?
Brown butter is butter that has been melted and toasted to develop a deep, nutty, caramel-like flavor.
When you think of butter, you probably think of it as one single ingredient, but butter is actually made up of fat, water, and milk solids. As butter melts, those parts begin to separate. The water cooks off while the milk solids sink to the bottom of the pan and begin to toast. Those toasted milk solids are what give brown butter its rich, nutty flavor.
In French pastry, brown butter is called beurre noisette, which literally translates to "hazelnut butter," named for its warm, nutty aroma.
What You'll Need
- Unsalted or Salted Butter: Most bakers prefer unsalted butter in their recipes. Whether salted or unsalted, be sure to cut the butter into pieces so it melts quickly and evenly.
- Light-Colored Saucepan: A light-colored pan helps you see the milk solids browning so you don't accidentally burn them.
- Heatproof Spatula, Whisk, or Wooden Spoon: Something to stir with to keep the butter moving. This prevents the butter from sticking and scorching to the bottom of the pan.
- Heat-Proof Bowl: To stop the cooking process and prevent burning, the butter is poured into a bowl after cooking.
How to Make Browned Butter
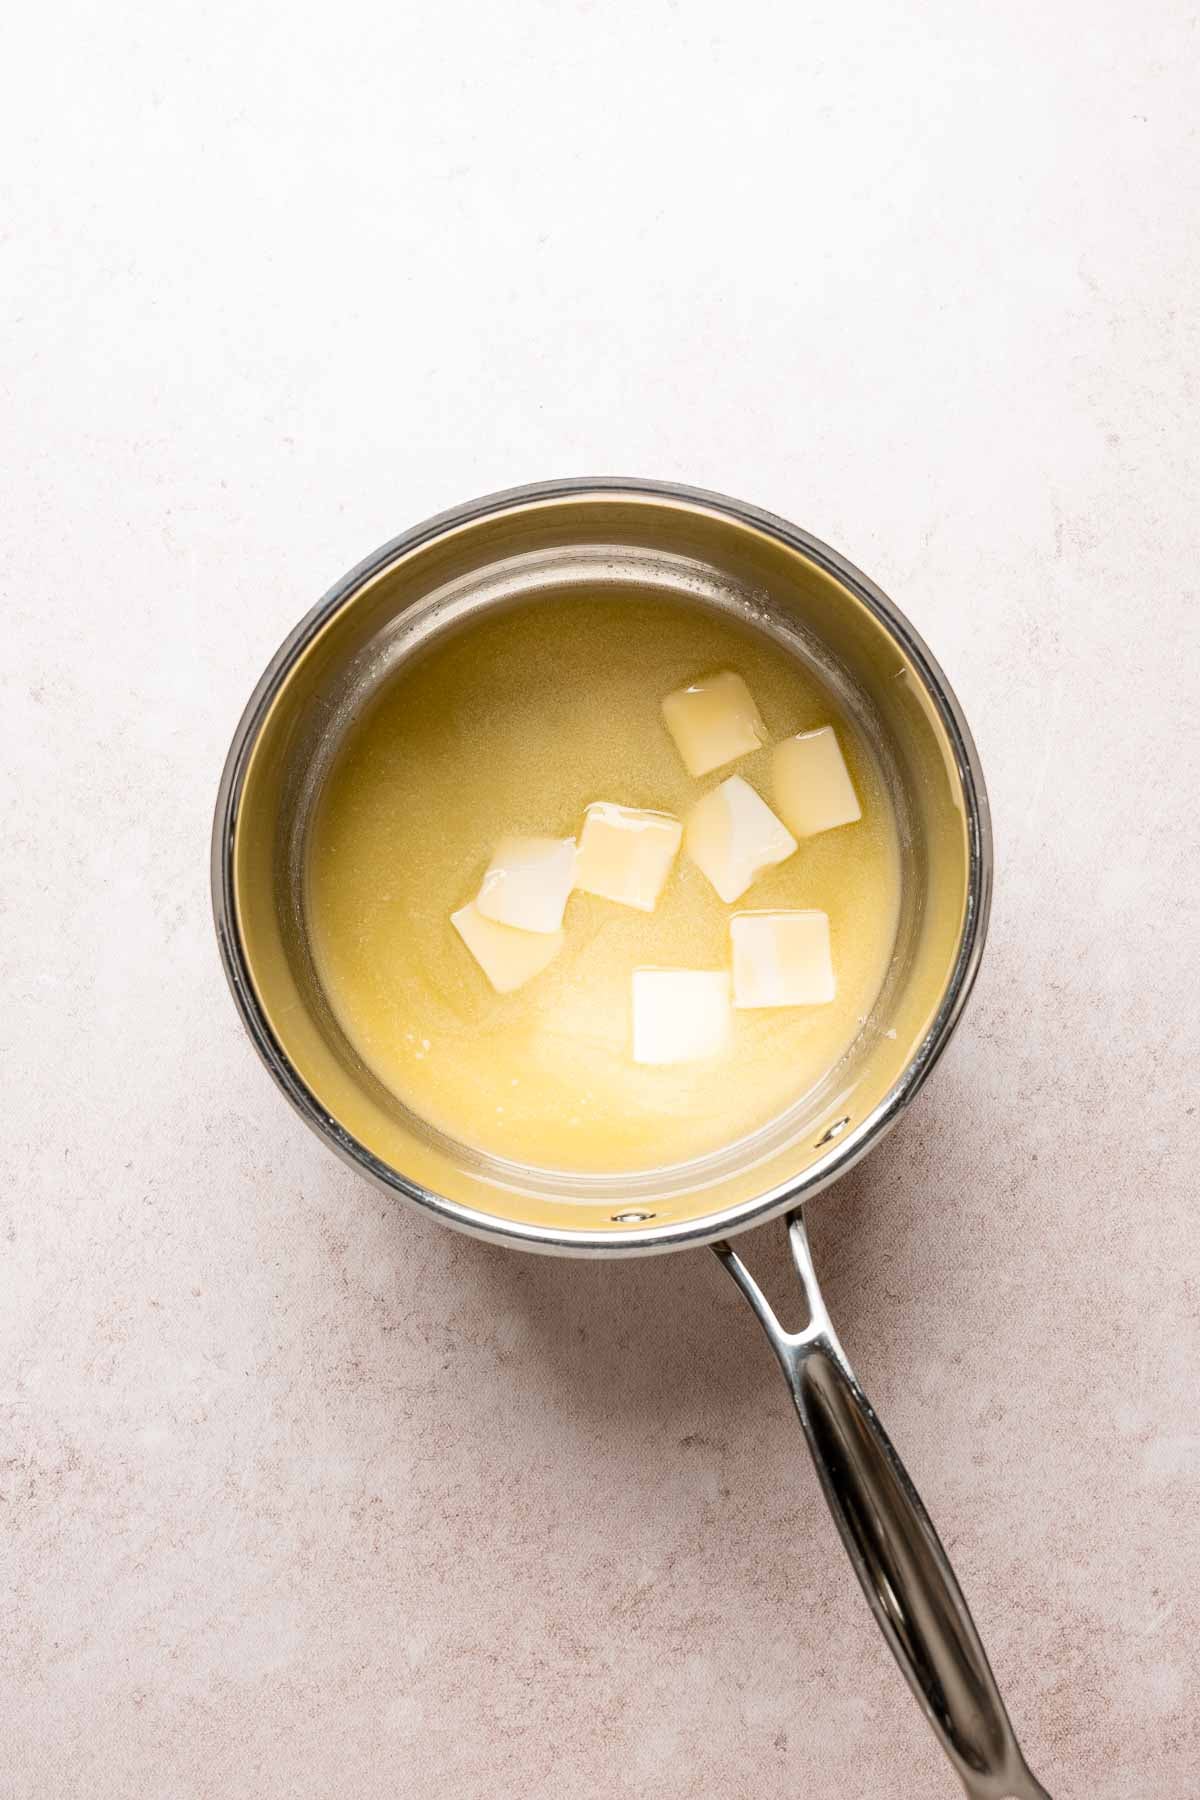
- Step 1: Place butter in a saucepan on the stove over medium heat. Stir the butter frequently to keep the mixture cooking evenly.
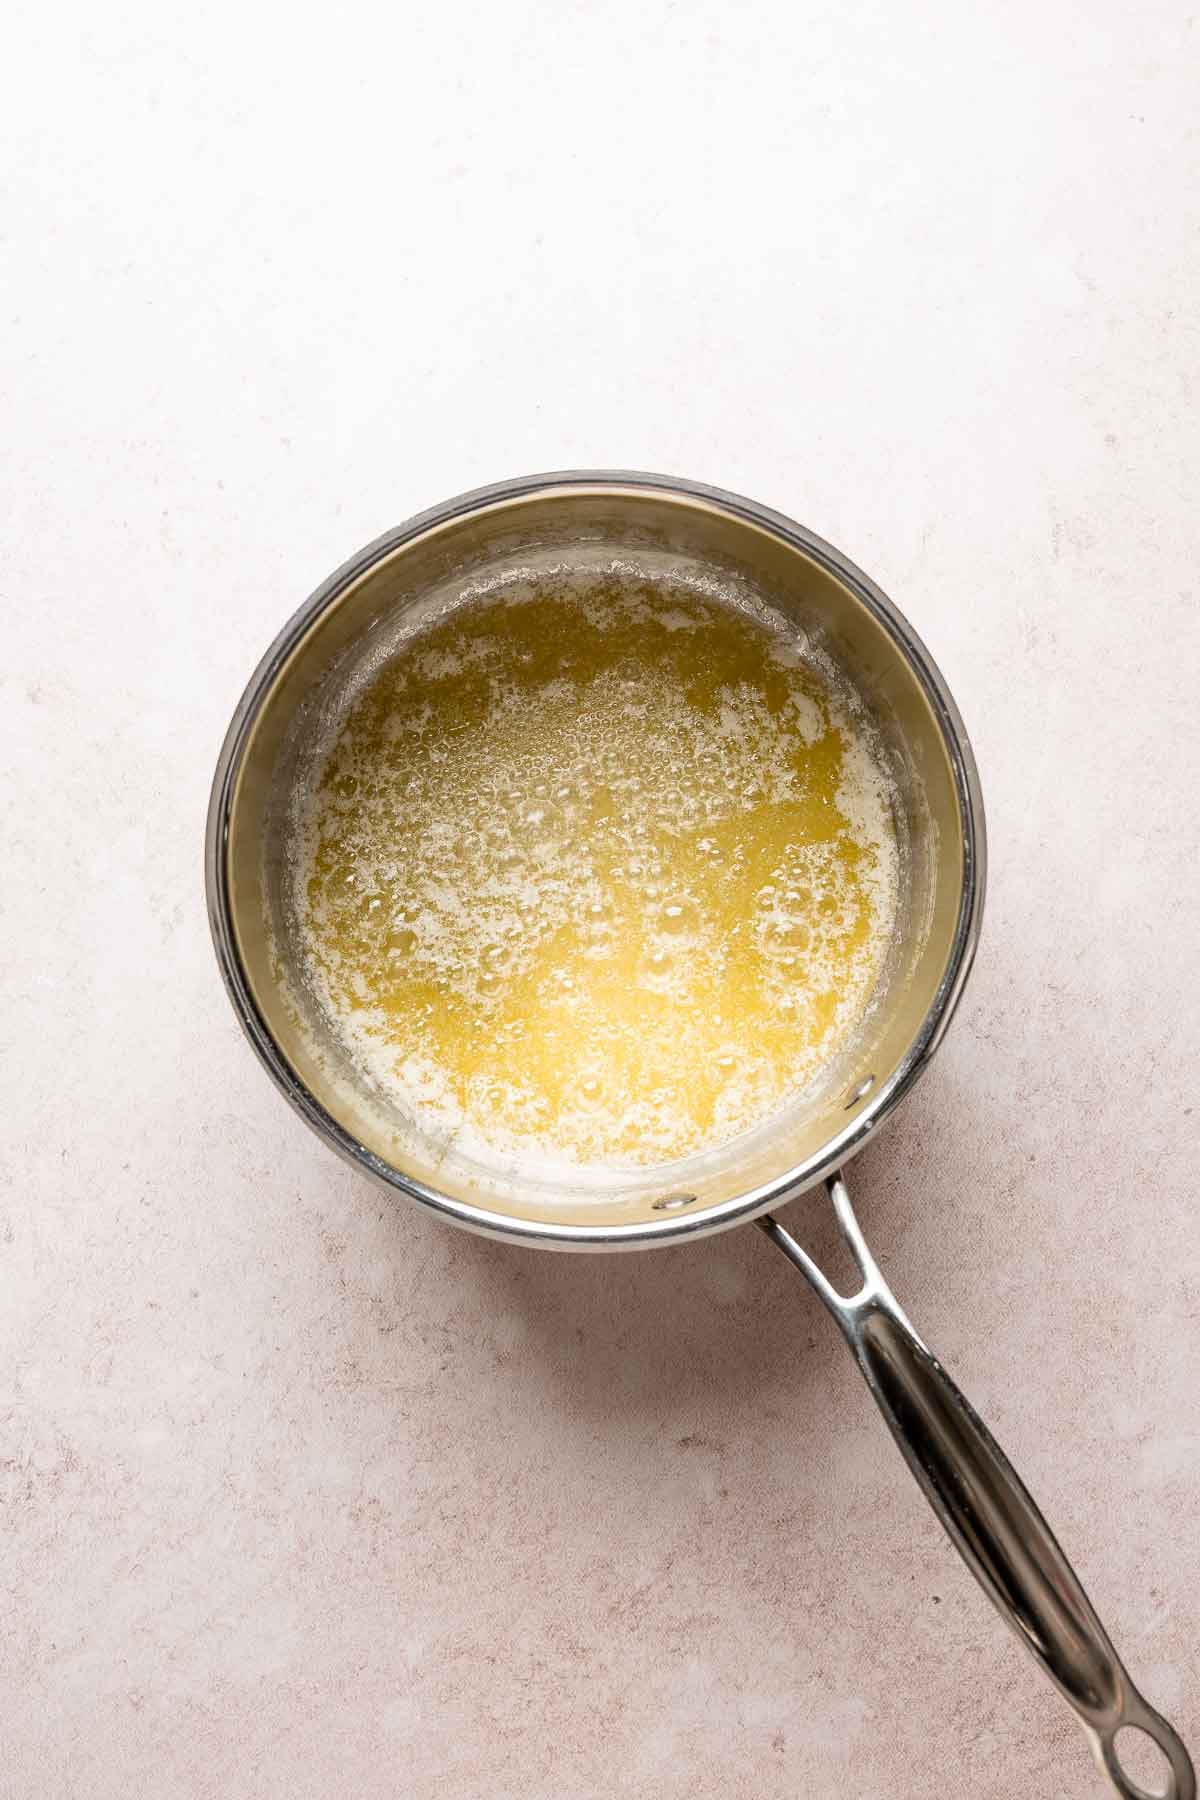
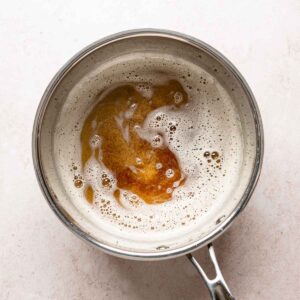
- Step 2: As the butter melts, you'll notice the white milk solids come to the surface and bubbles starting to form. You'll also start to hear popping sounds. This is the water evaporating and interacting with the fat.
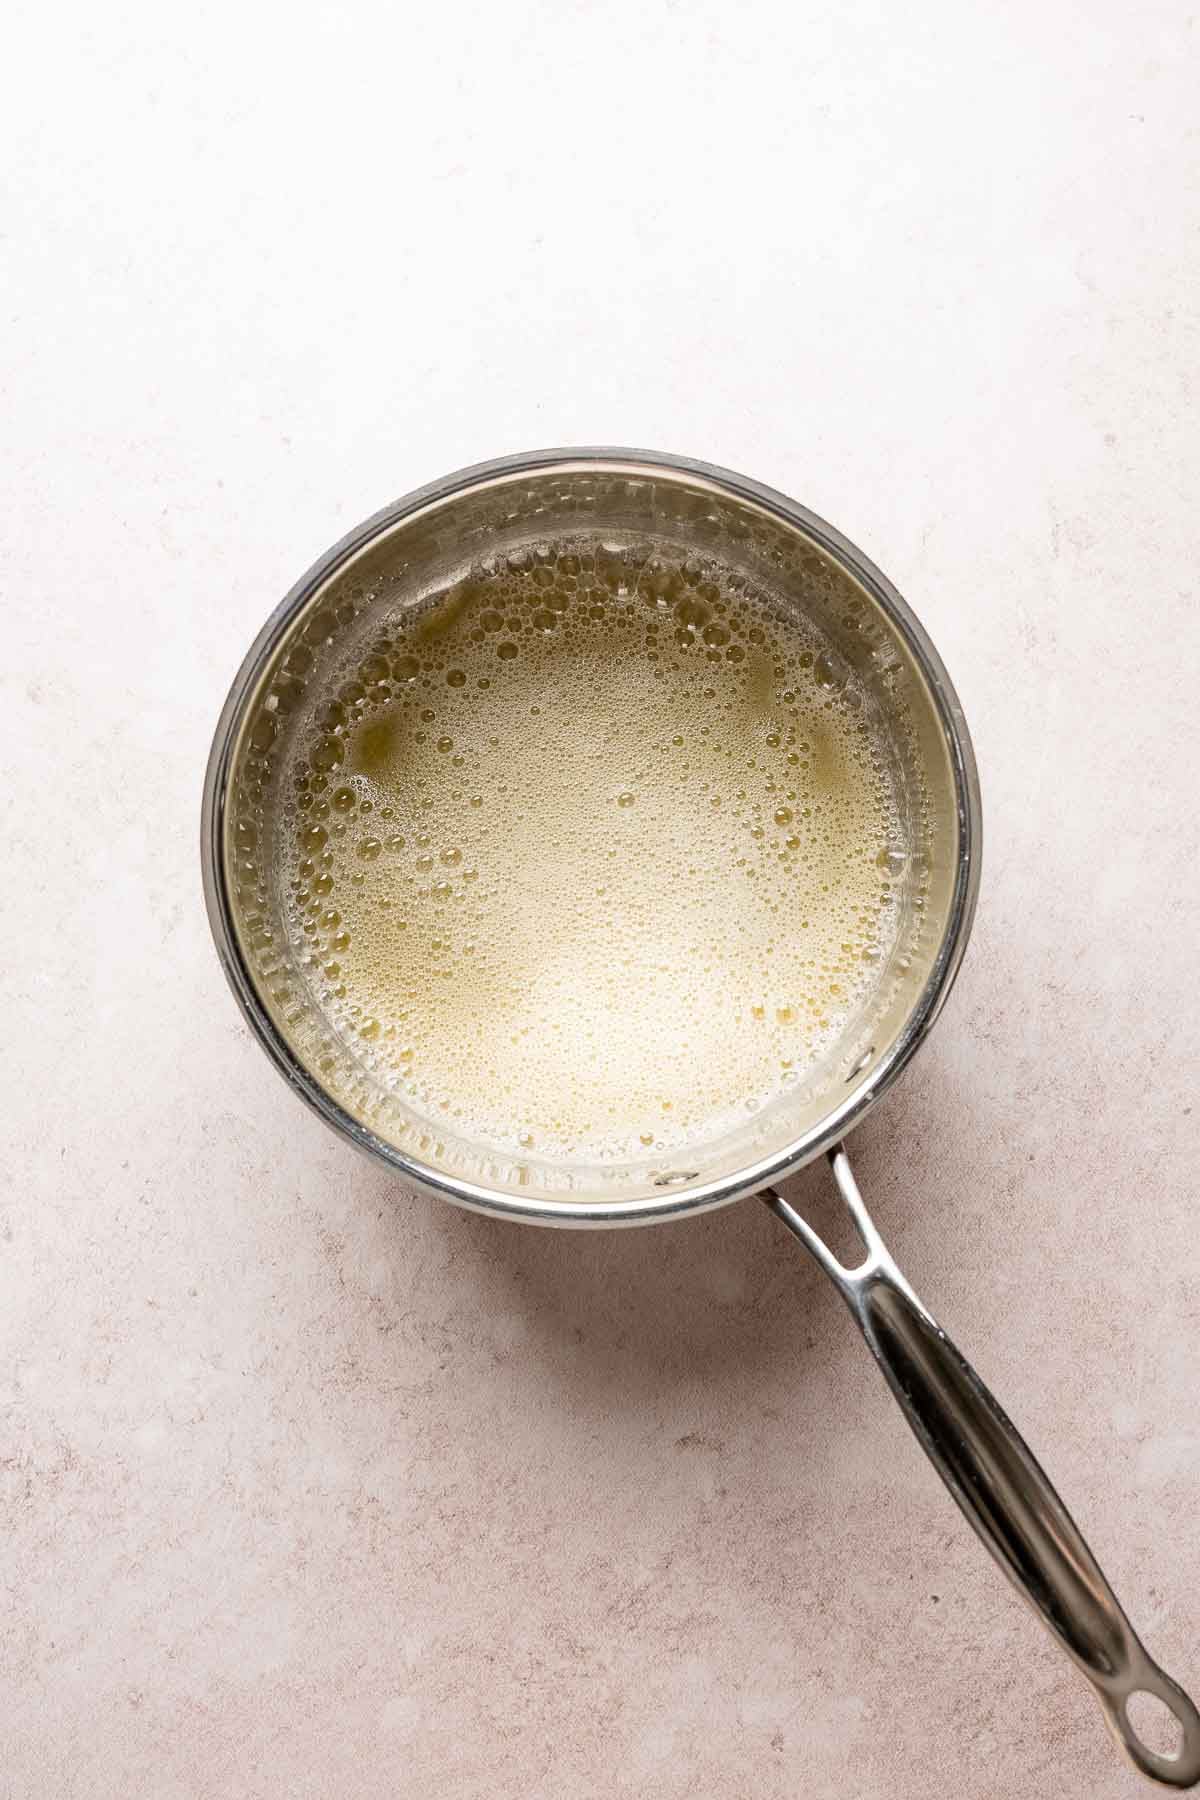
- Step 3: As the butter cooks, it will continue to bubble and spatter. At first, the popping will be loud and active. After a few minutes, it will begin to calm down and become foamy. This is a sign that most of the water has evaporated and it's almost finished.
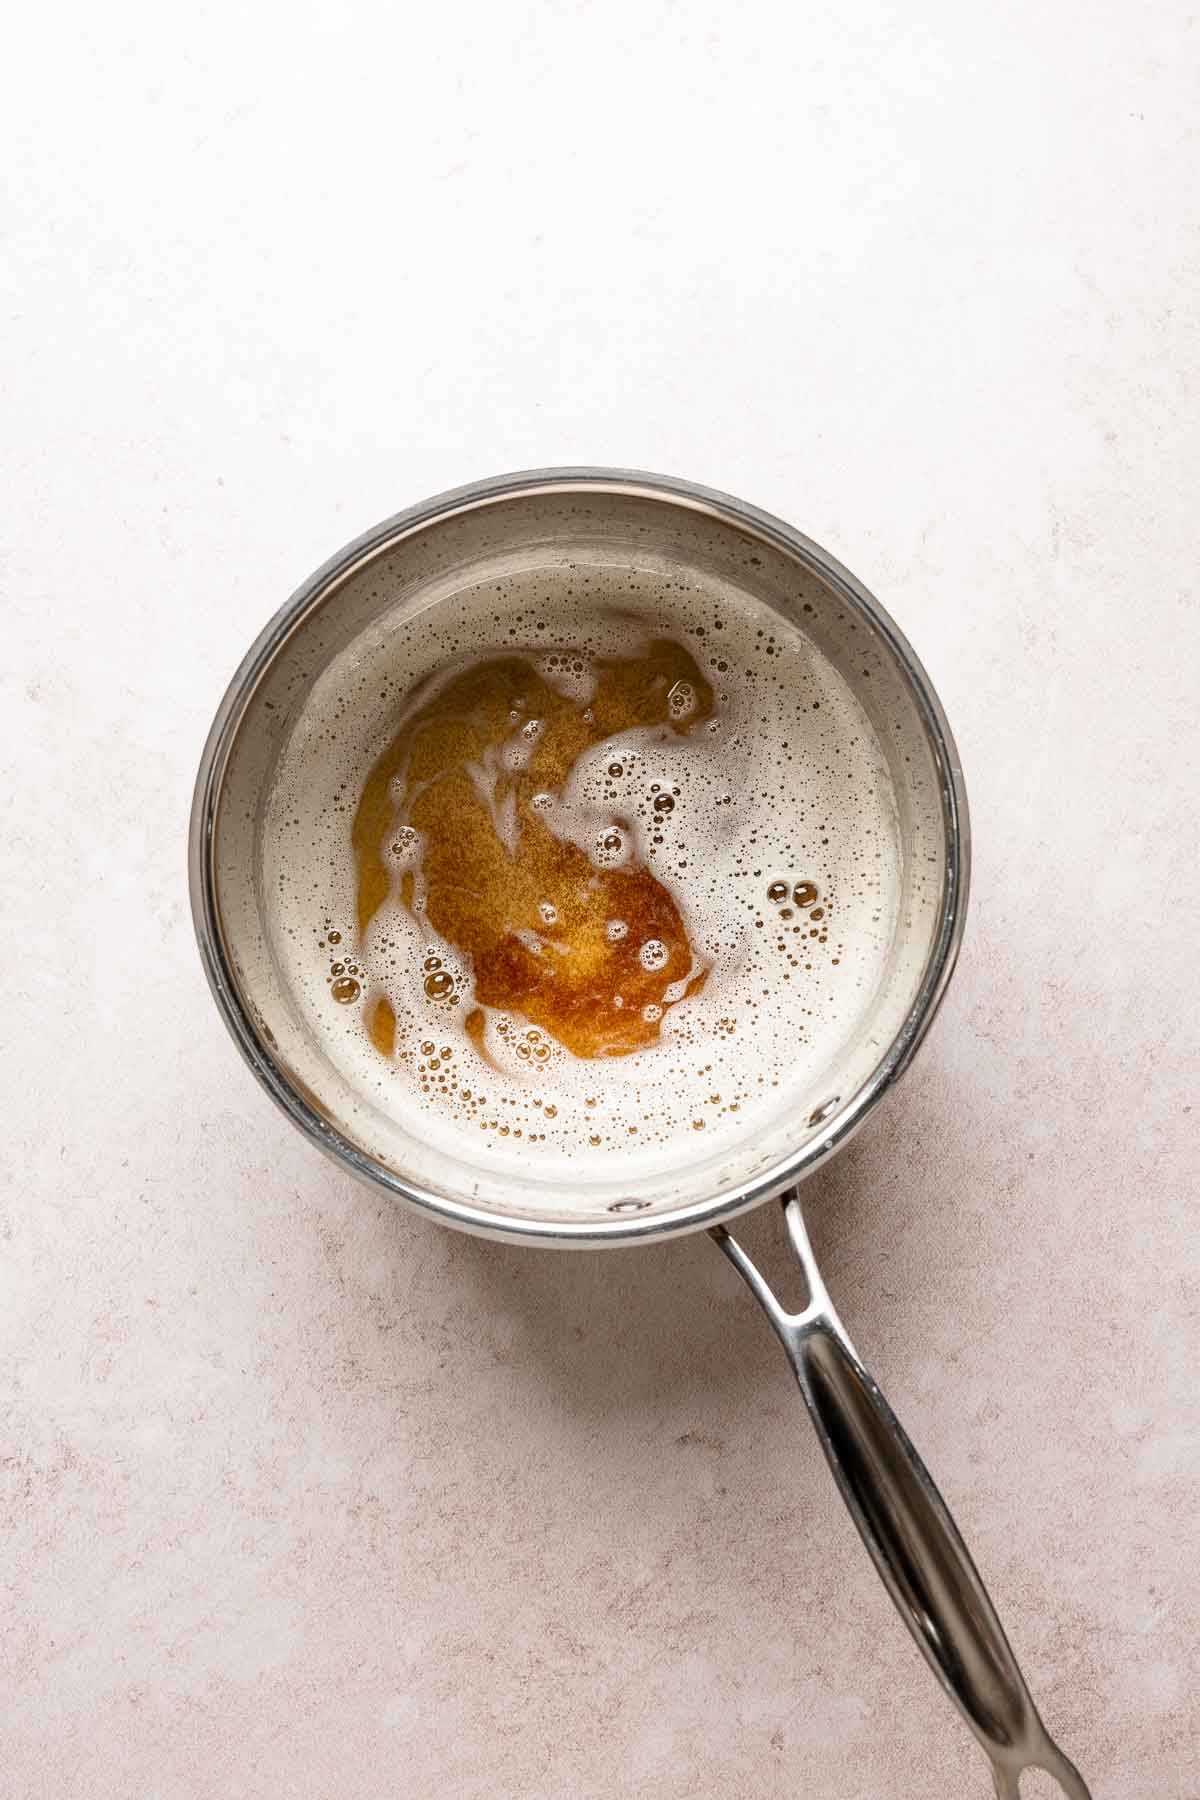
- Step 4: As the foam settles and the popping subsides, you'll start to see golden brown bits at the bottom of the pan. You may also notice a nutty aroma.
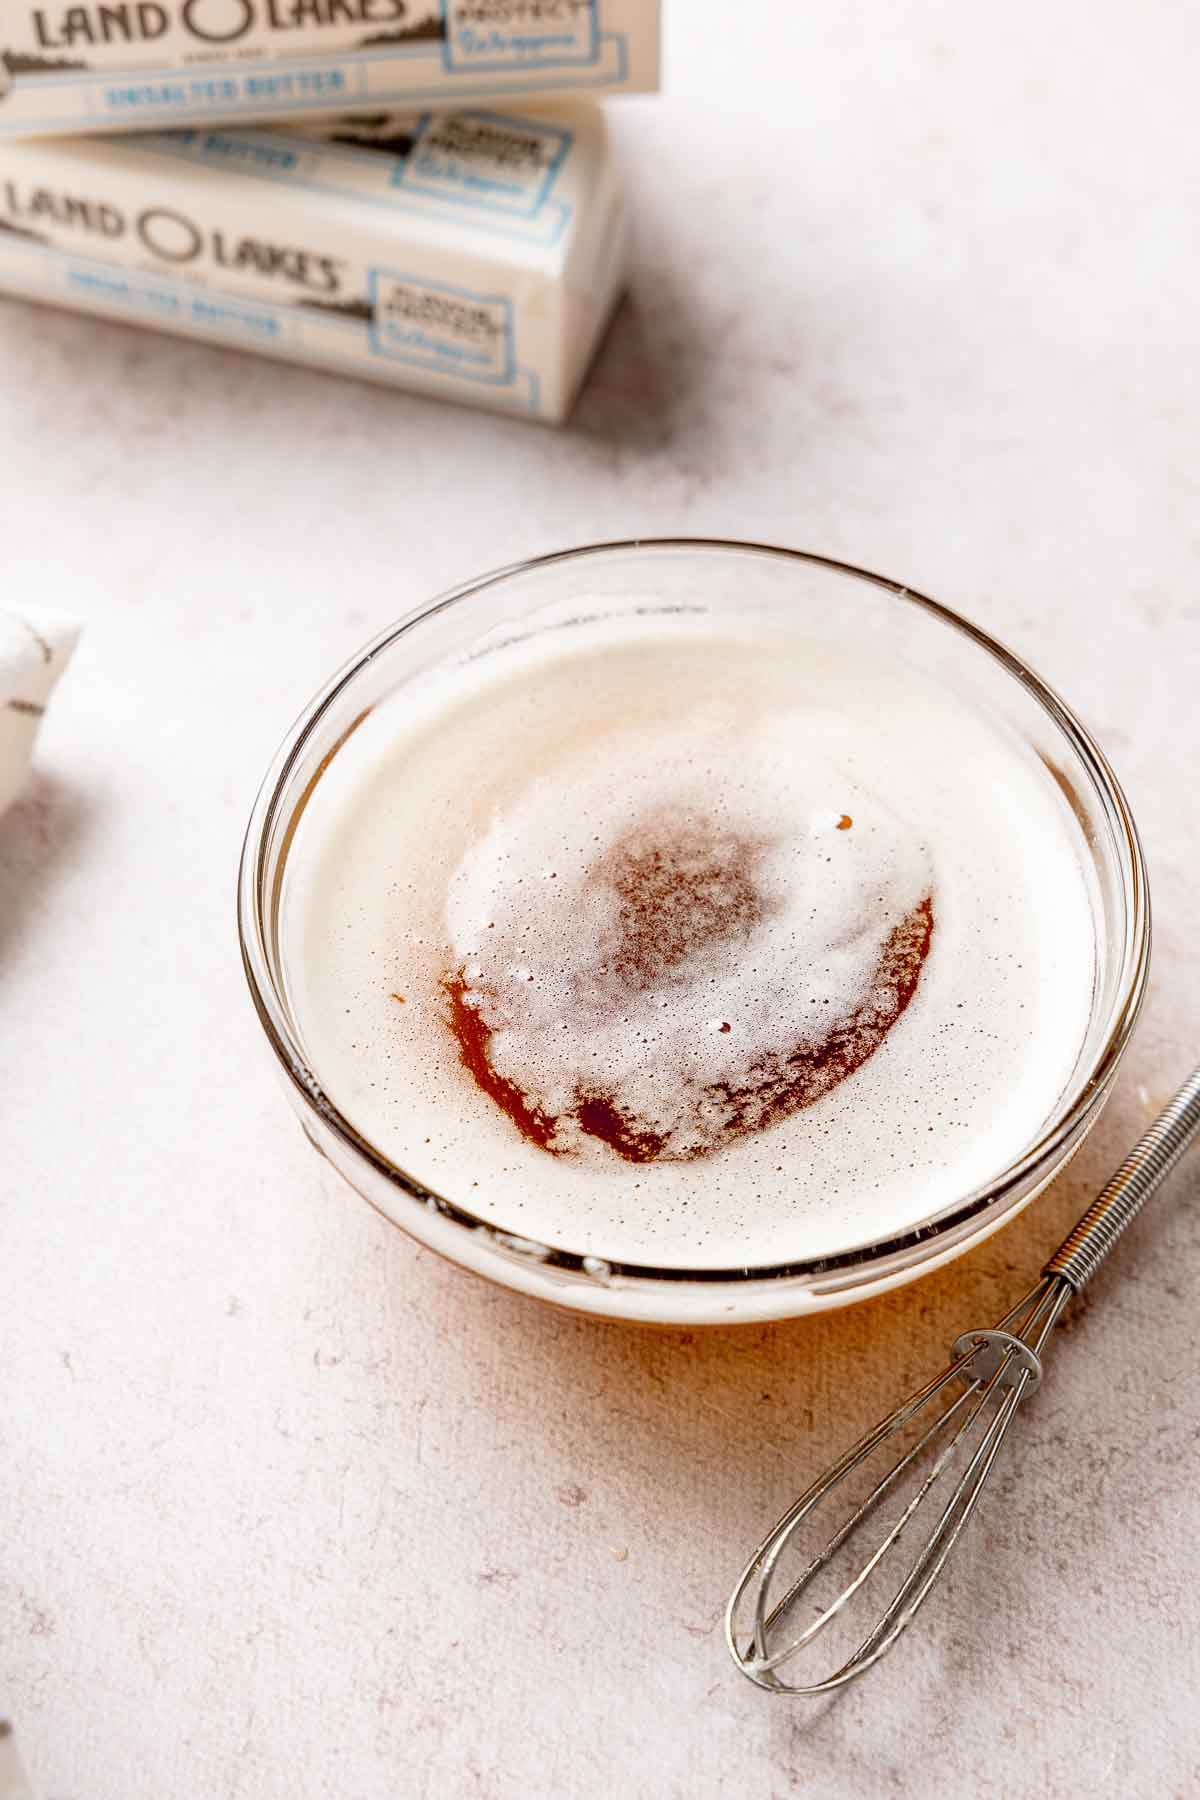
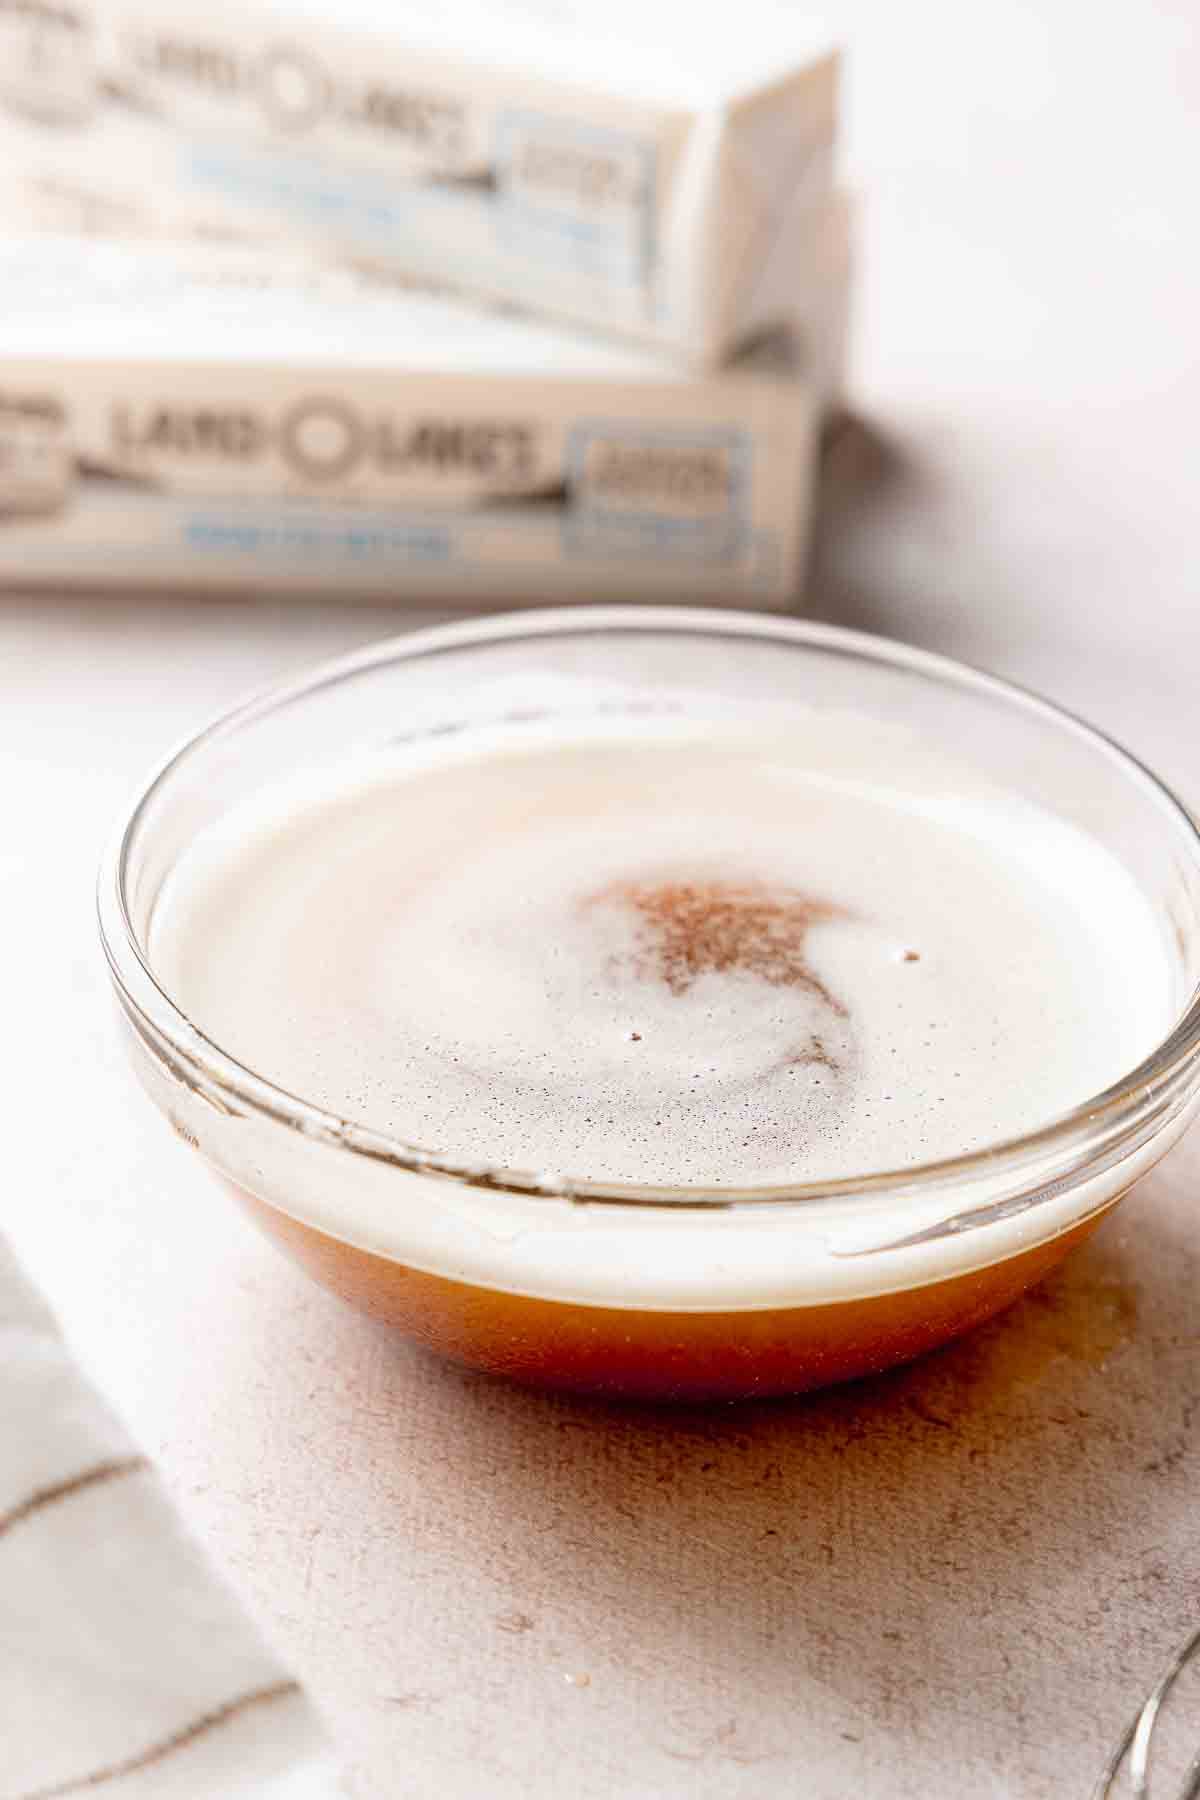
As soon as the milk solids turn amber brown, remove the pan from the heat and pour the butter into a heatproof bowl to stop the cooking process.
Katie's Recipe Tips!
- Pay attention and work quickly. The butter can go from brown butter to burnt butter very easily.
- Keep the butter moving to prevent the solids from scorching to the bottom of the pan.
- Pull the pan on/off the heat as needed to control the temperature and speed of browning.
- The sizzling may not completely subside before your butter is done, but the sounds will change and decrease significantly.
- Keep an eye on the color. When the solids are a deep amber brown, remove from heat.
Save This Recipe!
How Long Does It Take?
The whole process takes about 5-8 minutes depending on how much butter you're browning and the size of your pan. It will brown more quickly in a larger pan.
Can You Substitute Brown Butter for Regular Butter?
Brown butter is not a direct one-to-one substitute for regular butter in baking.
As the butter browns, water evaporates. This leaves you with less total moisture and slightly less overall volume than the original butter you started with. Depending on the recipe, that moisture loss can affect texture, spread, and overall structure.
Recipes specifically developed with brown butter already account for this change. But if you are converting a recipe yourself, you may need to add a small amount of liquid back into the recipe to replace the lost moisture.
The easiest way to do this is to weigh the butter after browning it and compare it to the original weight.
- 1 stick butter = ½ cup = 113 grams
- 2 sticks butter = 1 cup = 226 grams
You can replace the amount lost with an equal amount of milk or water.
Can You Make Brown Butter Ahead of Time?
You can make brown butter ahead and either refrigerate or freeze it until you need it. Reheat it gently or let it soften at room temperature depending on the recipe.
- Refrigerator: Store in an airtight container in the fridge for up to 1 week.
- Freezer: Freeze in an airtight container for up to 3 months.
Recipe
Brown Butter
Equipment
- Light-Colored Sauce Pan
- Wooden Spoon or Whisk
- Heat-Proof Bowl
Ingredients
- 1 cup unsalted butter
Instructions
- Cut the butter into tablespoon-sized pieces and place it in a light-colored saucepan over medium heat. Allow the butter to melt completely.
- As the butter continues to heat, it will begin to sizzle and pop as the water evaporates. Stir frequently to prevent the milk solids from sticking to the bottom of the pan and scorching.
- After several minutes, the bubbling and popping will begin to slow and the butter will start to foam. Continue stirring and watch closely for golden brown specks forming at the bottom of the pan.
- Once the milk solids are golden brown and the butter smells nutty and toasted, immediately remove the pan from the heat and pour the butter into a heatproof bowl to stop the cooking process.
- Use the brown butter as directed in your recipe.
Notes
- A light-colored pan makes it easier to monitor the milk solids and prevent burning.
- Keep a close eye on the butter. It can go from perfectly toasted to burnt very quickly near the end of cooking.
- Brown butter can be used immediately, cooled, or refrigerated depending on the recipe.
- Store brown butter in an airtight container in the refrigerator for up to 1 week.
- Reheat gently or allow it to soften before using.
Save This Recipe!
Estimated Nutrition
* Nutritional information is provided as a courtesy and should be used as an estimate only. See the nutrition policy for more information.
Comments
No Comments