
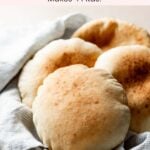
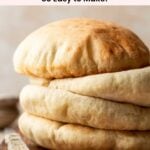
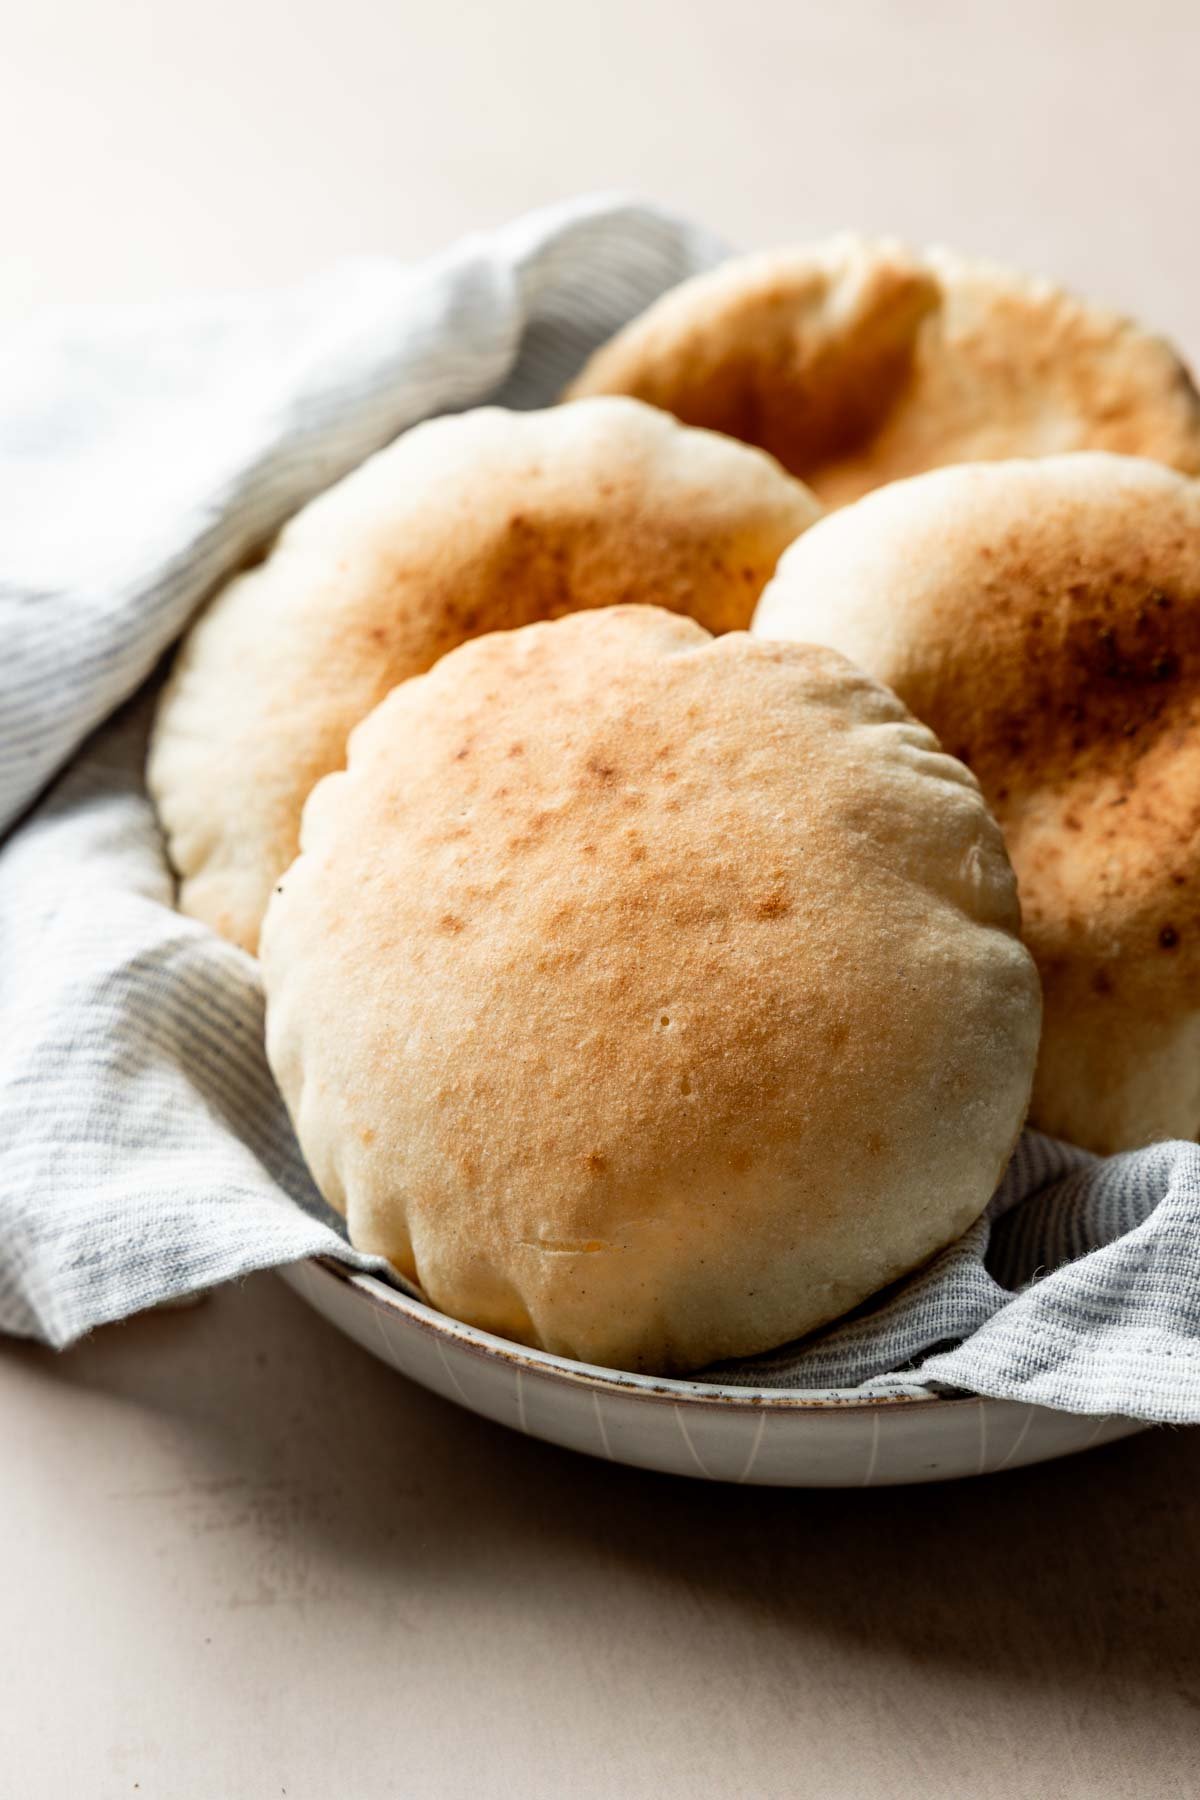
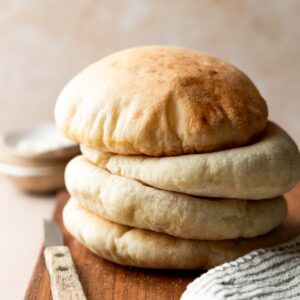
Make soft and chewy gluten-free pita bread that actually puffs! This easy recipe uses Caputo Fioreglut with a little brown rice and sorghum flour for amazing texture and real pockets. It bakes beautifully in either a hot oven or an Ooni pizza oven and makes just four pitas-perfect for small batch baking.
Katie's Recipe Notes
This homemade pita bread recipe started as a happy accident. I had a bit of leftover dough from making gluten-free pizza in the Ooni, and tossed it into the pizza oven. To my surprise, it puffed up into a perfect pita!
That moment sparked a whole series of tests to create the perfect pita bread recipe-one that's easy, reliable, and produces real pockets every time!
Recipe Ingredient Notes
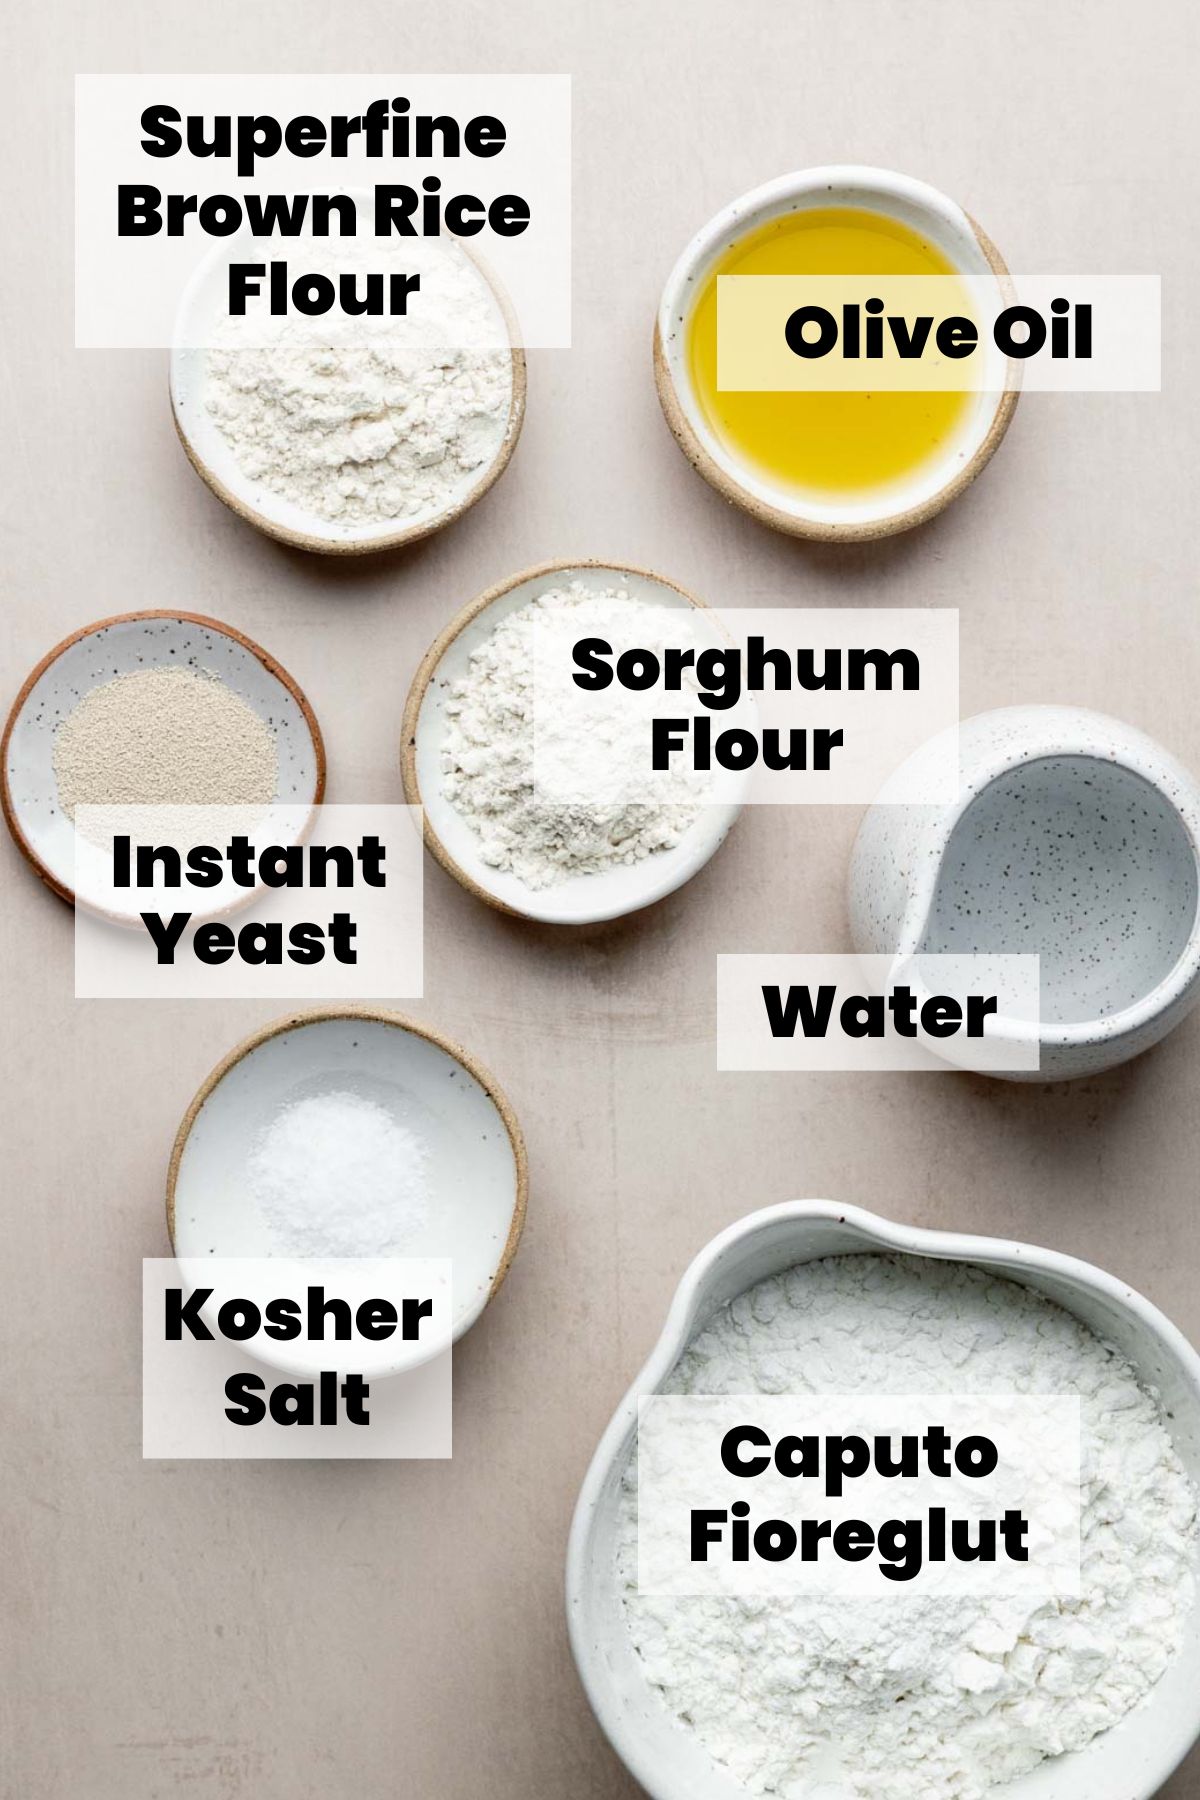
- Caputo Fioreglut: This is the only gluten-free flour blend recommended for this recipe. No other blend will give you the same results. Please note-it does contain gluten-free wheat starch.
- Superfine Brown Rice Flour and Sorghum Flour: I love adding a bit of whole grain flours to certain Caputo Fioreglut recipes, like my gluten-free Detroit pizza-it adds a hearty texture and flavor to the pita bread.
- Instant Yeast: Also labeled as RapidRise or Bread Machine yeast, this yeast can be mixed directly into the flour and does not need to be dissolved first.
*Refer to the recipe card below for exact measurements.

Get the Goods!
Caputo Fioreglut
I recommend you buy Caputo Fioreglut from Brick Oven Baker. They have great prices and you can use code: KATIE for 10% off your first order!
How to Make Gluten-Free Pita Bread
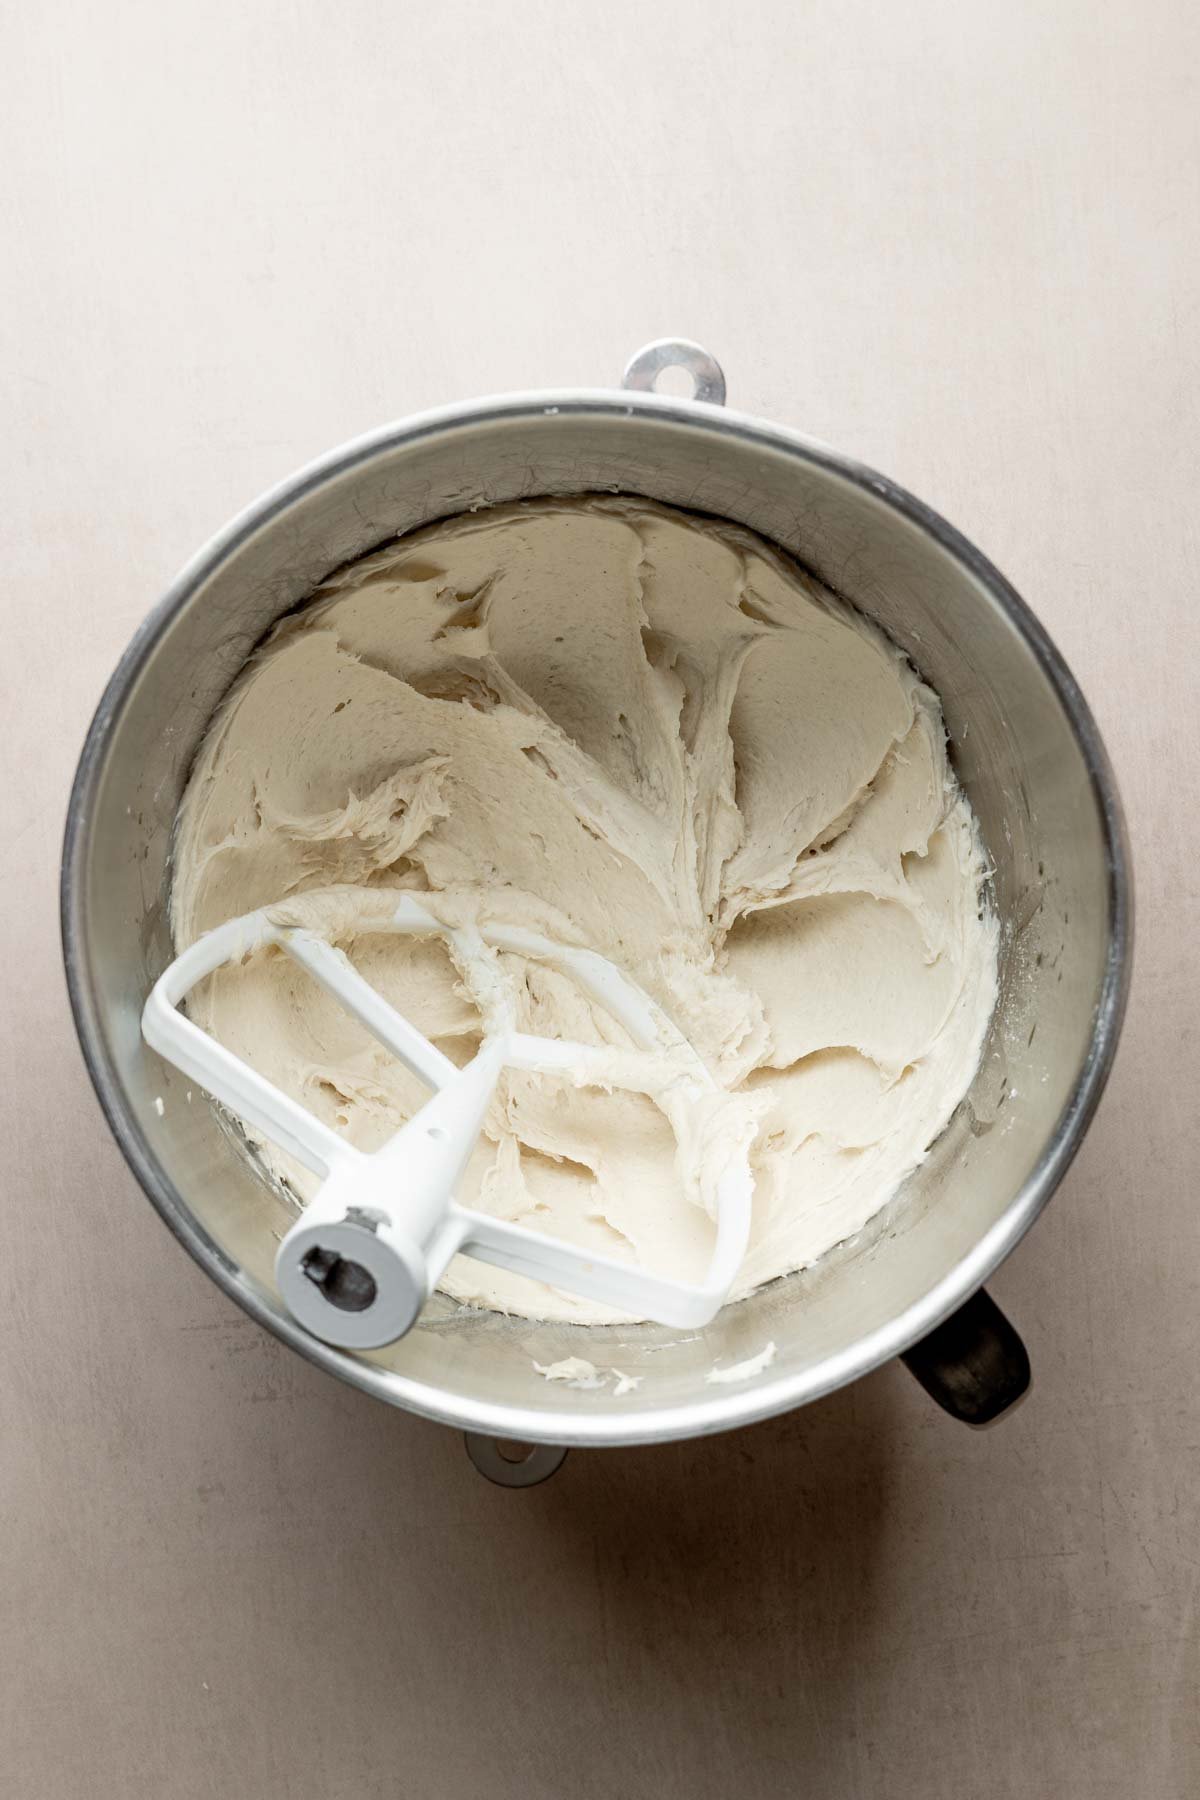
- Step 1: Mix the dough with the paddle attachment until it comes together into a thick, sticky batter. It won't look like traditional bread dough-more like a stiff cake batter-and that's exactly what you want.
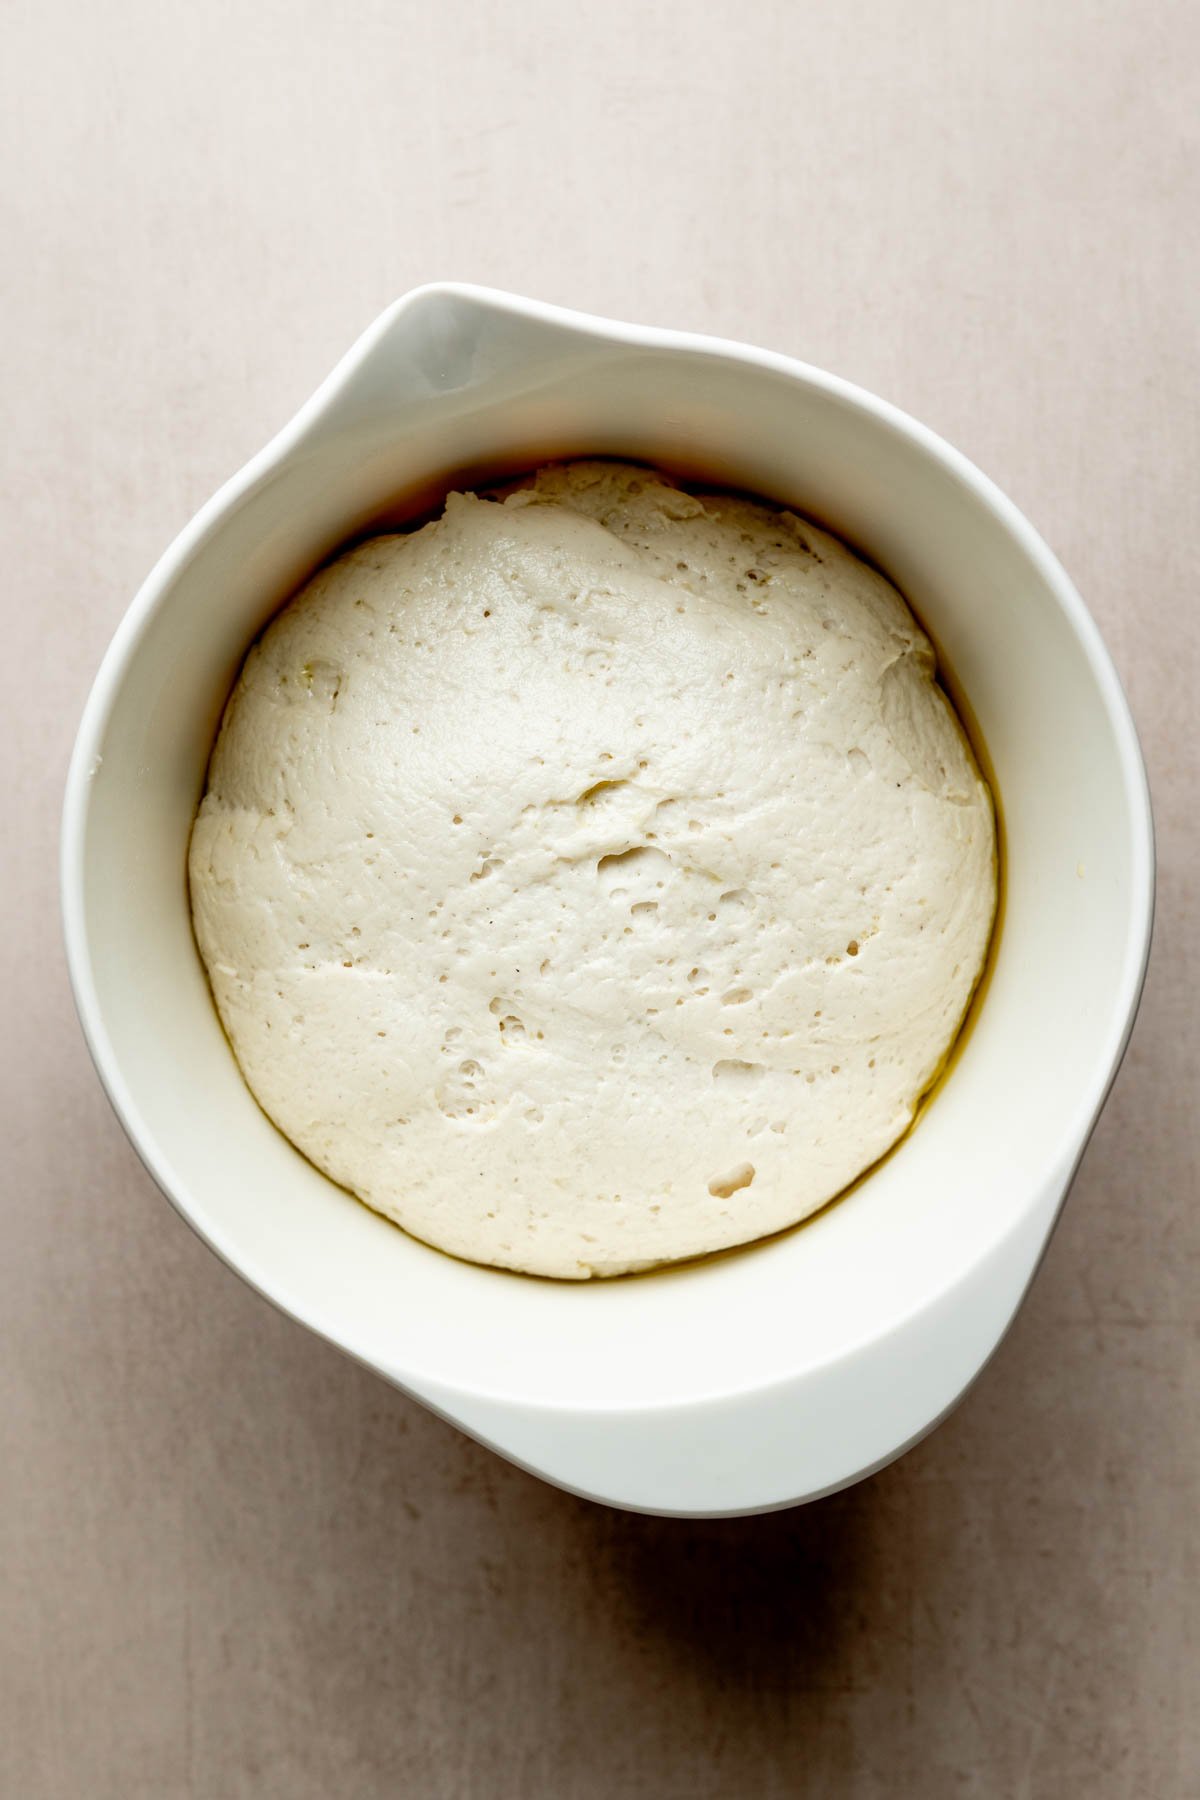
- Step 2: After about 45 minutes, the dough should be soft, puffy, and doubled in size. Look for little bubbles on top-that's a good sign it's ready to shape.
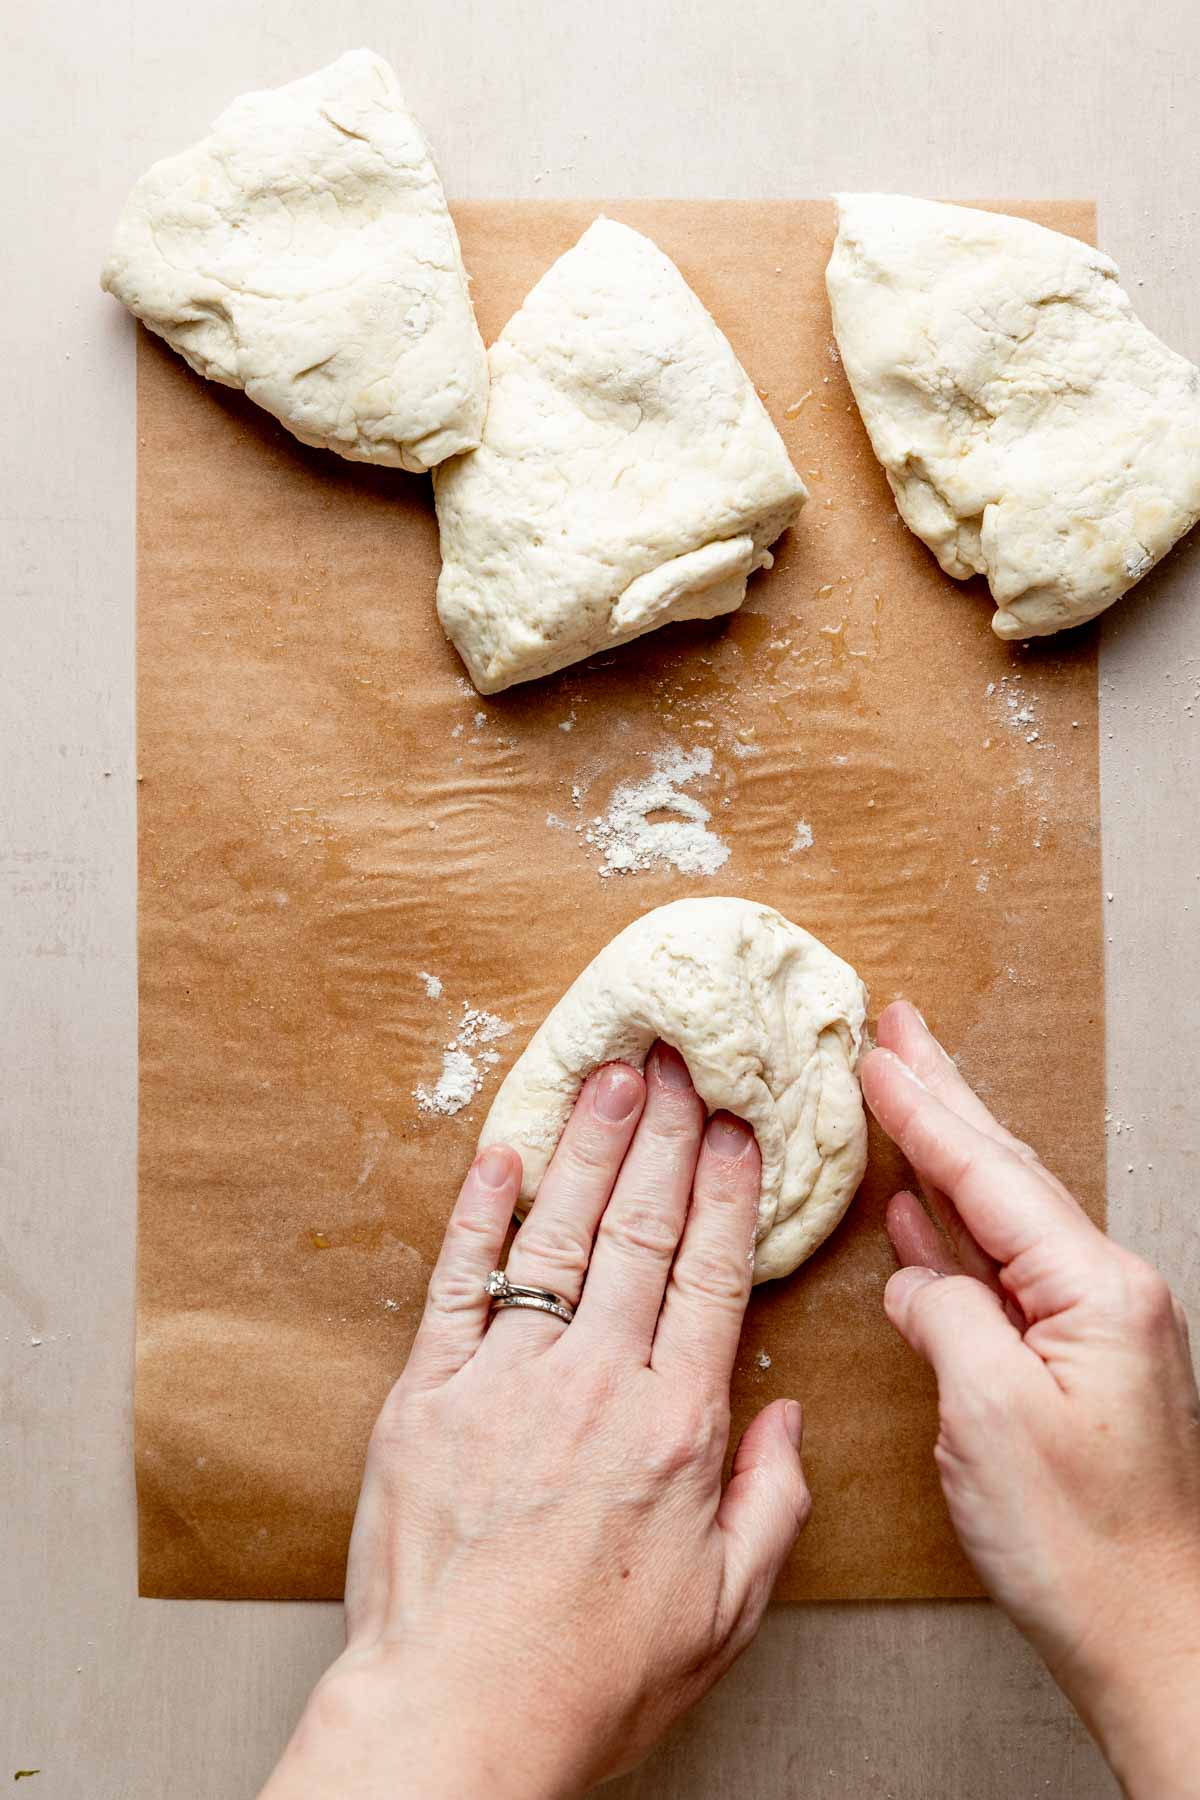
- Step 3: Divide the dough and give each piece a quick, gentle knead. Flatten out into a disc and then fold the edges in to form a smooth ball. A little brown rice flour and parchment paper helps keep things from sticking.
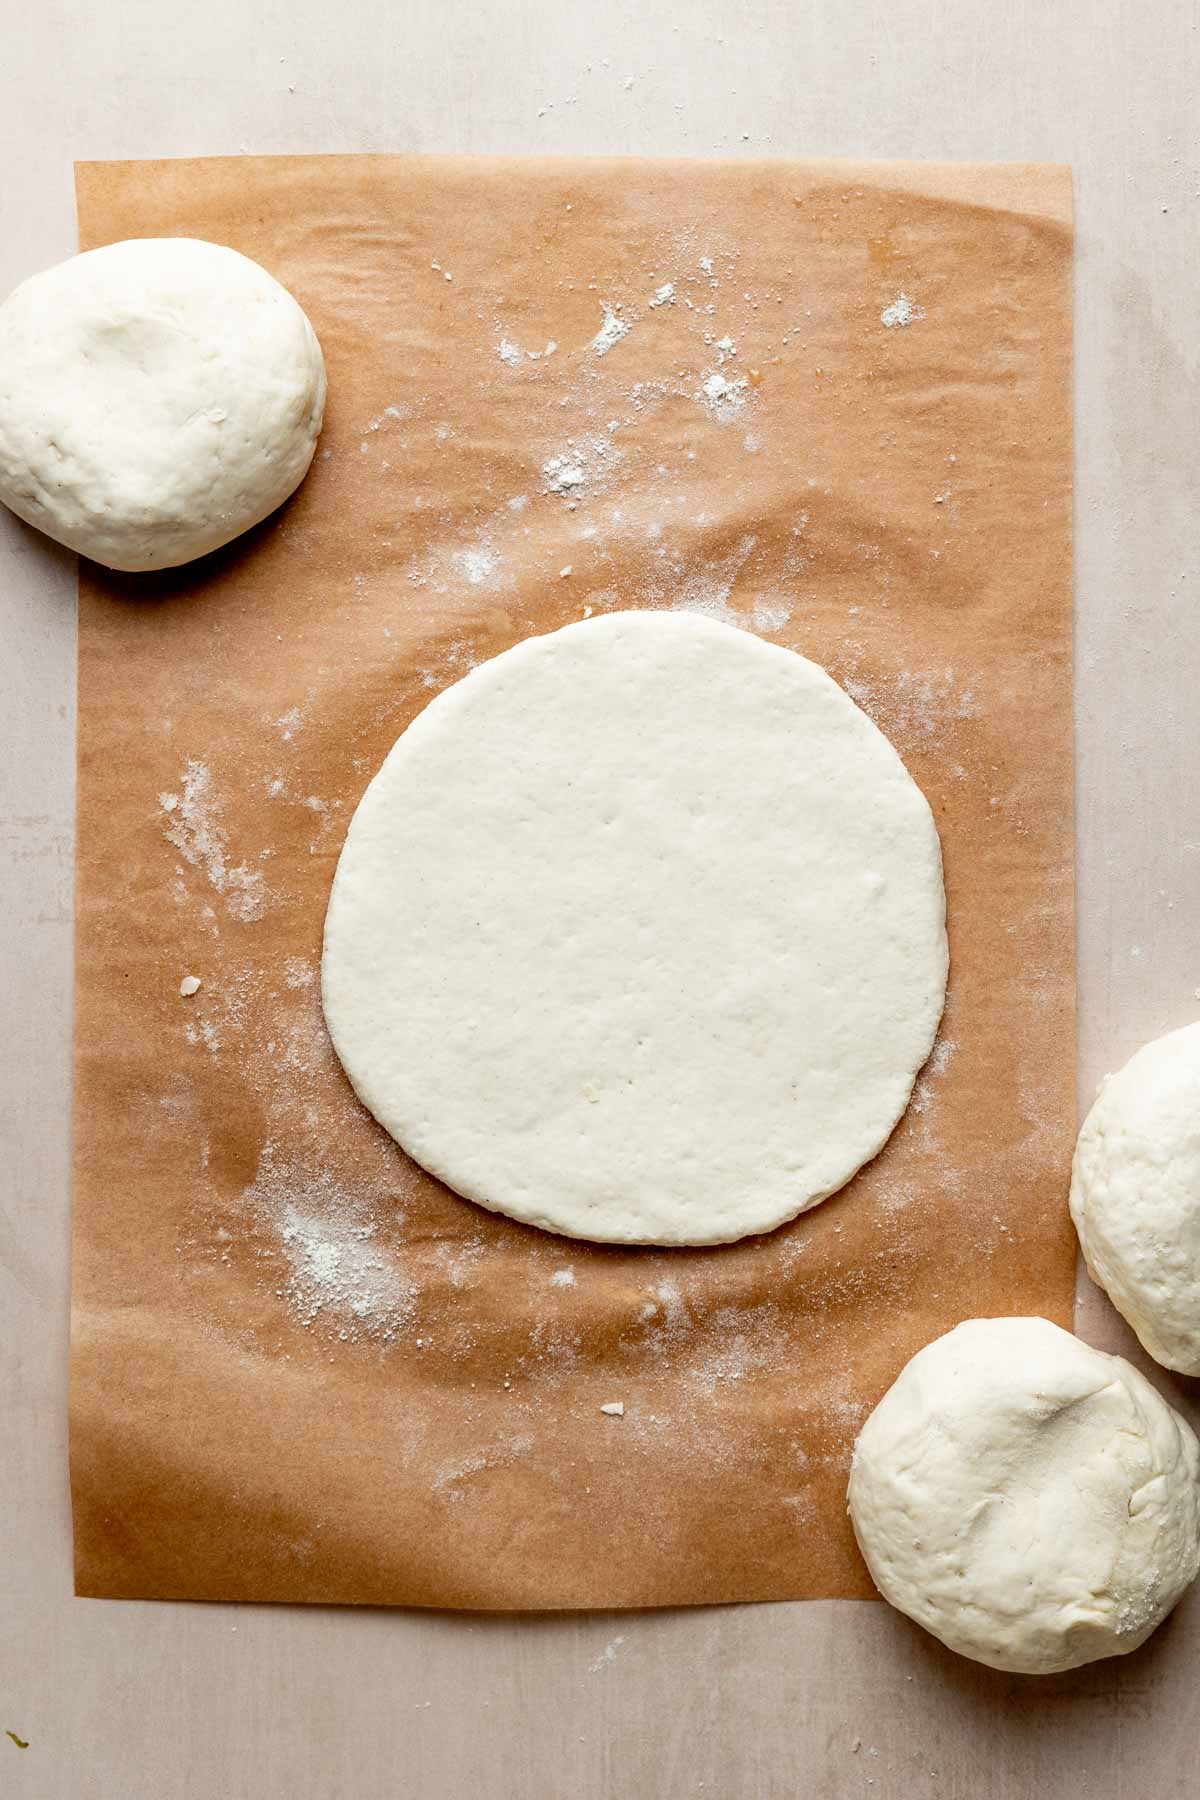
- Step 4: Roll each piece into a 6-inch round. Let them rest while the oven finishes preheating.
Baking in a Conventional Oven vs. Pizza Oven
This recipe works beautifully in a conventional oven or an Ooni pizza oven. The main difference is speed and browning, but both give great results!
- Oven: Bake one pita at a time on a preheated stone or cast iron pan at 500°F. It takes about 5 minutes per pita. You'll get even puffing with a slightly paler finish.
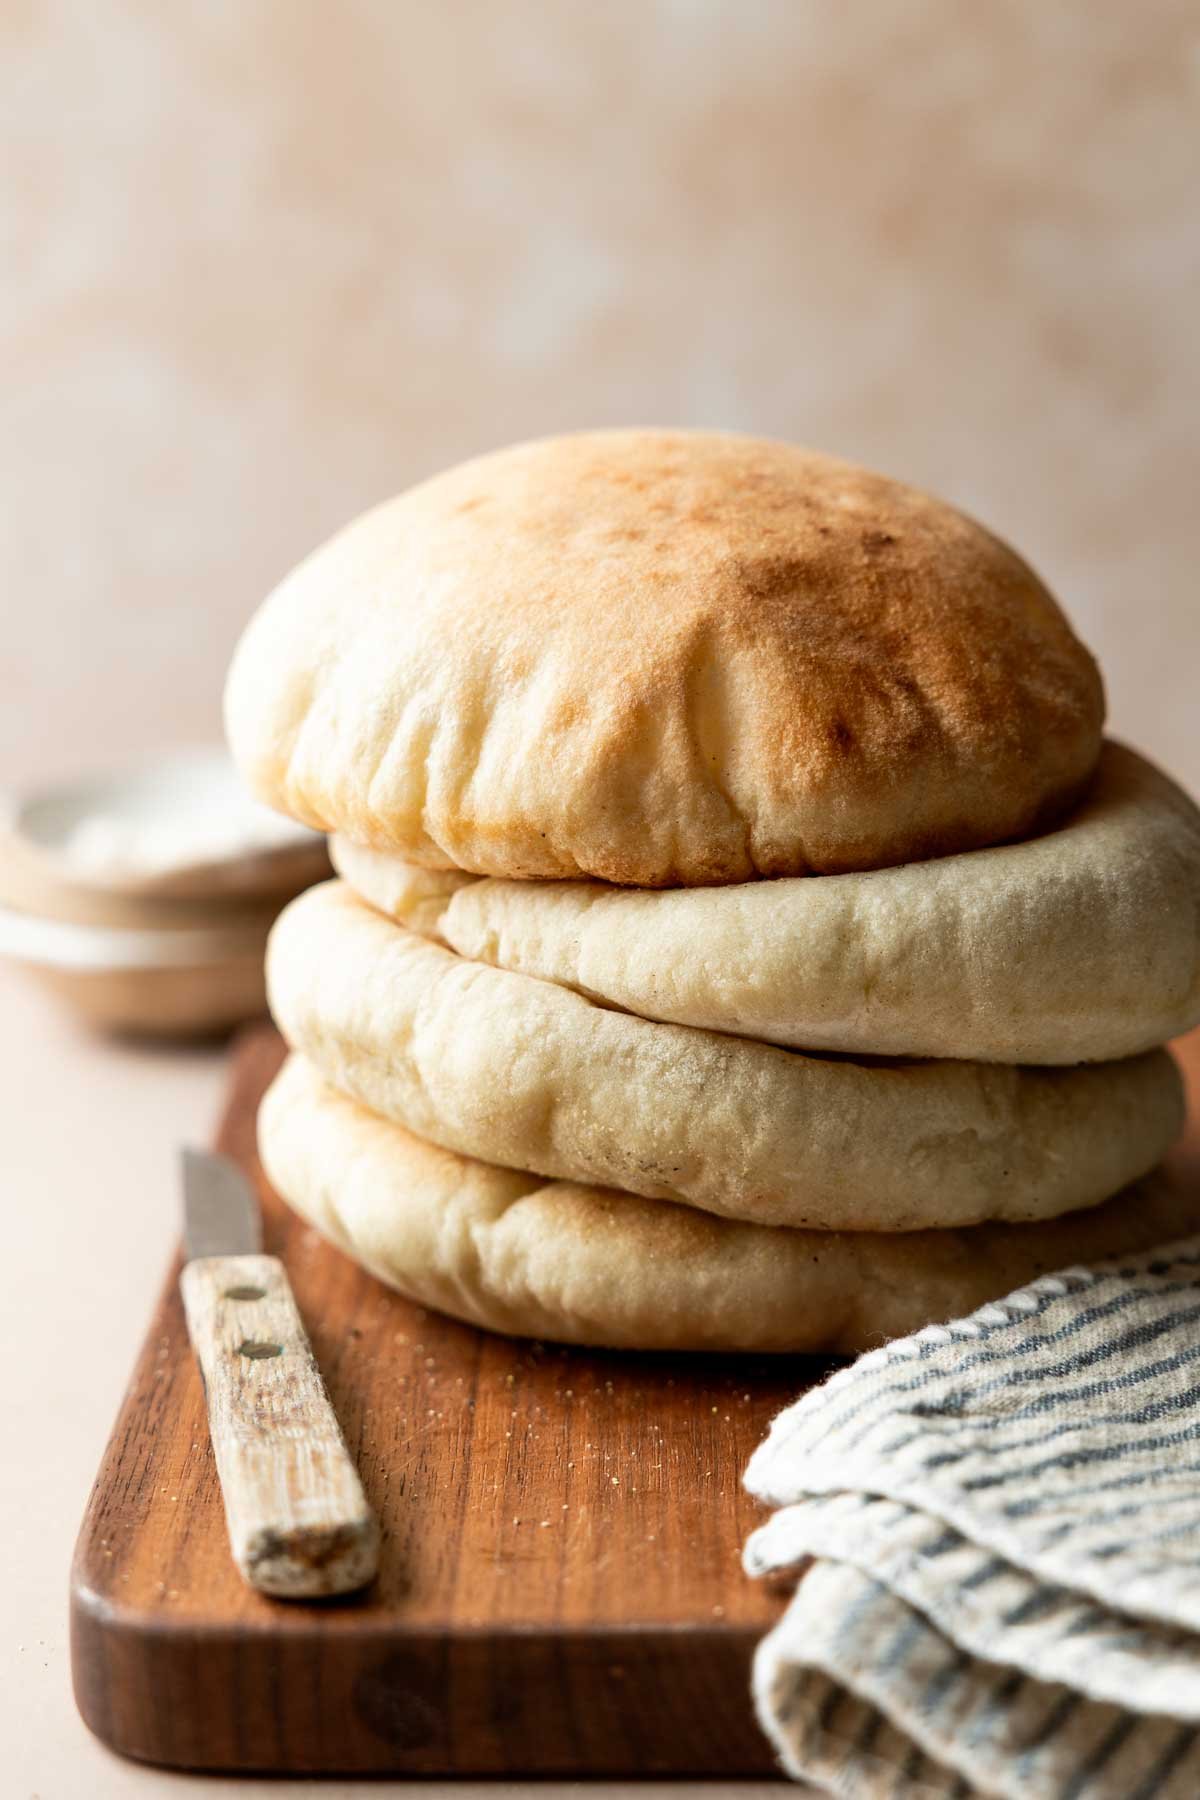
- Pizza Oven: With temps around 700-800°F, the pitas bake in 90 seconds to 2 minutes. They puff quickly and develop deeper browning.
Tips for Pita Pockets
If you've ever made pita that didn't puff, you're not alone. After testing this recipe multiple times, here's what seems to make the biggest difference:
- Only roll once. Even if the shape isn't perfect, resist the urge to re-roll.
- Let it rest. After rolling, give the dough 15-20 minutes to rest.
- Crank the heat. A hot oven is essential. Preheat your baking stone or steel for at least 30 minutes so it's piping hot when the pita hits it.
- Preheat the pan. While the oven pre-heats, also preheat your cast iron pan or baking stone.
- Don't brush anything on top. Even a light coating of olive oil can weigh down the dough just enough to stop it from puffing.
Following these tips, every single pita I've made has fully puffed.
Still Hungry? Subscribe Here!
Save This Recipe!
Recipe FAQs
This recipe was developed specifically with Caputo Fioreglut, so I don't recommend swapping.
I have not tried this, I recommend a cast iron pan or pizza stone.
Wrap in foil and warm in a 300°F oven for a few minutes, or microwave briefly with a damp paper towel to soften.
I have done my best to outline everything I do to make pitas that puff every single time. Be sure to read the recipe carefully, preheat your oven and baking pan to the proper temperature for 30 minutes, and only roll the pitas once.
More Gluten-Free Yeast Bread Recipes
Fan of Fioreglut? Check out more of my gluten-free yeast breads, which mostly use Fioreglut; like this gluten-free deep dish pizza and the ones below!
Recipe
Gluten-Free Pita Bread (Oven or Ooni)
Ingredients
- 200 grams Caputo Fioreglut gluten-free flour
- 25 grams superfine brown rice flour
- 25 grams superfine sorghum flour
- 8 grams kosher salt (1 teaspoon)
- 3.5 grams instant yeast (1 teaspoon rapid rise or bread machine yeast)
- 200 grams warm water (120-130°F)
- 28 grams olive oil (2 Tablespoons)
Instructions
- Add the Caputo Fioreglut, brown rice flour, sorghum flour, salt, and yeast to the bowl of a stand mixer fitted with the paddle attachment, whisk to combine.
- With the mixer on low speed, slowly pour in the warmed water and olive oil. Increase to medium speed and mix for 2 minutes, scraping the bowl as needed. The batter will be thick and sticky.
- Scoop the dough into a ball and coat it with a light layer of olive oil. Cover and let rise in a warm spot for 45 minutes, or until doubled in size.
- Oven: Preheat a pizza stone, baking steel, or cast iron skillet in the oven at 500°F for at least 30 minutes.Ooni: If using an outdoor pizza oven like an Ooni, aim for 700-800°F.
- While the oven preheats, shape the pitas. Turn the dough out onto a surface lightly dusted with brown rice flour. Divide into 4 equal pieces (about 120g each). Gently knead each piece and form into a smooth ball.
- Use a rolling pin to roll each piece into a 6-inch round, about ¼-inch thick. Roll each one only once.
- Cover the shaped pitas with a kitchen towel or plastic wrap and let rest at room temperature for 15-20 minutes.
- Oven: Place one pita at a time directly on the hot stone. Bake for 5 minutes total. After it has fully puffed, flip it once halfway through to brown the other side, if desired.Ooni: In the Ooni, bake for 90 seconds to 2 minutes, rotating as needed for even browning.
- Transfer each pita to a plate or rack and cover with a clean kitchen towel to trap steam and soften the crust. Serve warm or let cool completely before storing in an airtight container.
Notes
Nutrition
* Nutritional information is provided as a courtesy and should be used as an estimate only. See the nutrition policy for more information.


Sonia says
I live in California and have a small Middle Eastern market near my home. They sell frozen falafels, and hence I needed to find some gluten free pita. I checked my local Whole Foods and various other stores before deciding to try baking it myself. My corner market carries this Caputo gluten free flour, so I found this recipe. I made it for my Italian son-in-law who is also gluten-free and he loved it! He ate them all with olive oil and za'atar. It will take making the recipe a few more times to be able to reliably have the open pocket in them. It looks like the key is when you first flatten the dough into a disc, have some rice flour sprinkled on the surface, then as you tuck under the dough to form it into a ball, there's a little nonstick bubble on the inside due to that sprinkling of rice flour. Definitely don't over-knead them. But hey if they don't have a pocket, then they are like focaccia bread or naan, and still equally delicious.
Katie Olesen says
I am so glad you enjoyed them! As far as the puffing, that couldn't hurt! I did find letting the dough rest a bit after rolling and only rolling out one time really made a difference. I also bake them on a hot cast iron pan in the top third of my oven. Once you figure out the trick to it, it really does puff up every time!
finecook says
I use Caputo Fioreglut regularly and love it for pizza, foccacia and bread loaves. I was thrilled to see a pita recipe that used it.
This recipe turned out delicious and easy flatbreads but unfortunately there was no puffing for me. My oven got to 470F and pans were preheated. I followed the recipe precisely except that I had no sorghum, so used additional Fioreglut.
No loss, since these were delicious, but I would like to try again in an oven that gets hotter than mine!
Katie Olesen says
I do think a hot oven is essential. Only rolling out once to the proper thickness and not playing around with the dough makes a huge difference. After rolling, letting them rest for 15 minutes also helps. Unfortunately, puffing the pitas is the trickiest part of the recipe! Glad you thought they were delicious anyway.