

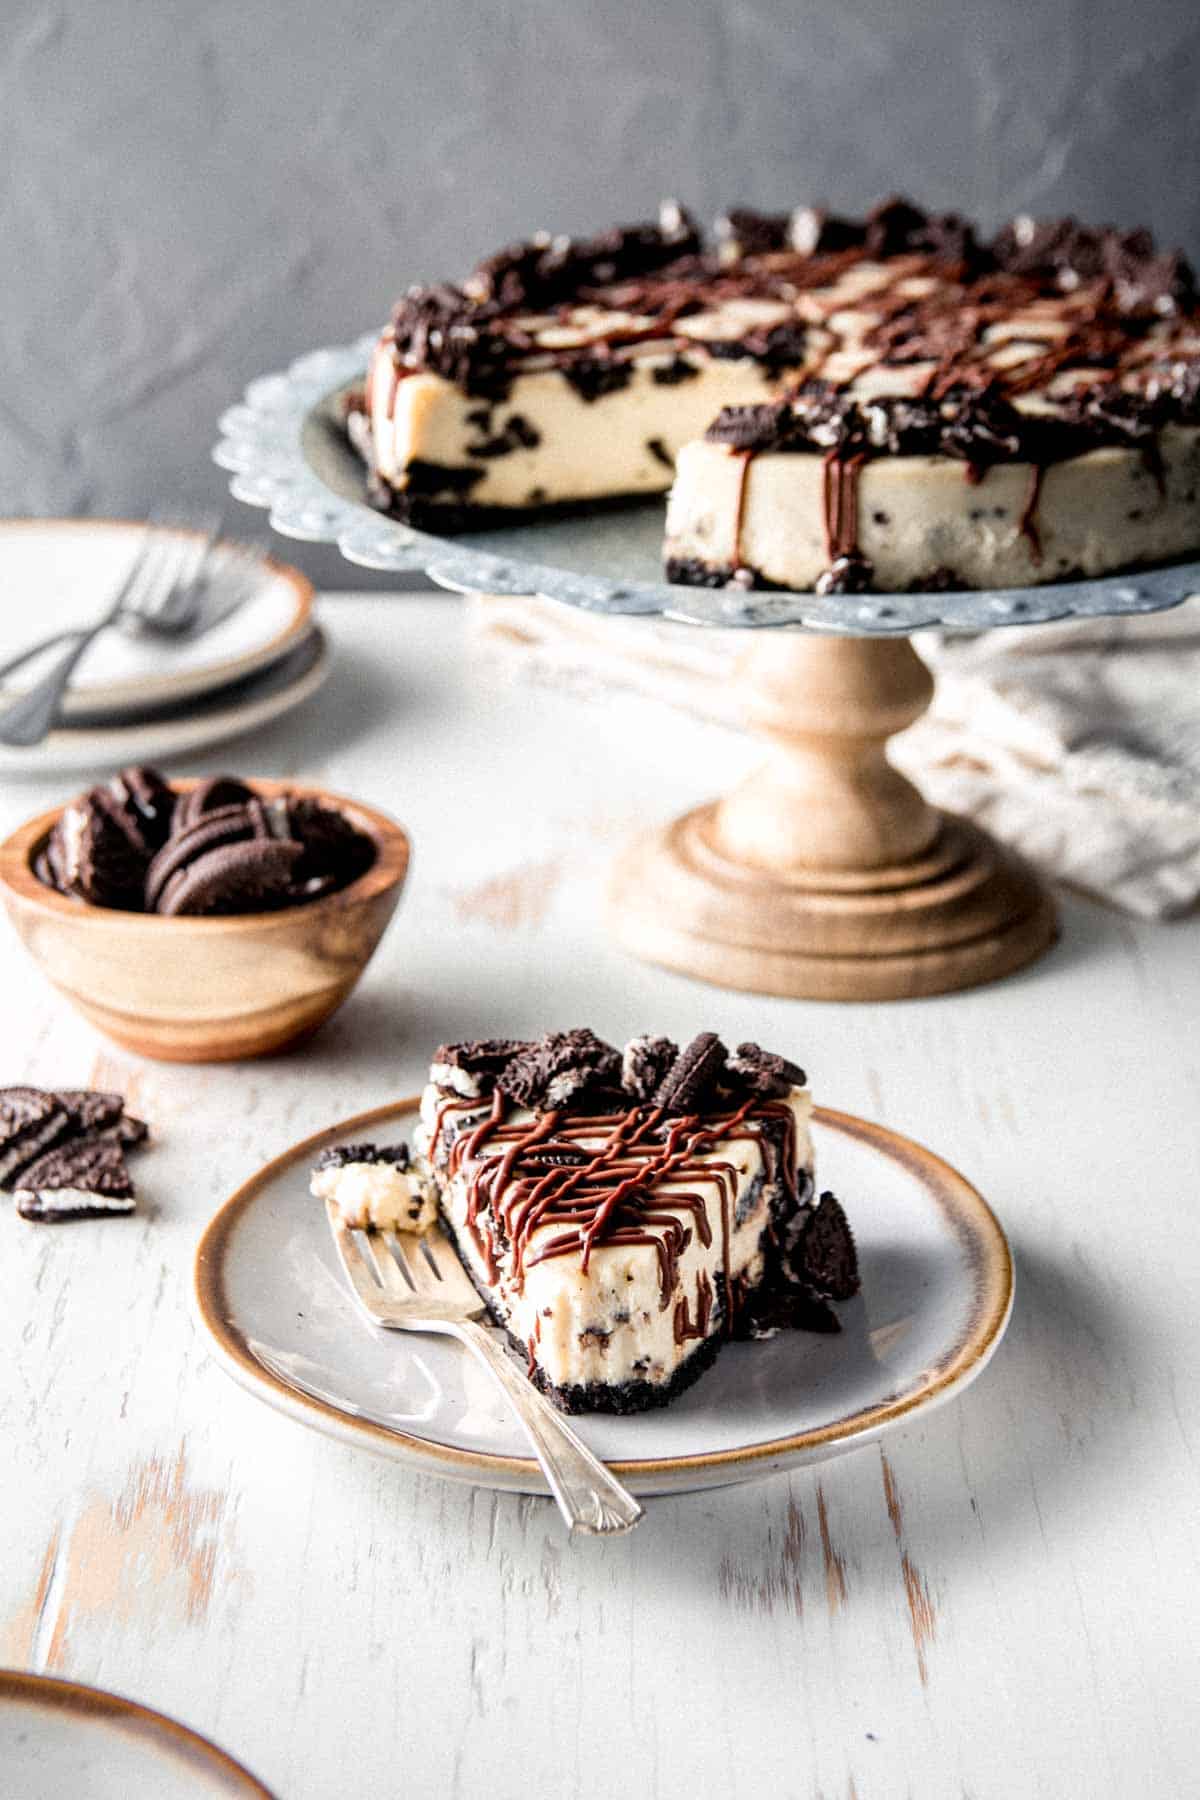
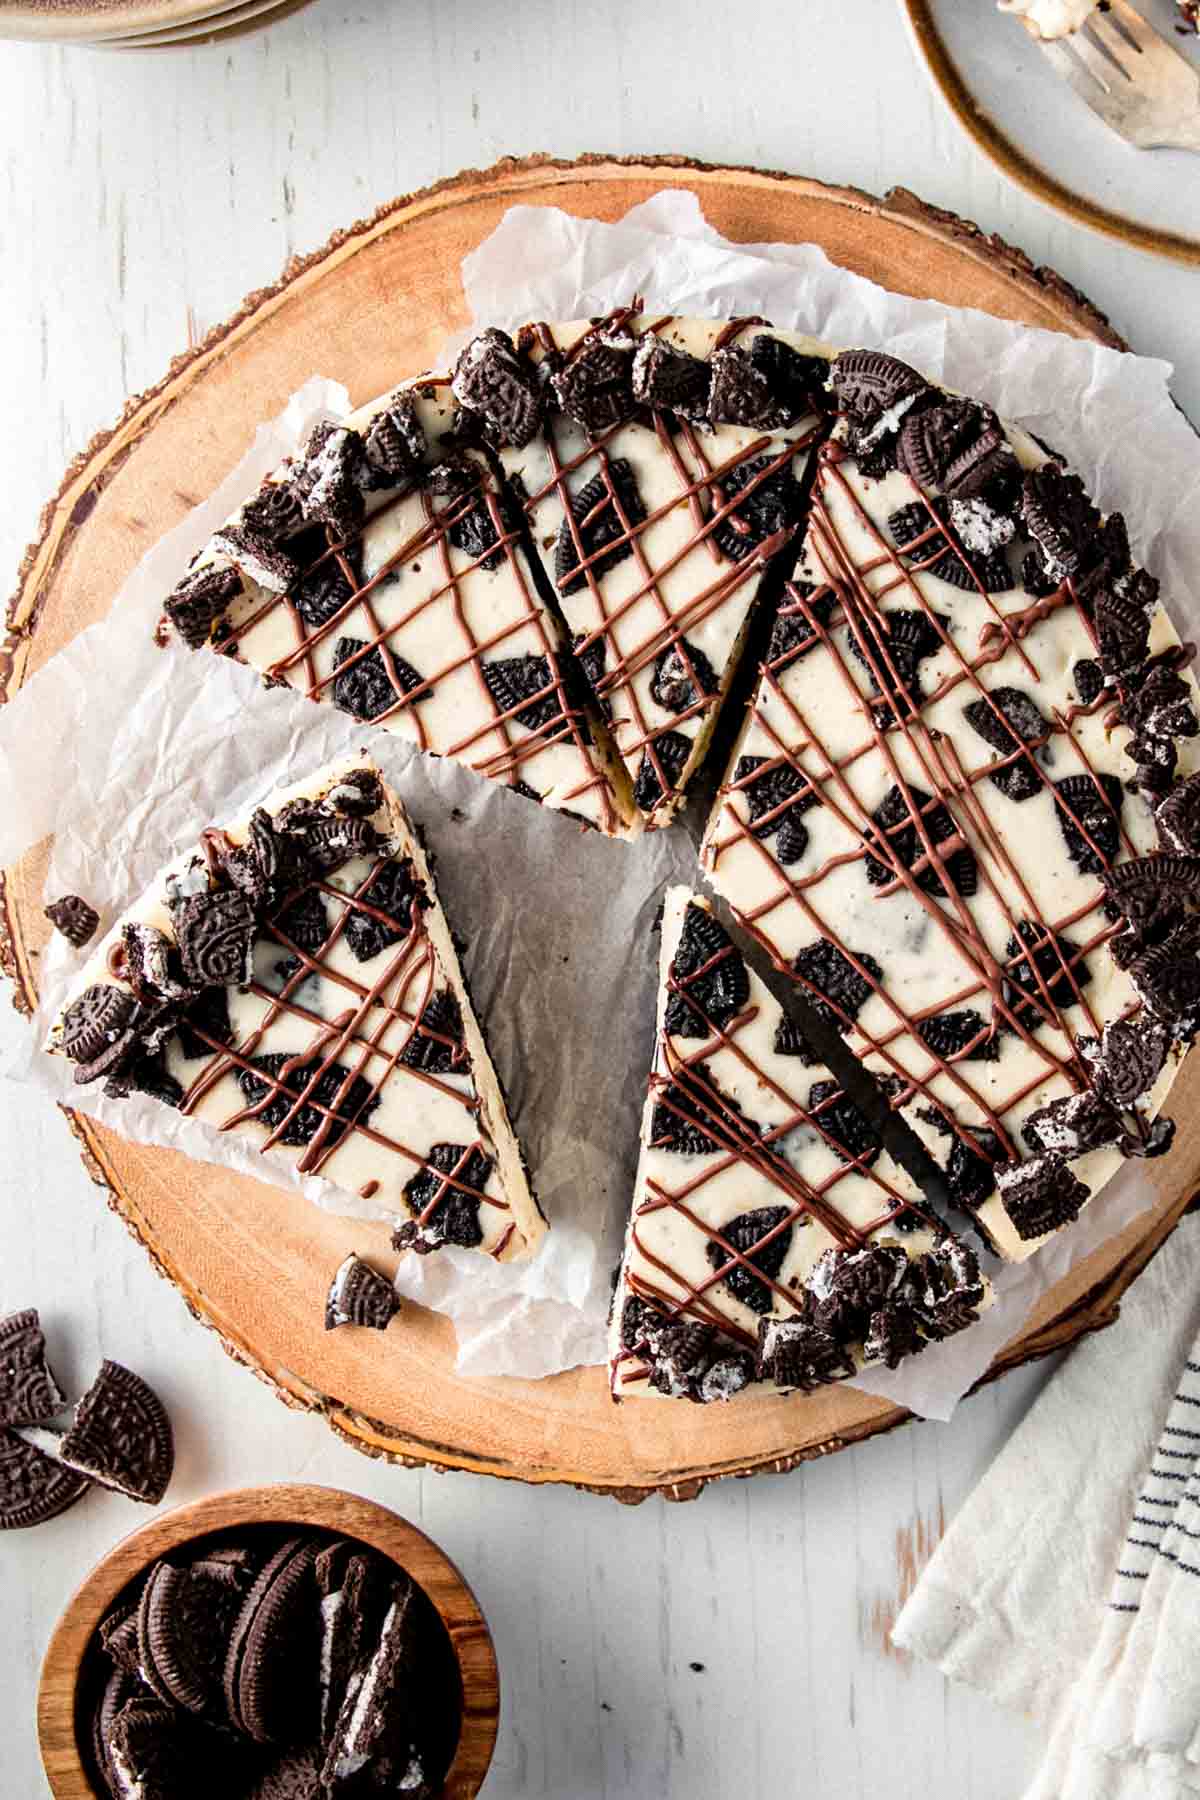
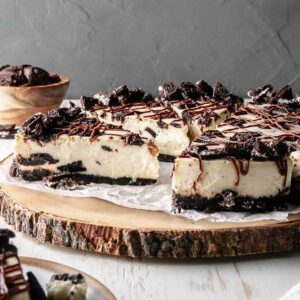
This easy gluten-free Oreo cheesecake recipe is packed with cookies and cream flavor. Creamy cheesecake baked in a gluten-free Oreo crust with chocolate ganache and more cookies on top. It's a showstopper dessert that's surprisingly easy to make at home.
Katie's Recipe Notes
If you love cheesecake, you're going to love my no-fail recipe! I've been making this cookies and cream cheesecake for years, and it always impresses my guests. This decadent Oreo cheesecake recipe might be a bit of a process to make, but I promise the time invested is worth it for the tripled up Oreo flavor!
It all starts with a gluten-free Oreo base, which is adapted from my gluten-free graham cracker crust. The filling is from my rich and creamy gluten-free cheesecake recipe that never cracks! Then we finish the cake with a drizzle of chocolate ganache and even more Oreo pieces to put it over the top!
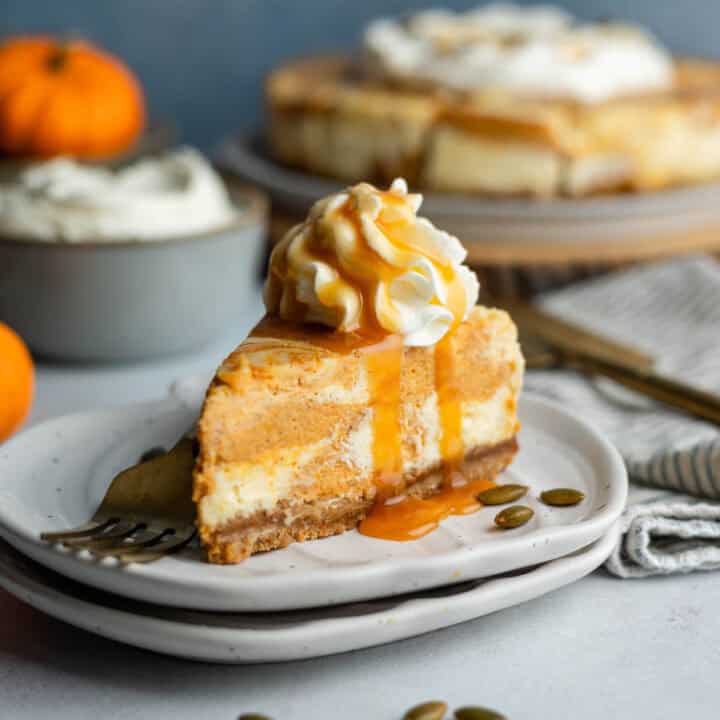
This cheesecake makes a wonderful Holiday dessert for Christmas, New Year's, or a non-pumpkin option for Thanksgiving. It also makes a beautiful celebration cake for a birthday or other special event.
Ingredients
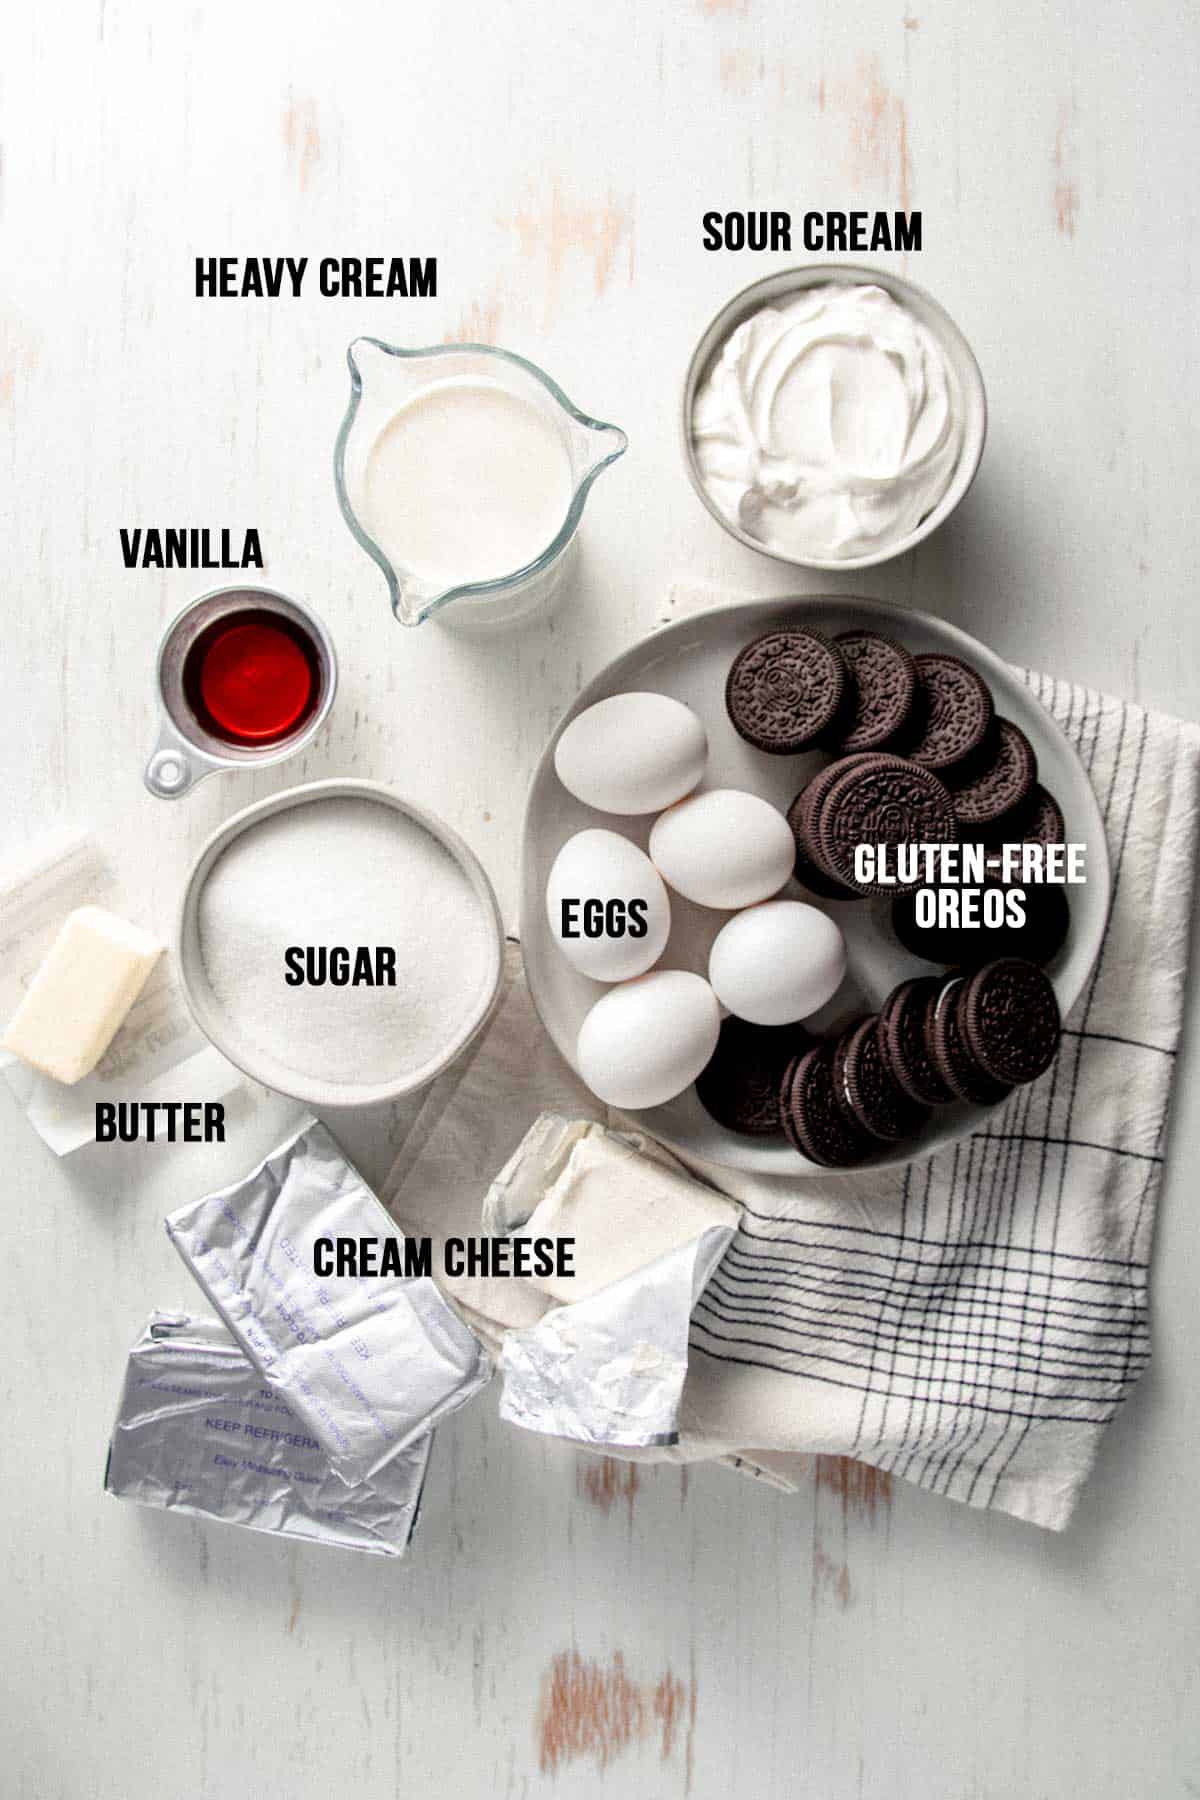
- Gluten-Free Oreo Crust: I highly recommend using the Nabisco gluten-free Oreos for this recipe because their taste and texture is spot on, but this recipe will work with any gluten-free chocolate sandwich cookie. Regular stuffed Oreos are better, but either will work. If you prefer to make a graham cracker crust with store-bought or homemade gluten-free graham crackers, save the Oreos for the filling and garnish.
- Filling: For the filling you'll need cream cheese, sour cream, heavy cream, eggs, sugar, vanilla, and Oreos.
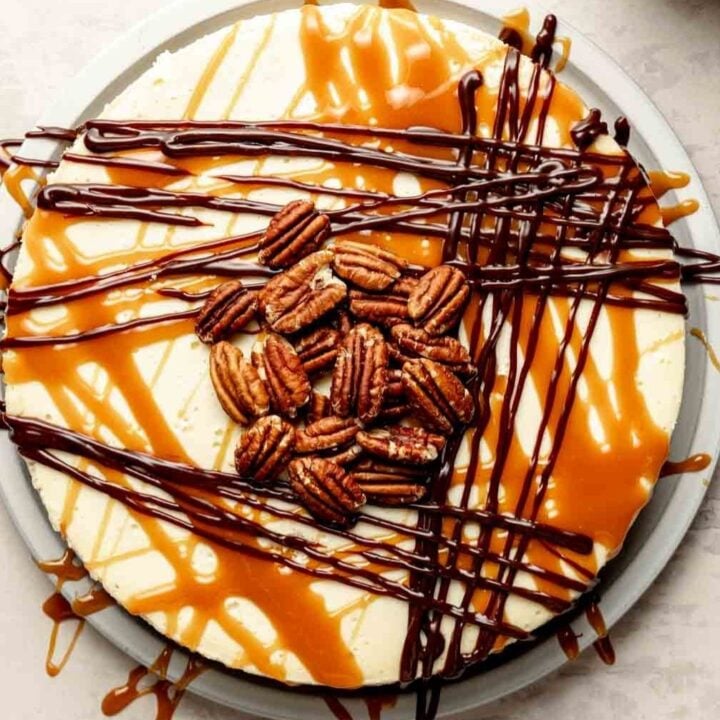
- Topping: More Oreos, semi-sweet chocolate chips and heavy cream for the ganache. You could also use hot fudge sauce, like I do for my gluten-free turtle cheesecake, if you want to make it even easier.
How to Make Gluten-free Oreo Cheesecake
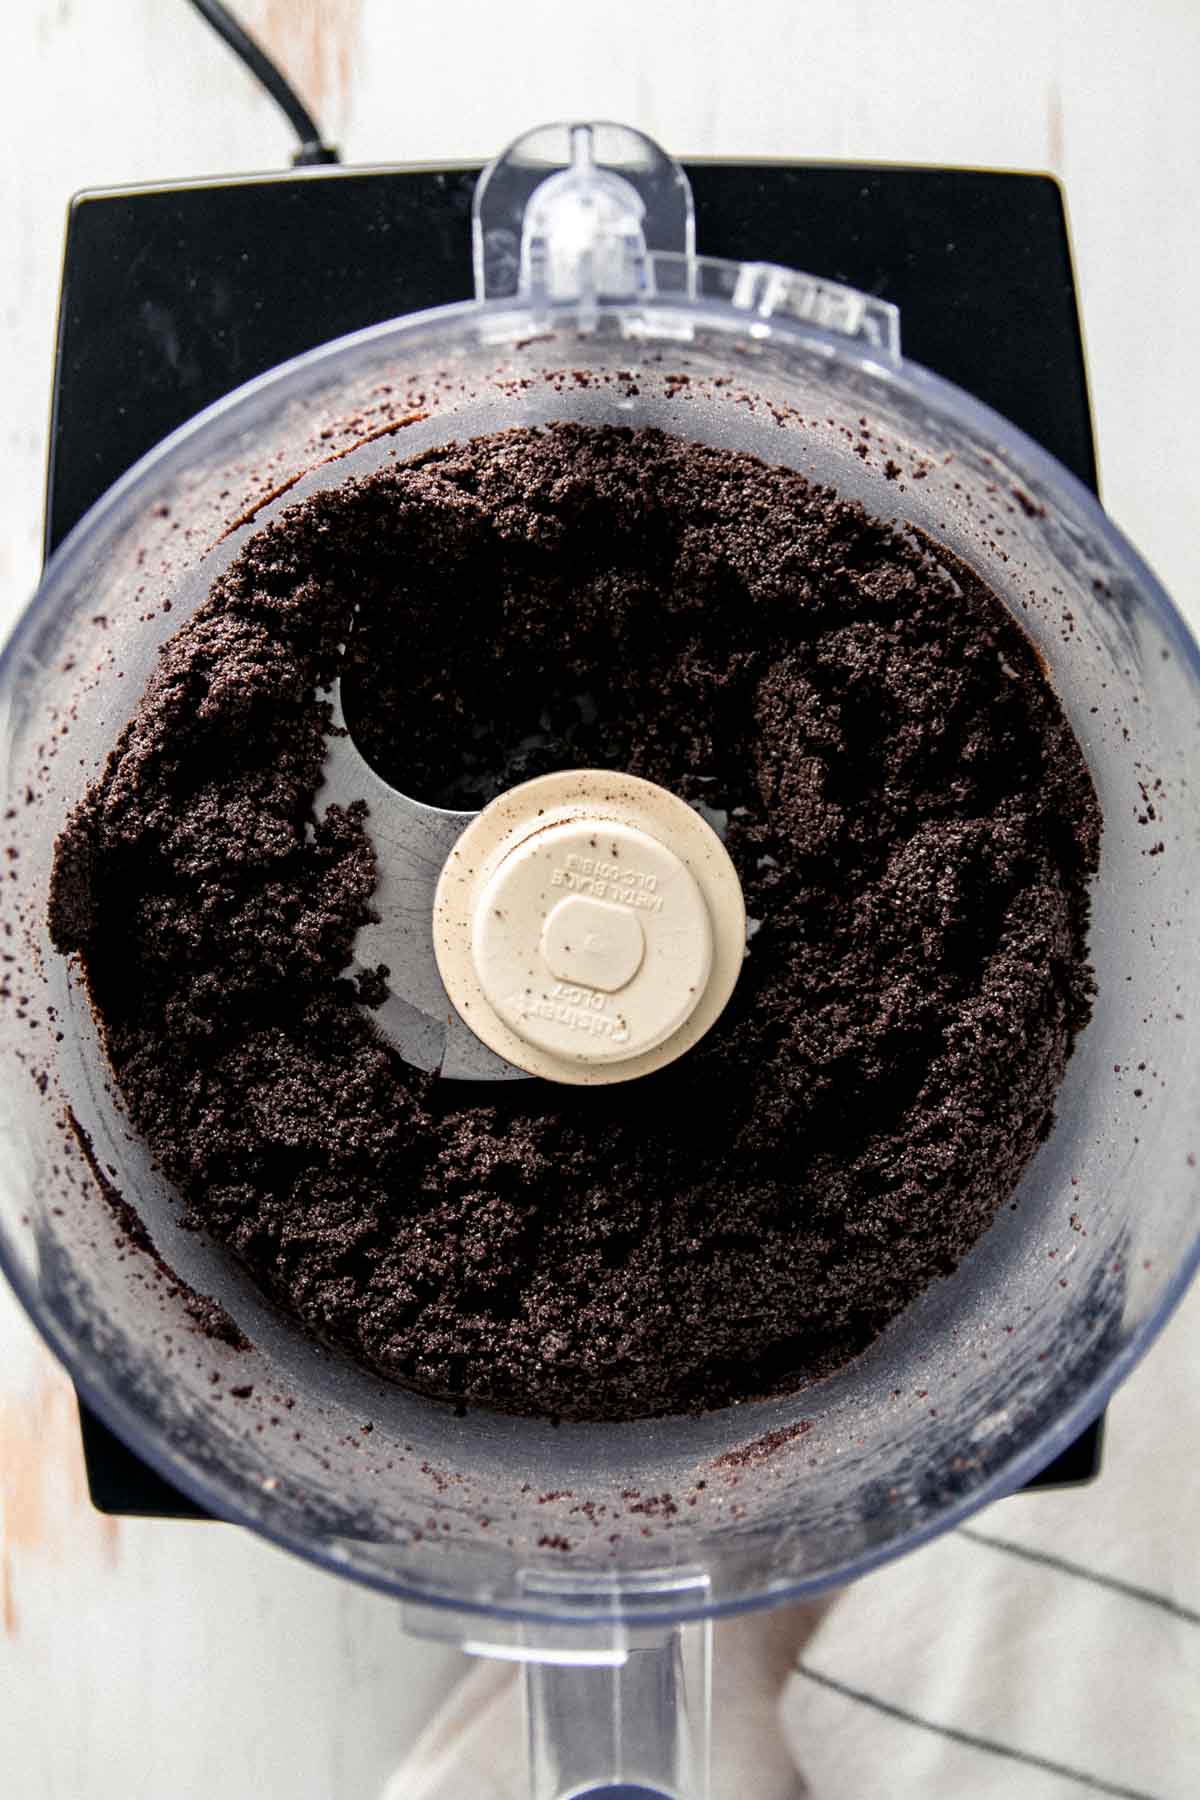
- Step 1: Combine the gluten-free cookies and melted butter in a food processor. Pulse into fine crumbs.
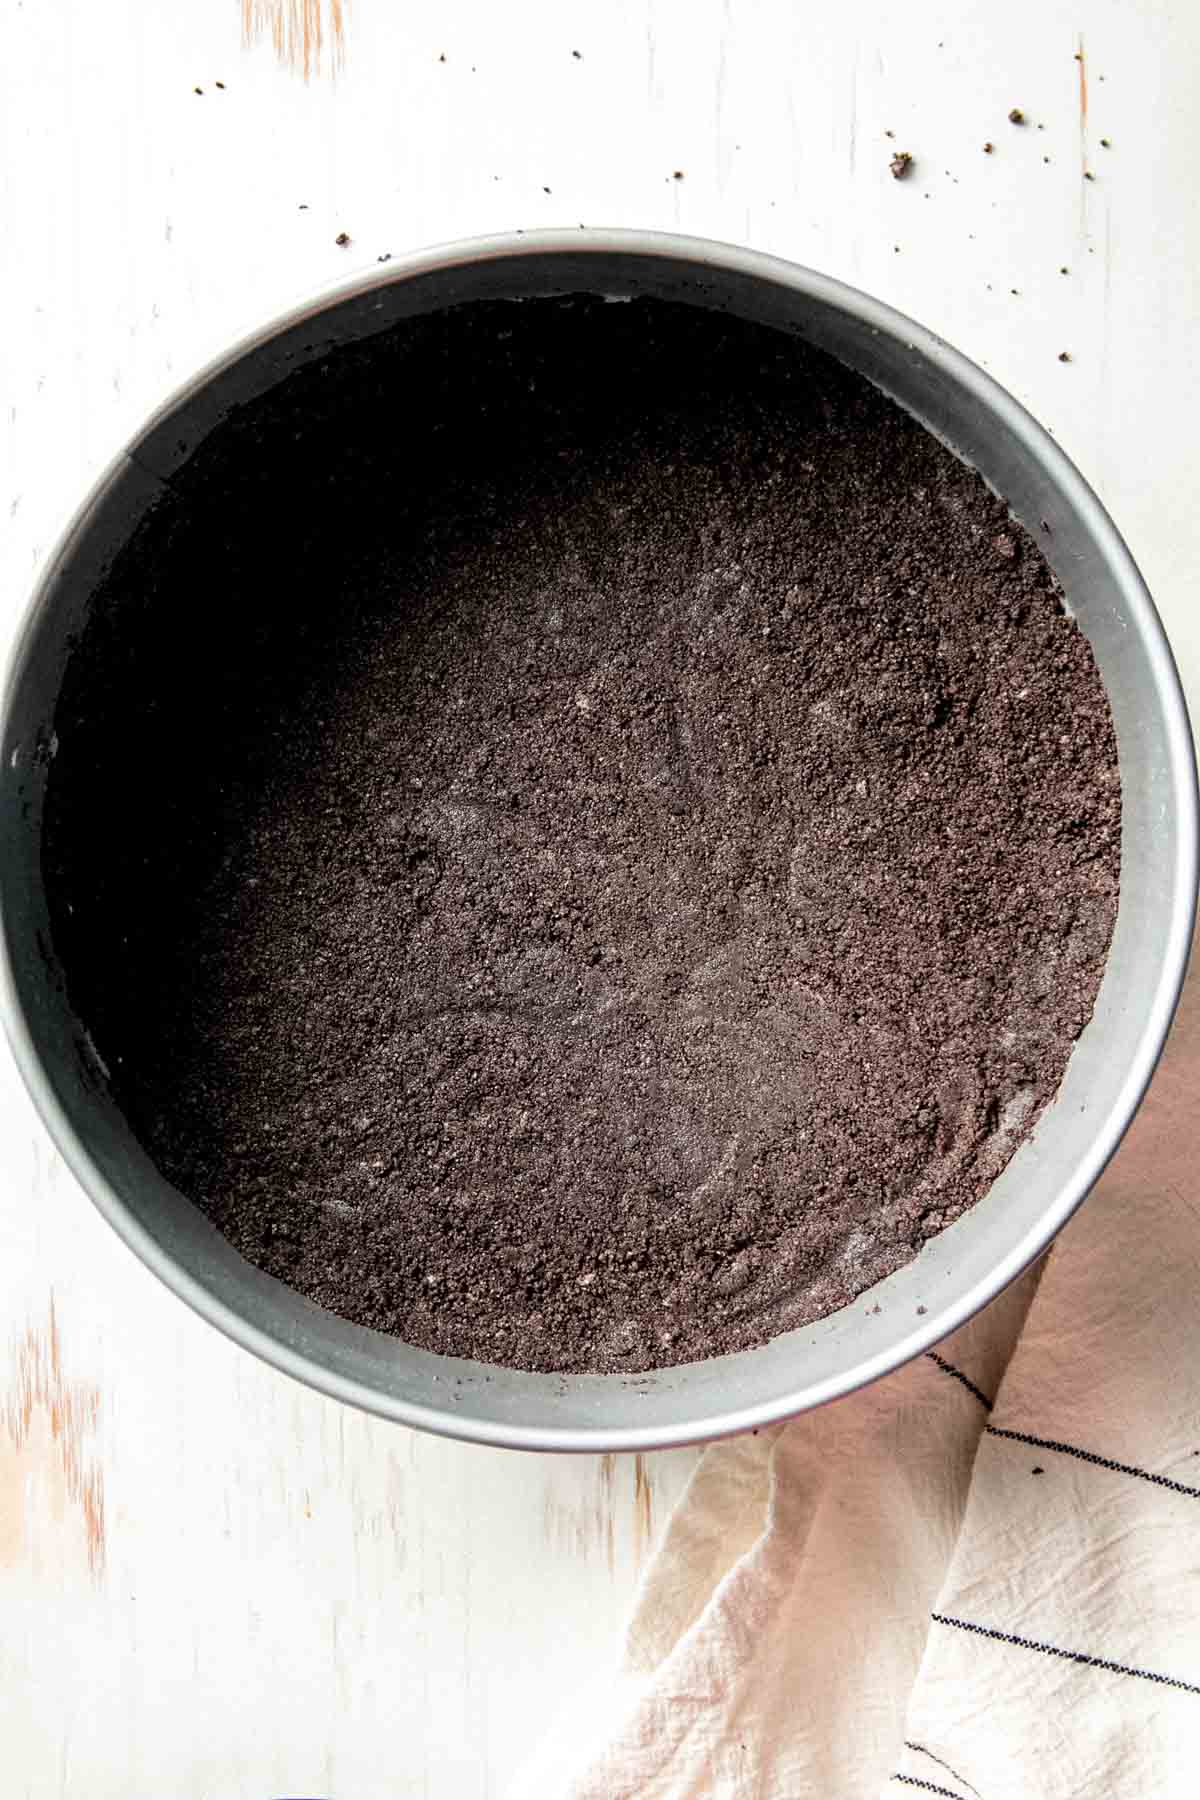
- Step 2: Press the crust mixture into a prepared springform pan. Bake for 10 minutes, then set aside while you make the filling.
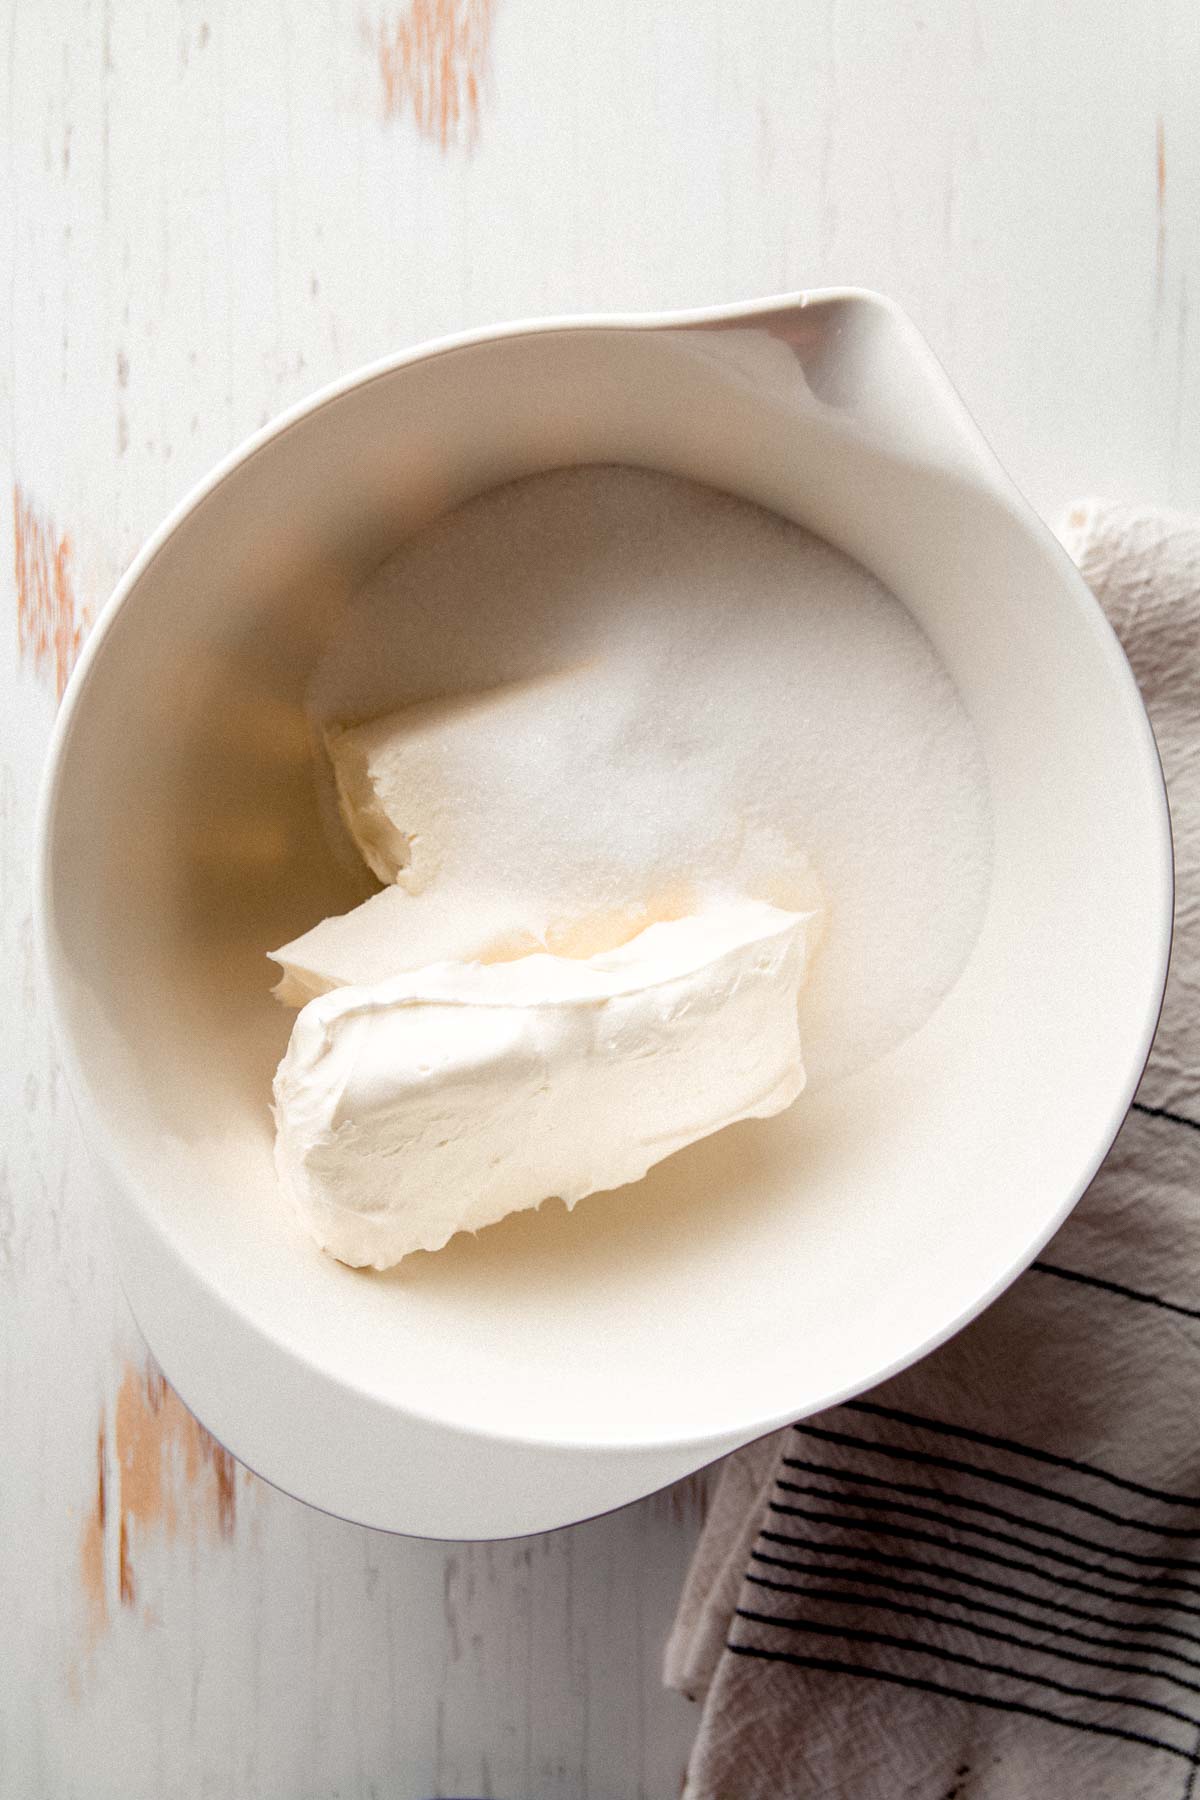
- Step 3: Place the softened cream cheese and granulated sugar in a large mixing bowl. Mix until smooth with an hand or stand mixer.
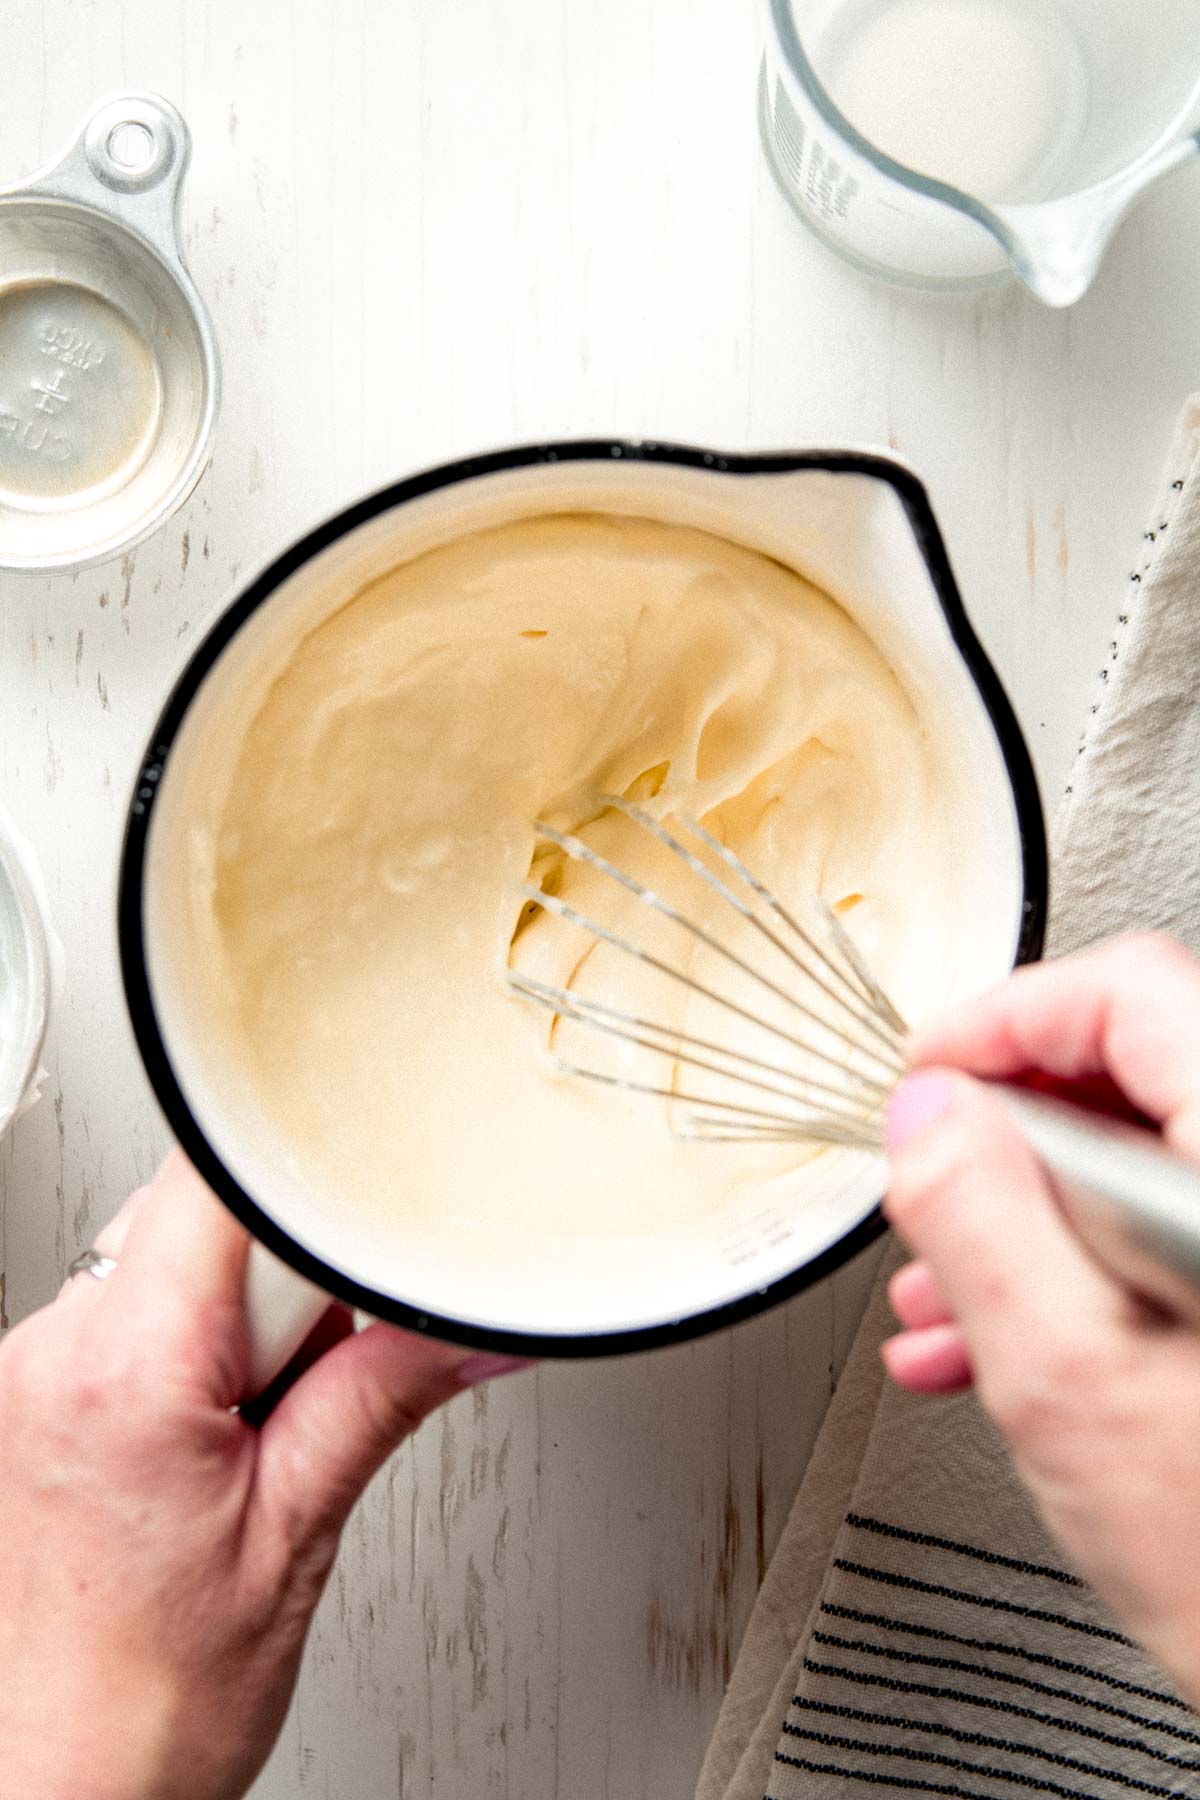
- Step 4: In a separate bowl, whisk together the sour cream, whipping cream, eggs, and vanilla. Then gradually blend this mixture into the cream cheese mixture.
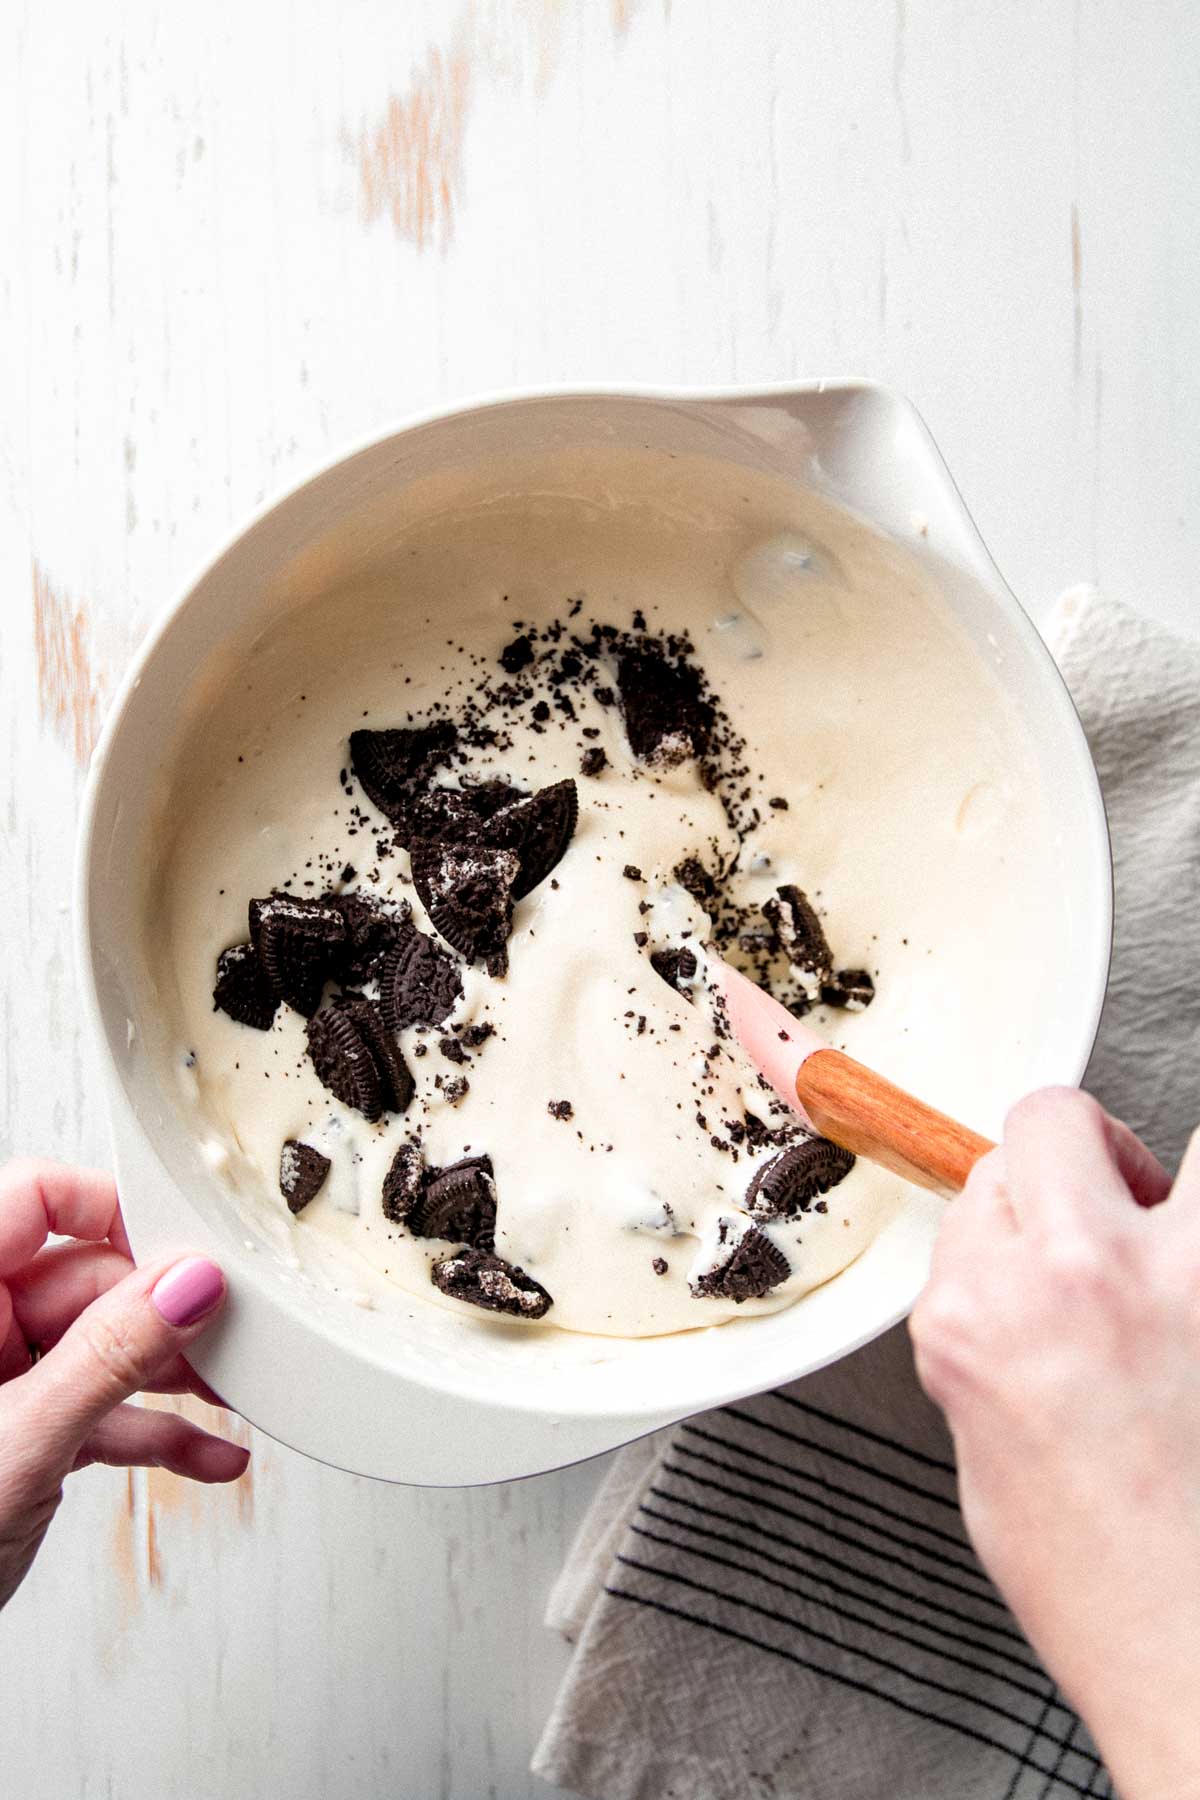
- Step 5: Crush up the remaining Oreos into large chunks. Divide into thirds. Fold one third into the filling.
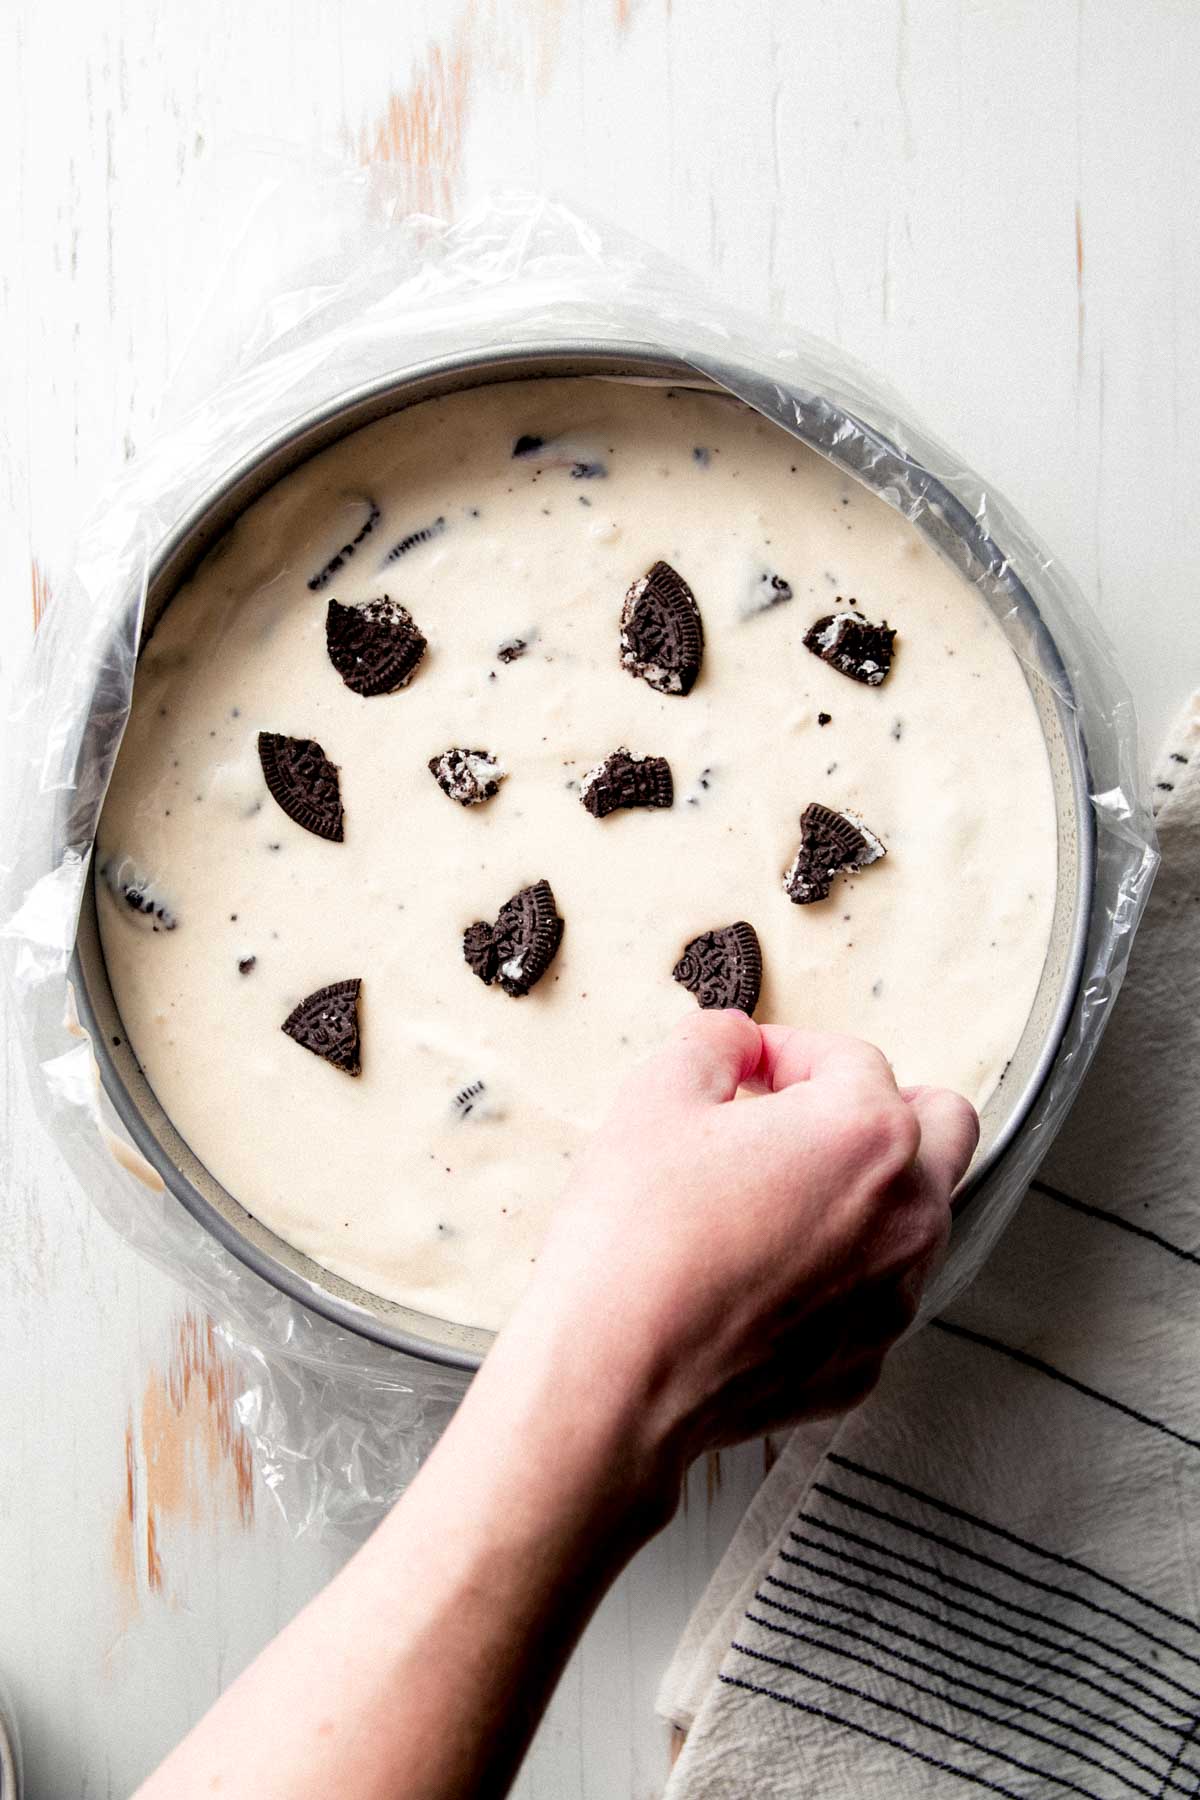
- Step 6: Place another third of the Oreos on top of the filling before baking. Bake according to the recipe card below.
Save This Recipe!
- After the cheesecake is baked and properly cooled, remove it from the springform pan.
- Make the chocolate ganache and drizzle it over the cheesecake. Then add the remaining Oreo pieces to the perimeter of the cheesecake.
Top Recipe Tips
- For even baking and a cake that doesn't crack, make sure you bake the cheesecake in a water bath.
- Use a piece of extra wide heavy-duty foil to cover the springform pan to ensure water doesn't seep in.
- Cooling in the oven and refrigerating for at least 6 hours, is part of the process that you can not skip! It's crucial for the cake to fully bake and set.
Recipe FAQ
Cheesecake should be kept refrigerated. It will keep for five days, tightly wrapped, in the fridge.
You can freeze the entire cheesecake or cut and freeze individual slices. Either way, tightly wrap the cake to prevent freezer burn.
Thaw overnight in the refrigerator or 1 hour at room temperature. Individual slices can be thawed in the microwave, start with 30 seconds and add more time as needed.
One 13.29 ounce package of Nabisco Gluten-free Oreos (not double-stuf) contains 3 rows of 11 cookies, which is 33 cookies per package.
Use 18 cookies for the crust and the rest for the filling and topping the cake. You will need to dip into a second package of Oreos for the garnish. If you don't want to buy a second package, don't put any Oreo pieces on top of the cheesecake before baking and save those for the garnish.
Remove the cream cheese from the package and place on a microwave safe plate. Microwave in 15-30 second intervals until very soft, flipping blocks after each interval. The cream cheese should be very soft so it will combine with the sugar properly.
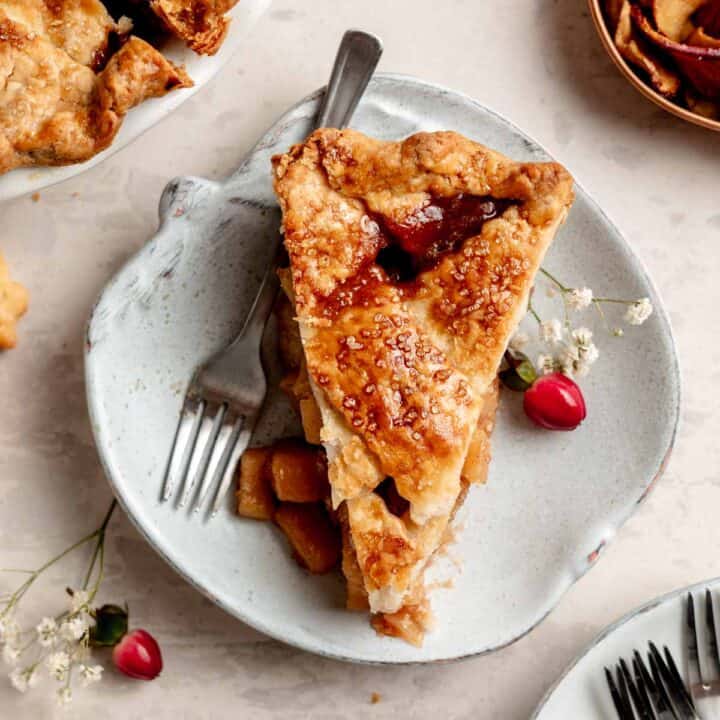
More Gluten-Free Desserts Worth Sharing
Recipe
Gluten-Free Oreo Cheesecake
Video

Equipment
- 9-inch Springform pan
- extra wide heavy duty foil
- Large roasting pan for water bath
Ingredients
Crust Ingredients
- 18 Gluten-Free Oreo cookies (about 1¾ cup crumbs)
- 4 tablespoons butter (melted)
Cheesecake Filling
- 20 ounces cream cheese (2½ (8 oz) blocks, softened)
- 1 cup sugar
- 1¼ cups sour cream
- ⅓ cup heavy cream
- 2 large eggs
- 3 large egg yolks
- 1 tablespoon vanilla extract
- 10 gluten-free Oreo cookies
Ganache
- ½ cup semi-sweet chocolate chips
- ¼ cup heavy cream
- 5 gluten-free Oreo cookies
Instructions
Make the Crust
- Preheat oven to 325°F. Line the bottom of a 9-inch springform pan with parchment and spray lightly with non-stick spray.
- Crush 18 Oreos into fine crumbs. Mix with melted butter.
- Press into pan and bake for 10 minutes. Remove from oven, reduce oven temperature to 250°F, and set aside.
Cheesecake Filling
- With an electric hand mixer, beat cream cheese and sugar together in a large bowl until smooth. Scrape the sides of the bowl as needed.
- In a separate bowl, whisk sour cream, heavy cream, eggs, yolks, and vanilla. Gradually blend into cream cheese mixture, mixing until smooth.
- Crush the remaining Oreo cookies into larger chunks. Divide into thirds. Fold ⅓ of the crushed Oreos into the cheesecake batter.
Bake the Cheesecake
- Prep the water bath: Wrap the cheesecake pan in heavy foil. Set the pan inside a large roasting pan. Set the large roasting pan with the cheesecake into the oven. Pour boiling water into the roasting pan, halfway up the sides of the cheesecake pan.
- Carefully pour the Oreo cheesecake batter over the crust. Scatter another ⅓ of the crushed Oreos over the top.
- Close the oven door and make sure the oven temperature is reduced to 250°F. Bake for 1½ hrs. Resist the urge to open the oven door while it is baking.
- When the time is up, the cake may still look jiggly in the center and will look underdone, but turn the oven off and let the cake sit in the warm oven for 1 hour to finish cooking. It still may seem a tad jiggly in the center after this, but the edges should look set.
- Remove the cake from the oven. Refrigerate for at least 6 hours or overnight to cool and set the cake.
Remove the Cake from the Pan
- Gather two plates-any sturdy, flat plate and a serving plate large enough to hold the cheesecake.
- Release the sides: Run a knife or spatula around the side of the cake if it looks like it's going to stick, then release the sides of the springform pan.
- Remove the bottom: Place a piece of parchment paper on top of the cheesecake. Then take the flat plate and lay it on top of the cheesecake.
- Invert the cheesecake and set it down. The cake should now be upside down on top of the parchment paper. Remove the bottom of the springform pan and also parchment paper from the crust.
- Place the serving plate, upside down, on top of the crust. Flip the cake back over. Remove the parchment from the top of the cake. The cake should now be right side up on your serving plate.
Ganache and Garnish
- Heat cream until steaming. Pour over chocolate chips and stir until smooth. Cool slightly, then drizzle over cheesecake.
- Garnish with more Oreo pieces. Keep chilled until ready to serve.
Notes
- You may want to buy two packages of Oreos for this cake. You can add a few extra to the filling and garnish if you want it really Oreo-y!
- If you only have an 8-inch springform pan, extend the baking time by 15 minutes.
- Cheesecake will keep up to 5 days refrigerated or 2 months frozen.
Save This Recipe!
Estimated Nutrition
* Nutritional information is provided as a courtesy and should be used as an estimate only. See the nutrition policy for more information.
marie-claude lapointe says
it was amazing and my guests loved it. the cheesecake is soooo smooth and not sickly sweet. great recipe!
Glenda Brownell says
This is my family's favorites , it's so good.
G.Crest says
Followed directions to a T. Unfortunately the water bath ruined it. It seeped into the pan, despite two wrappings of foil around the bottom. It also didn’t cook all the way through. Such a disappointment, as it took so much time to make and looked amazing at first. The flavor of the cheesecake batter was delish though. So I guess I’ll skip the water bath next time and bake a bit longer.
Katie Olesen says
I am sorry your water bath leaked, that's why the directions indicate to use an oven bag and not foil. I've had foil leak and ruin a cheesecake as well, which is when I came up with the oven bag hack. If you haven't tried it, it works wonderfully! As far as doneness goes, once the timer goes off, look for the sides to be firm and the center to have a slight jiggle. If it's still very wobbly, keep baking for 10-minute intervals until it's just slightly jiggly in the center. Once it's done, turn off the oven. Leave the cake inside the oven with the door closed for 1 hour to finish cooking. Then cool and refrigerate for at least 4-6 hours; I prefer overnight. I hope that extra information helps if you should try to make the cheesecake again.
Elana says
Is there any way to do this successfully in a regular pie pan (not spring form) without the water bath? It looks amazing
Katie | Wheat by the Wayside says
I have not tried it in a pie pan but I think a deep dish pie pan could work, just don't overfill it. Or a round cake pan could also work, then you can still do the water bath.
Raiyne says
Tried this recipe and unfortunately it didn’t work for me. I am an experienced baker and have made cheesecakes many times before. I followed this recipe exactly as written and it did not set completely. It looked so good until I cut into it. I even baked an additional 5 minutes but could have probably used another 15-20 minutes. Hopefully others have better luck than I.
Katie Olesen says
Sorry, Raiyne. I wonder, did you refrigerate the cheesecake as well? Your oven may run a bit cooler than mine. I think you should bake longer at 10 minute intervals until the center is just slightly jiggly but not overly wobbly. Then follow the remaining cooling instructions.
Max M says
I have never eaten cheesecake but everyone else in my family loves it so I wanted to try and make one for a family get together. When I saw your photo I knew this would be the one I had to try and make. According to everyone, it was AMAZING! You did at amazing job at explaining what to do. Thank you so much! This was incredible and will be made many times again!
Katie | Wheat by the Wayside says
So glad you enjoyed it!! Thanks for the kind review!
Kathy says
I love your cheesecake recipes! They have become my go-to whenever I bring a dish to pass. Everyone wants a piece! Well worth the effort. Thanks for your recipes.
Katie | Wheat by the Wayside says
Thanks for the rave review! I appreciate you making my recipes!
Denise says
Just made this and it is INCREDIBLE. Very easy to make and delicious!!!
Katie | Wheat by the Wayside says
So glad you loved the recipe!
Bonnie says
I suppose this is a dumb question but do you remove the frosting from the Oreo cookies? But the 2 halves still make 1 cookie correct? I’ve never cooked with them so I’m not sure
Katie | Wheat by the Wayside says
Hi Bonnie,
Not a dumb question. Just crunch them up, cream and all!
Bonnie says
I guessed wrong I picked all the cream middles out lol but omg this was amazing!! I made it for fathers days and even my skeptical children loved it! The most amazing flavor and the density was heavenly!! Thank you!
Katie | Wheat by the Wayside says
So great to hear Bonnie!! Next time will be easier then! Thanks for stopping back to leave a review!