

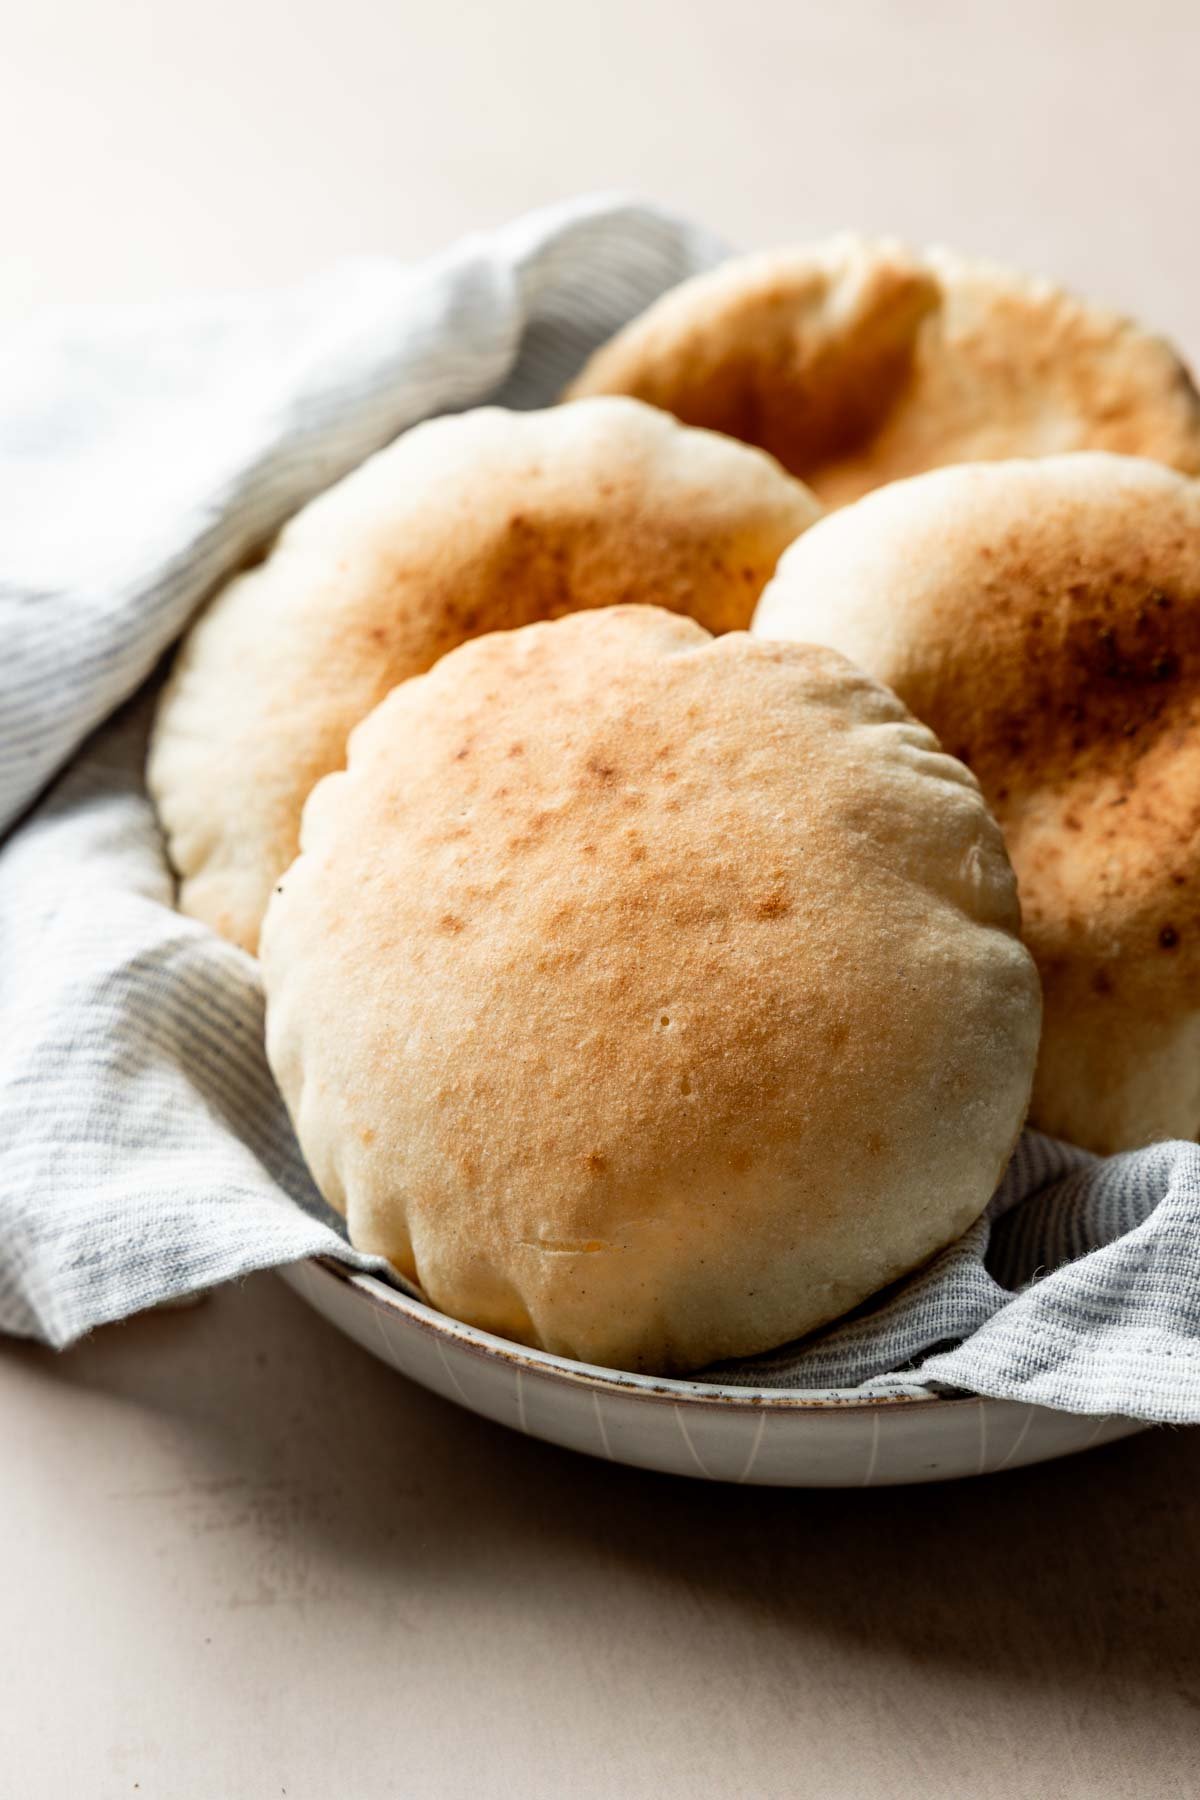
Tired of heavy, dense gluten-free loaves? These 13 practical tips will help you master gluten-free yeast bread baking at home.

When I was first diagnosed with celiac disease, it felt like everything I knew about baking had to be relearned, especially when it came to bread.
The ingredients were unfamiliar, the dough was sticky, and the textures were nothing like what I was used to. But I still craved the simple joy of baking a loaf of bread from scratch.
So I started experimenting. And don't get me wrong, I've made many loaves that went straight into the trash. But along the way, I learned a lot about what works and what doesn't when it comes to gluten-free yeast bread.
Today I'm sharing the tips I wish I had known sooner, so you can skip the frustration and start baking gluten-free bread that is soft and delicious right from the start.
Use a Gluten-Free Recipe
You can't just swap gluten-free flour into a wheat flour recipe and expect it to work. And yes, that includes flours labeled as 1:1 replacements. Traditional bread baking relies heavily on gluten development, so your gluten-free recipe will require completely different ratios and techniques for success.
Start with a gluten-free bread recipe developed specifically for gluten-free flours and you'll already be one step ahead. Check out all of my gluten-free yeast bread recipes to get started!
Use the Flours Listed
If a recipe calls for a specific flour, starches, or blends-like superfine brown rice flour, xanthan gum, or a particular brand of flour-use it. Swapping one flour for another can completely change how the recipe behaves.
If you need to make substitutions, look for suggested substitutes within the blog post, or look for another recipe that may be more suited to your needs.
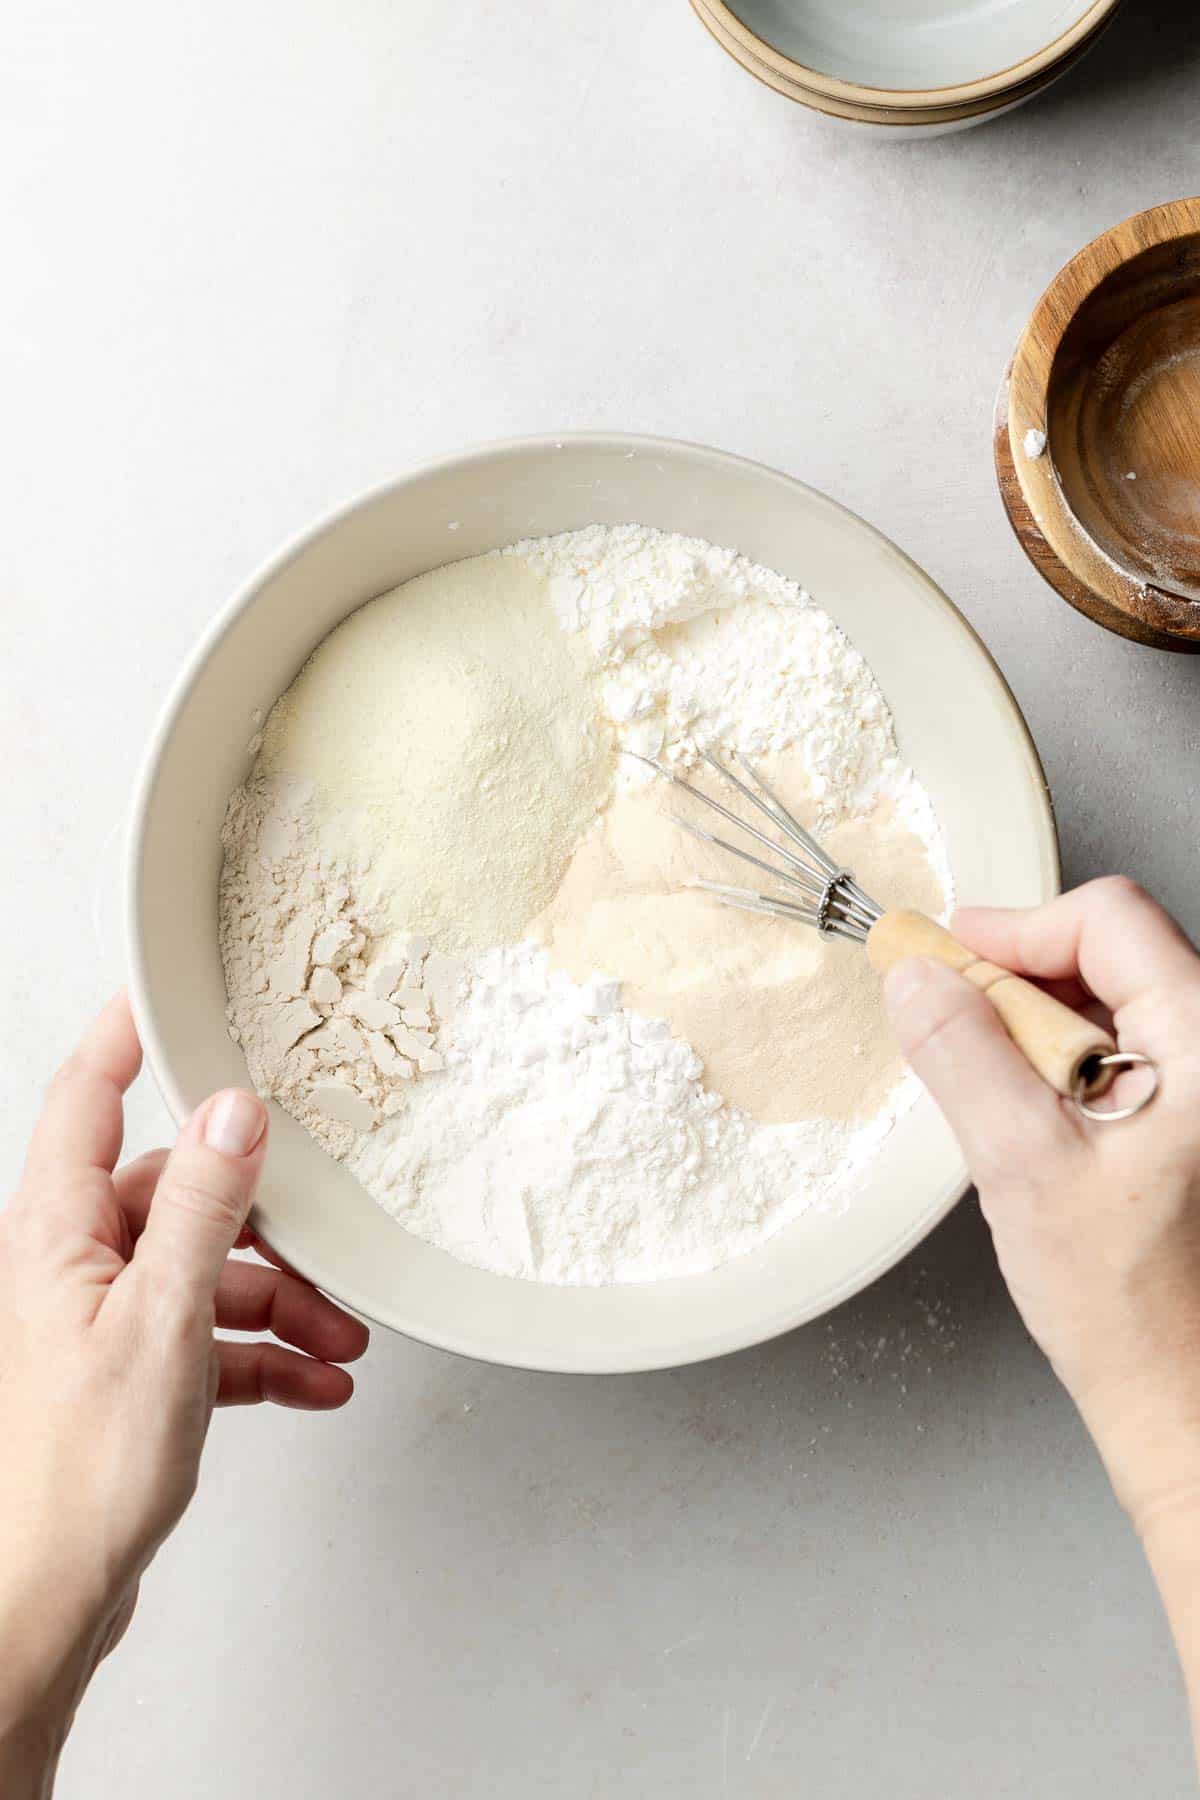
Measure in Grams
Ditch the measuring cup, and get yourself an inexpensive digital kitchen scale. Measuring by weight is the truly the best way to get consistent and accurate measurements.
Accuracy is especially important in gluten-free baking because our recipes are inherently less forgiving. Add to that, many of our ingredients can be difficult to measure accurately by volume, especially starches, like tapioca starch and potato starch.
Use Room Temperature Ingredients
Yeast thrives in a warm environment. If your ingredients are too cold, it can slow down fermentation and prevent your bread from rising well.
If you store your flours in the refrigerator or freezer, measure what you need and then let it sit out long enough to come to room temperature before you start mixing your dough. The same goes for eggs, milk, and butter.
Use Instant Yeast
Instant yeast is better suited for gluten-free breads. Unlike active dry yeast, it doesn't need to be dissolved first, has more live cells, and works with just one rise, which is a great benefit to gluten-free dough.
A second rise is useful in wheat bread for strengthening gluten, but in gluten-free bread a second dough rise can lead to over-fermentation or collapse.
If you're curious to know more about instant yeast, check out my post on why I use instant yeast for gluten-free breads.
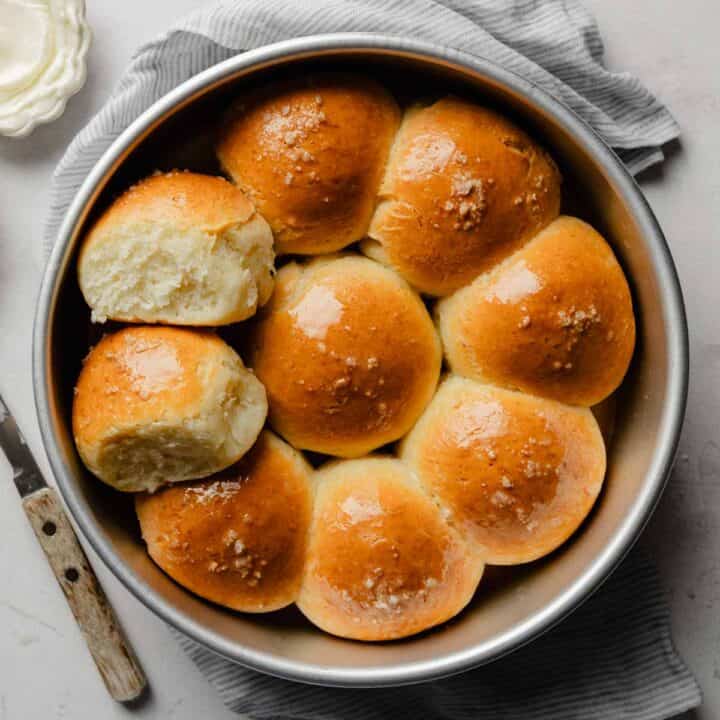
Add Enough Moisture
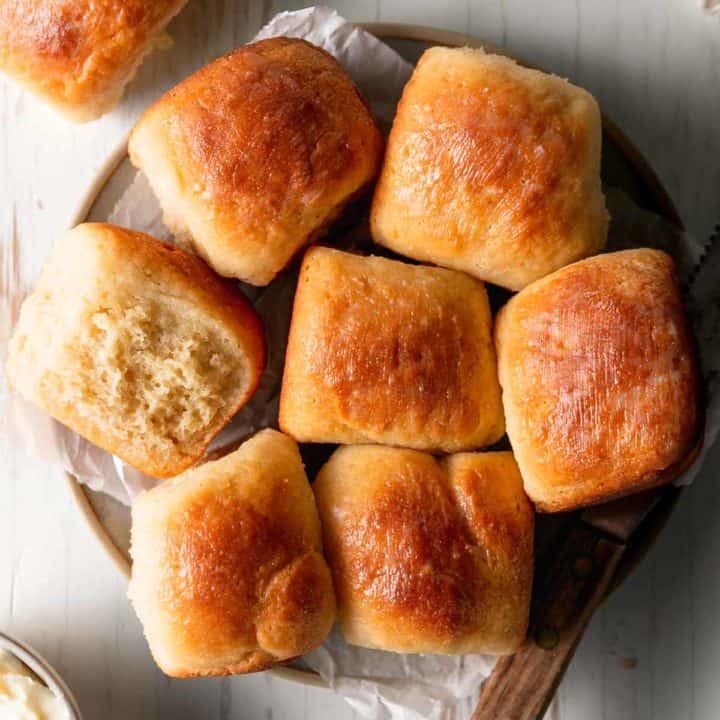
If you're sick of dense, heavy loaves, the answer usually lies in the hydration of the dough. Gluten-free flours tend to absorb a lot of water, so you need to add more liquids than you're used to with a typical dough. Gluten-free bread dough should be more like a thick cake batter rather than something you can 'knead'. My gluten-free dinner rolls are a perfect example of a more hydrated dough.
Try Psyllium Husk Powder
Psyllium husk is a wonderful binder for gluten-free bread baking. It absorbs a lot of water and forms a gel that makes your dough easier to handle. That gel also helps trap carbon dioxide as the bread rises, creating a lighter, more open crumb.
Save This Recipe!
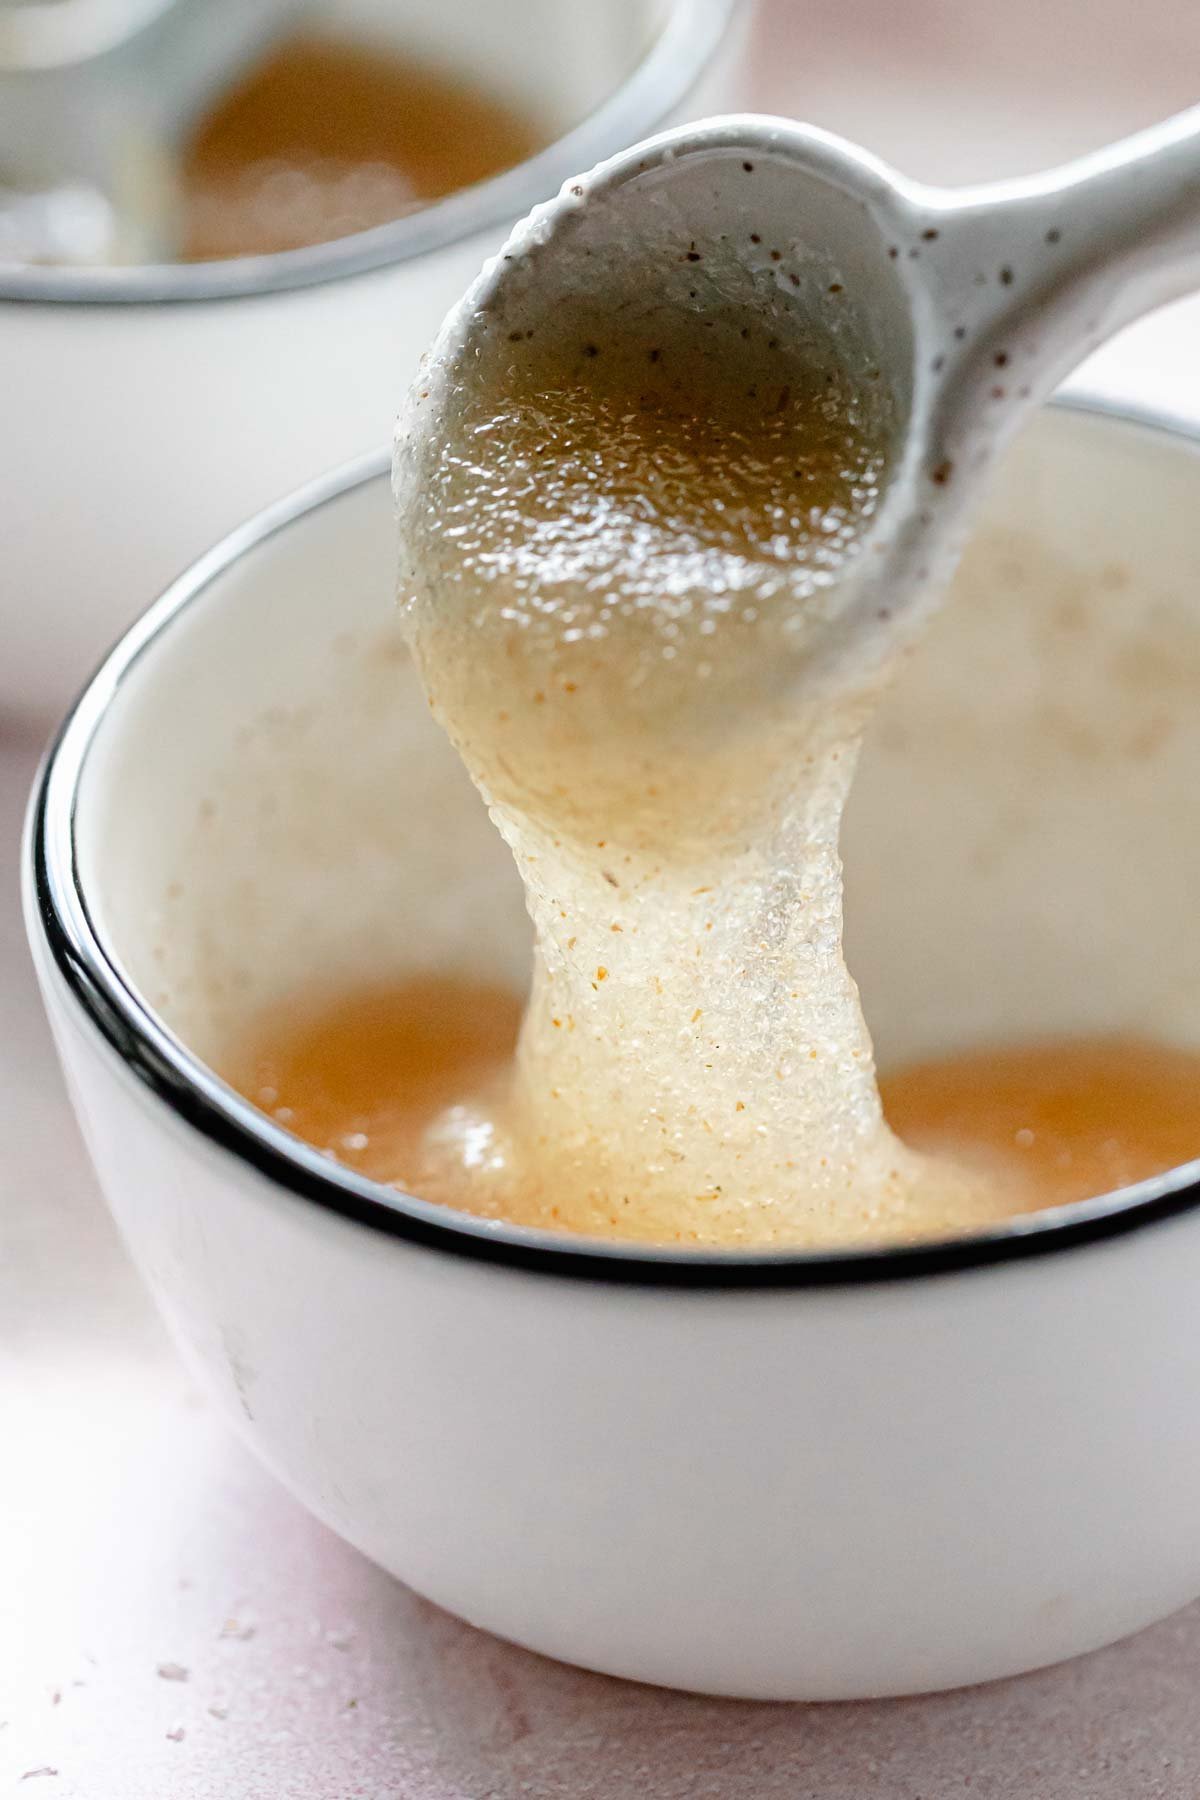
If you're new to psyllium, check out my guide on whole vs. powdered psyllium husk and my psyllium husk conversion calculator to help you get the right amount in your recipes.
Add Eggs for Structure
Eggs contribute structure, lift, and moisture to gluten-free bread doughs. The fats and proteins enrich the dough and help create a more tender, stable loaf. You can see how much structure eggs provide in my gluten-free brioche bread.

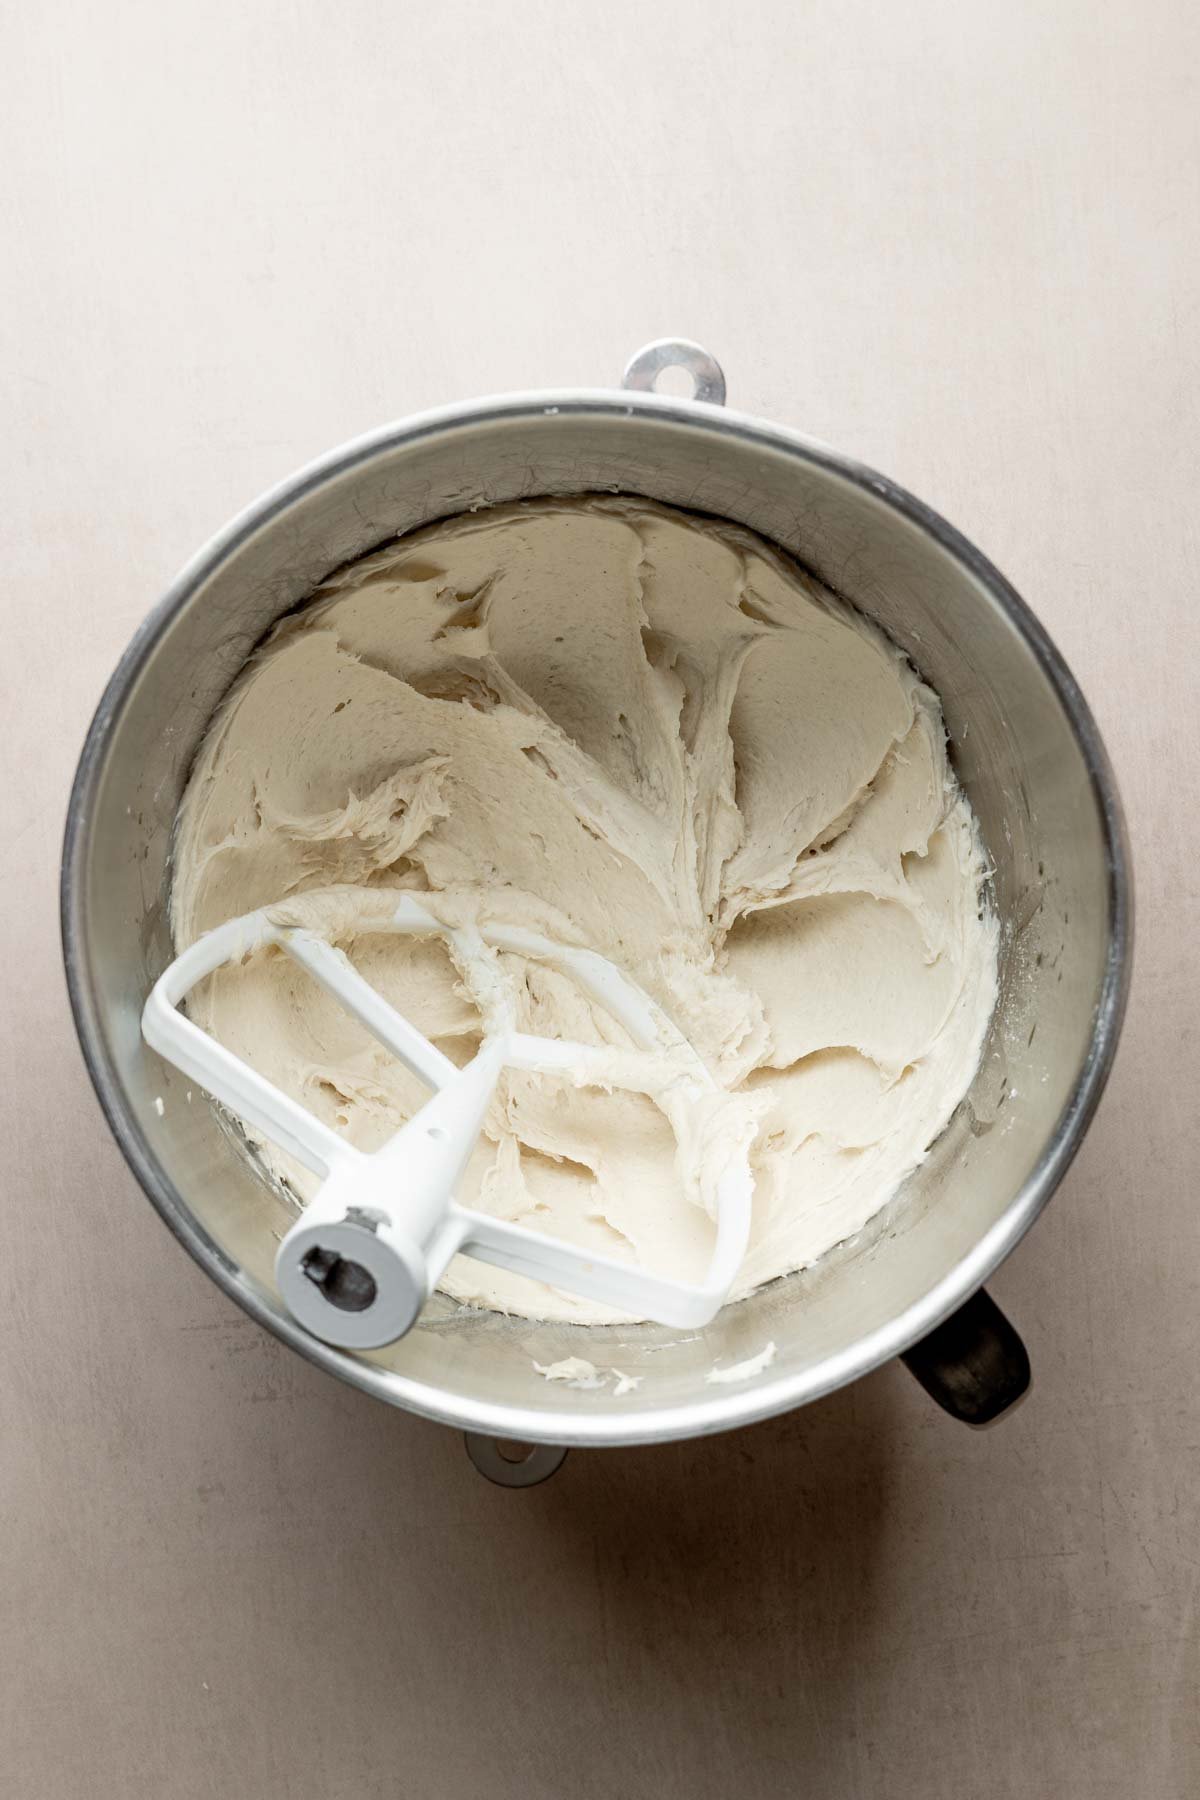
Mix Thoroughly
Proper mixing can go a long way in making sure your bread turns out well. Be sure to whisk your dry ingredients first, to ensure all of the ingredients are evenly distributed.
When it comes to mixing the dough, a stand mixer is your new best friend. Use the paddle attachment rather than the dough hook, as it will do a better job of making sure everything is evenly combined.
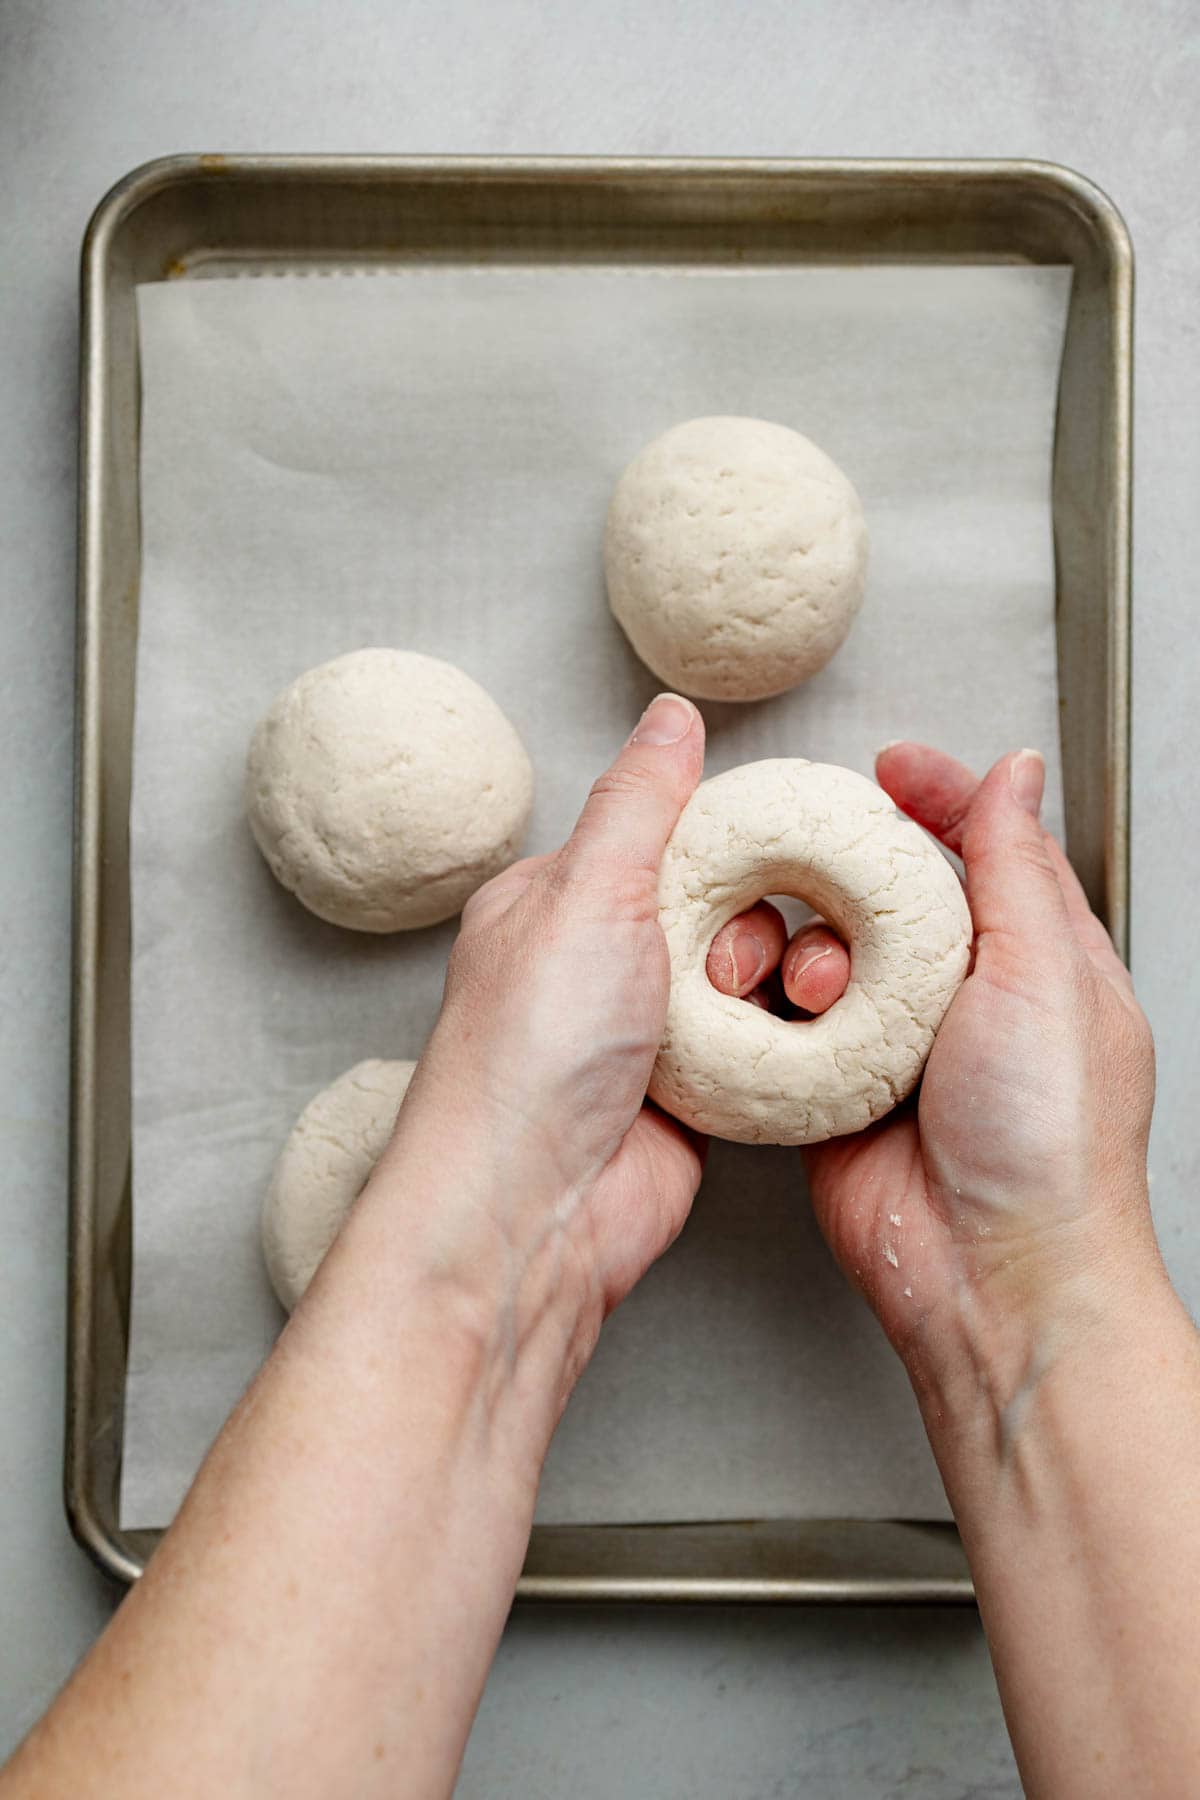
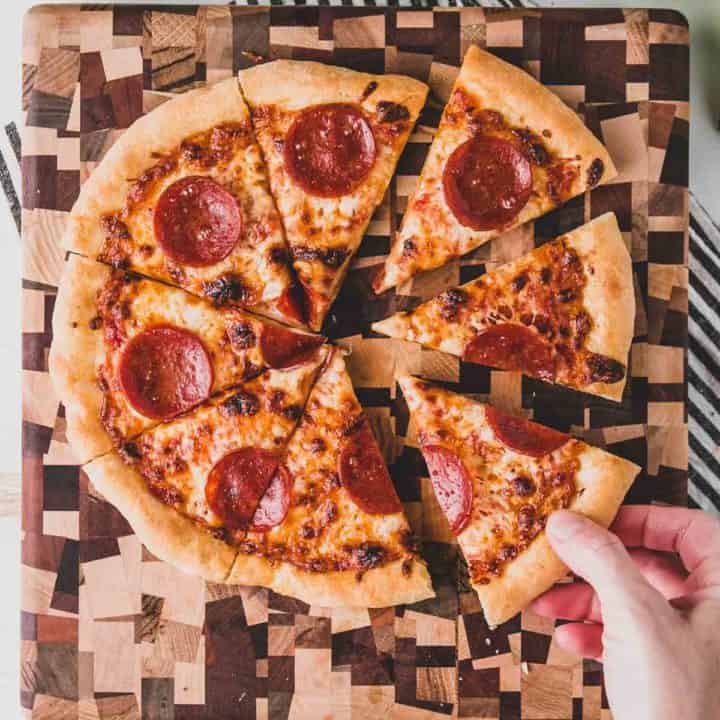
Shape the Dough at the Right Time
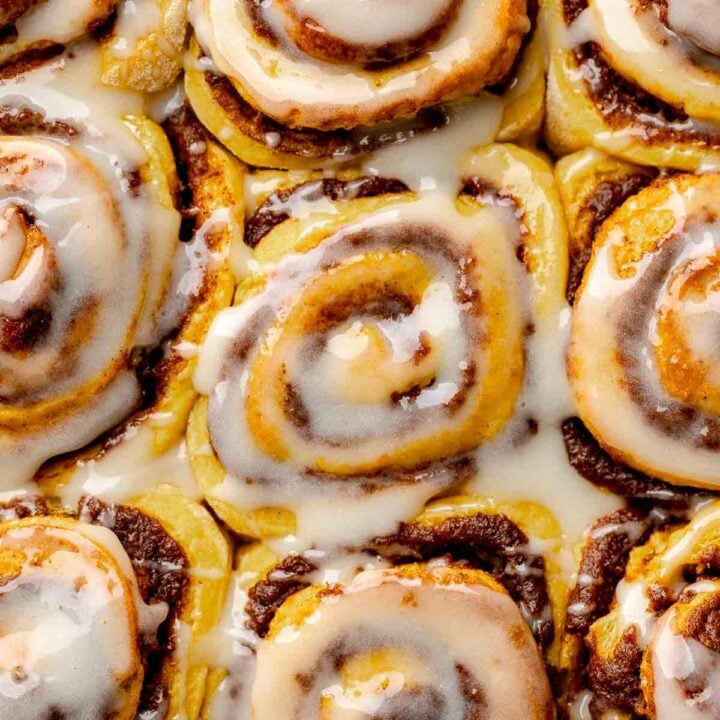
If you're only using one rise, pay attention to when to shape the dough. For gluten-free bagels or gluten-free cinnamon rolls, shape the dough before the rise so you don't deflate it later. For gluten-free pizza dough, it's usually best to shape after rising.
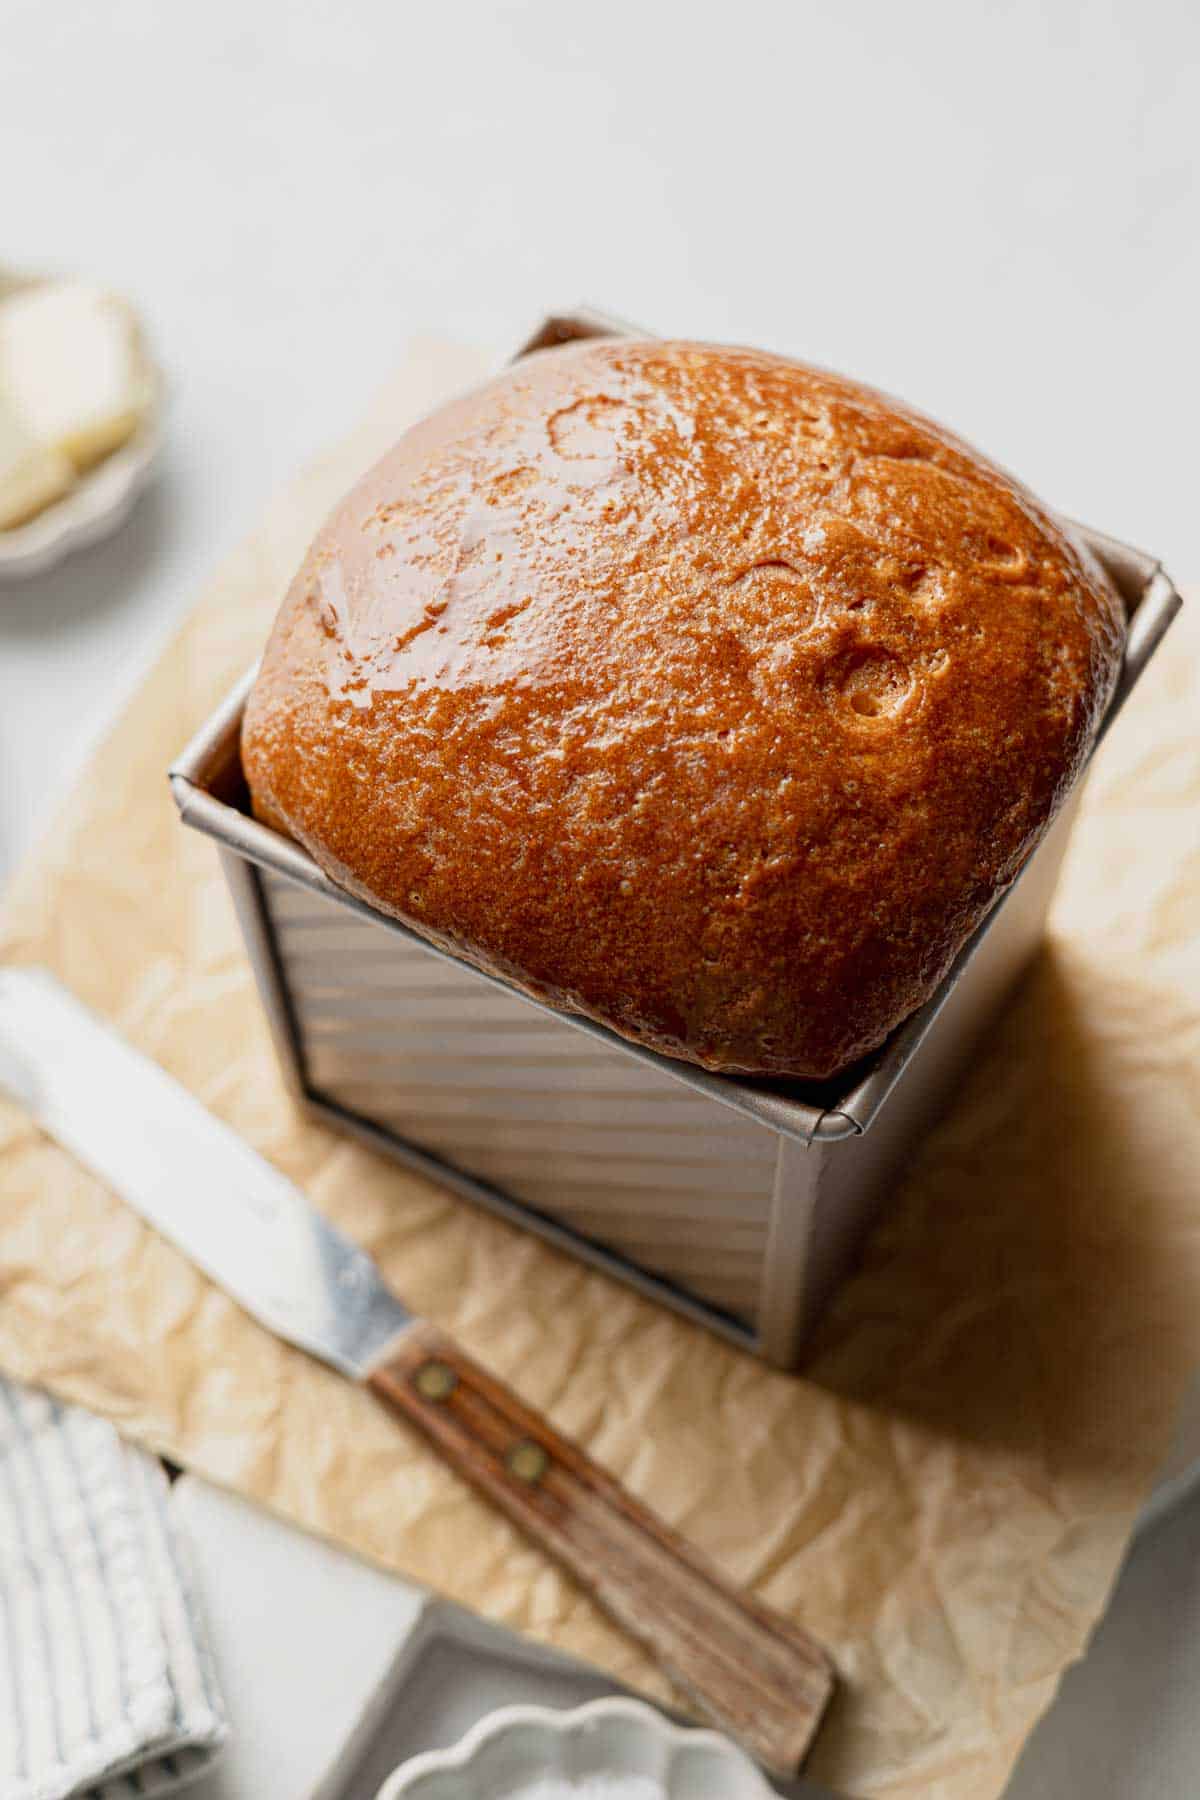
Use a Pullman Loaf Pan
If you want your gluten-free bread to rise higher, use a loaf pan with taller sides, like a pullman pan. The extra support helps the bread rise upward instead of spreading out. It's a simple switch that makes a noticeable difference.
You can see the pullman loaf in action in my gluten-free sourdough sandwich bread recipe.
Bake Your Bread Longer
If you're struggling with a gummy center in your loaves, it could be that you need to bake your bread longer. Rather than using visual cues like "golden brown", use a digital thermometer and bake until the internal temperature of the bread hits 205°F to 210°F.
Once the bread reaches that temperature, it will hold there for a while, so you can even let it bake a few extra minutes if you want to-it's hard to over-bake a gluten-free loaf!
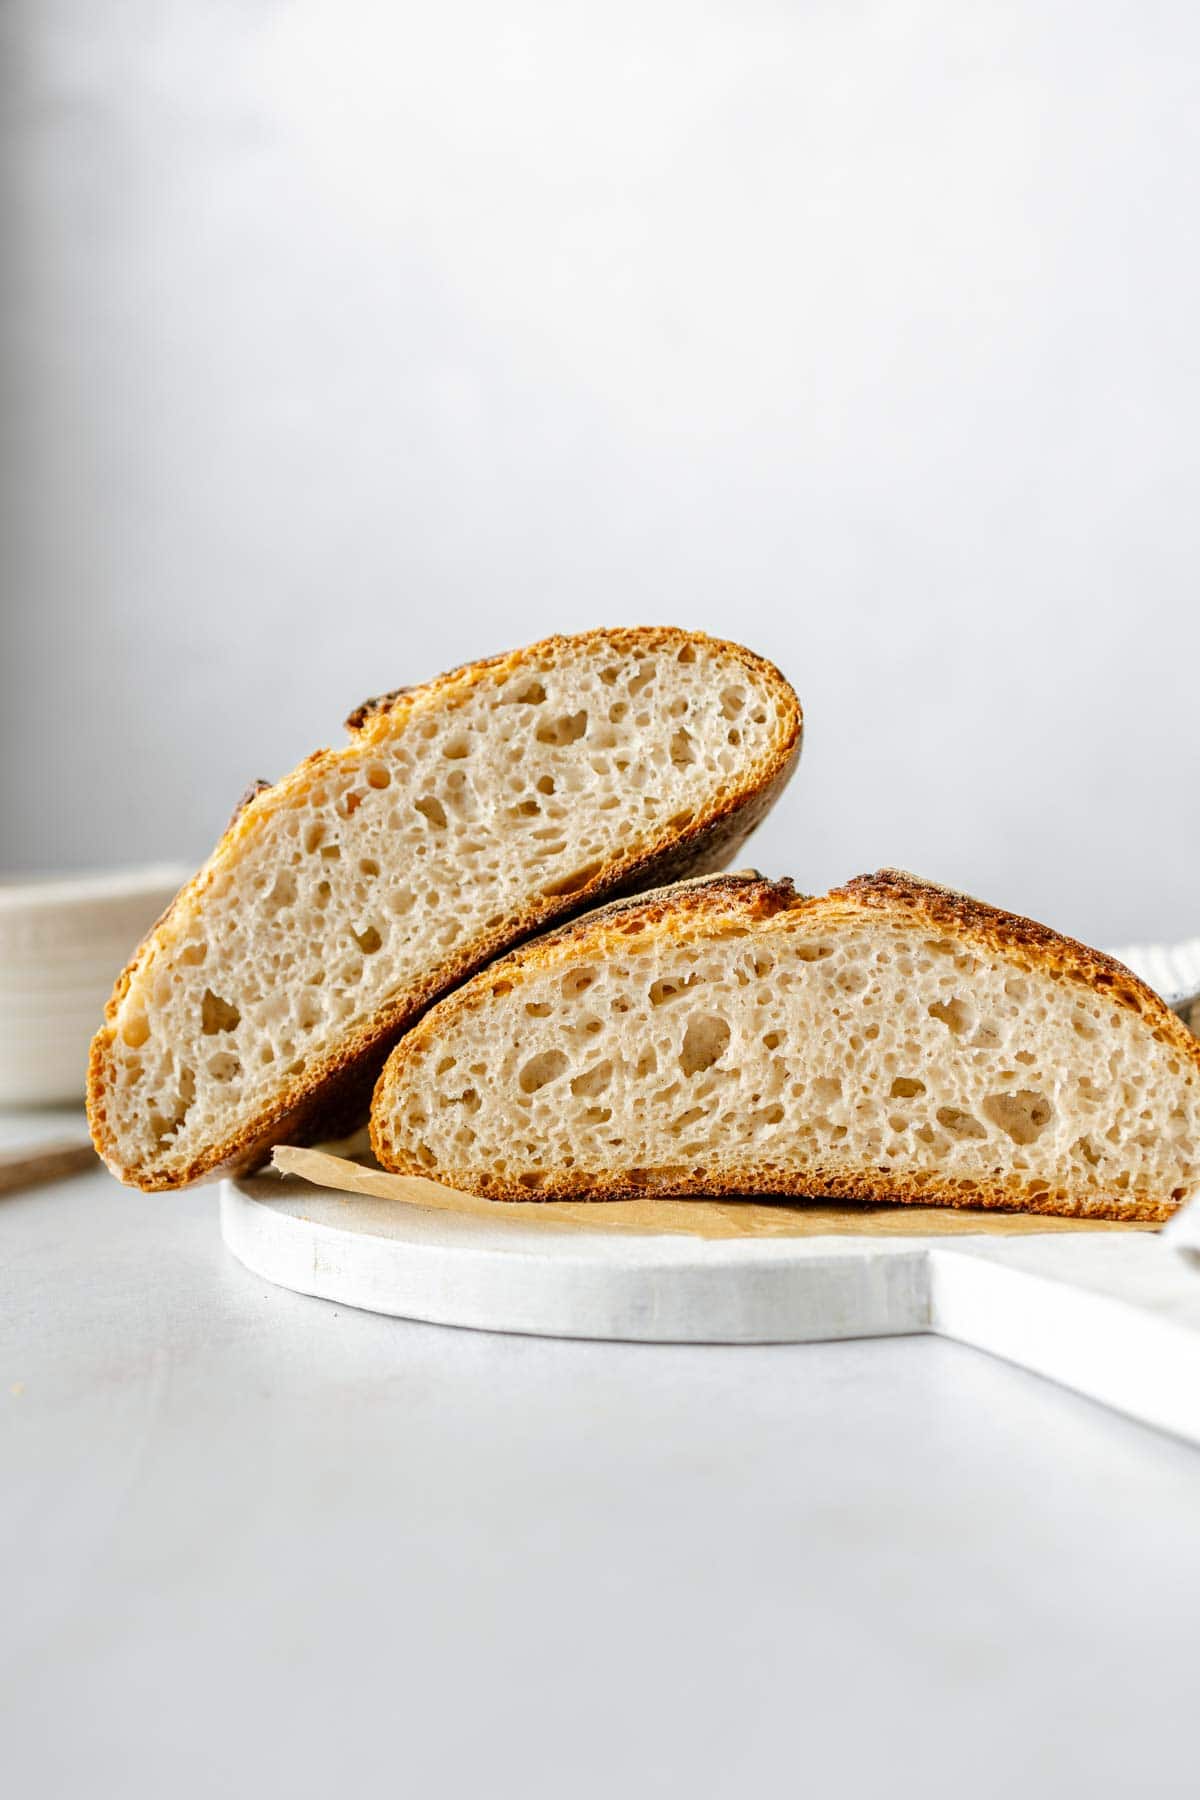
Let It Cool Completely
Let your bread cool completely, at least 2 hours, before slicing. The bread will finish the baking process as it cools, cutting too soon can leave the inside gummy and underdone. You can see the difference this makes in my gluten-free sourdough bread recipe, where cooling time is key to getting that perfect texture.
Gluten-free bread baking can definitely feel intimidating at first. Use these tips to better understand what the dough needs and reframe your mind around baking bread.
Give yourself space to practice (and yes, sometimes fail). With time, you'll feel much more confident pulling beautiful loaves out of the oven!
Have more questions? Drop them in the comments below!
Gluten-Free Bread Baking FAQs
Adding more yeast won't make gluten-free bread rise more. It can actually cause the dough to ferment too quickly and then collapse.
Many factors can affect the rise of your gluten-free dough. Some common issues are not using a good binder, your dough is too dry, ingredients are too cold, or yeast that is past its prime.
The best binder for gluten-free bread is usually psyllium husk, because it forms a gel that adds structure, traps air, and helps the dough hold its shape as it rises.
In regular wheat bread, vinegar tightens and strengthens gluten strands, improving dough structure. Gluten-free bread has no gluten to strengthen, but vinegar still helps by lowering the dough's pH, which can support yeast activity and also strengthen the protein and starch network in the loaf.
Gluten-Free Yeast Bread Recipes
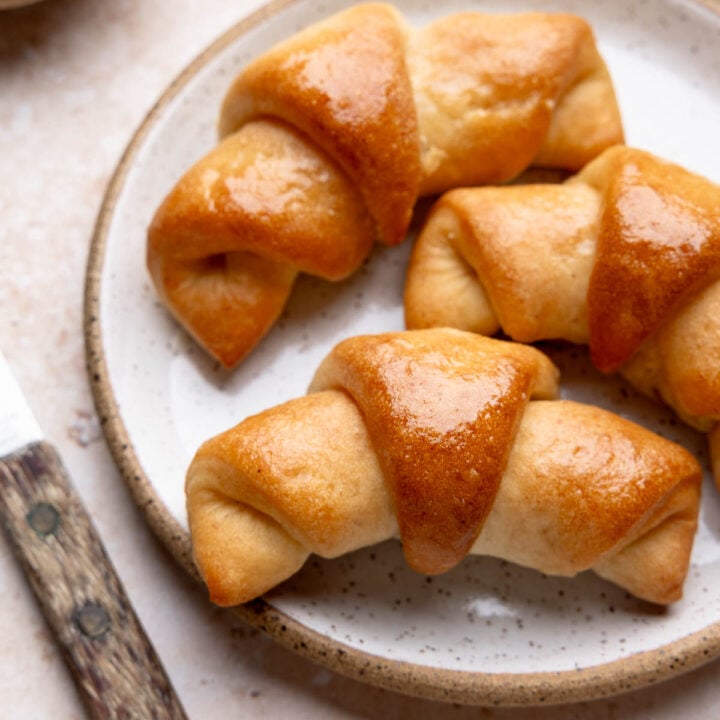
Eager to put some of these tips into action? Try out some of my easy recipes first, like these gluten-free crescent rolls.

Suzanne Charles says
I just made these bagels! I “LOVE” Caputo flour, and I was thrilled to find a recipe using it for bagels.
I doubled the recipe, and I have 8 bakery size bagels! They only took 19 minutes to bake, and they look amazing. I can’t wait to eat one!
This looks s my new go to bagel recipe!
Thank you for this recipe Katie! ❤️
Katie Olesen says
You're welcome! Enjoy the bagels!