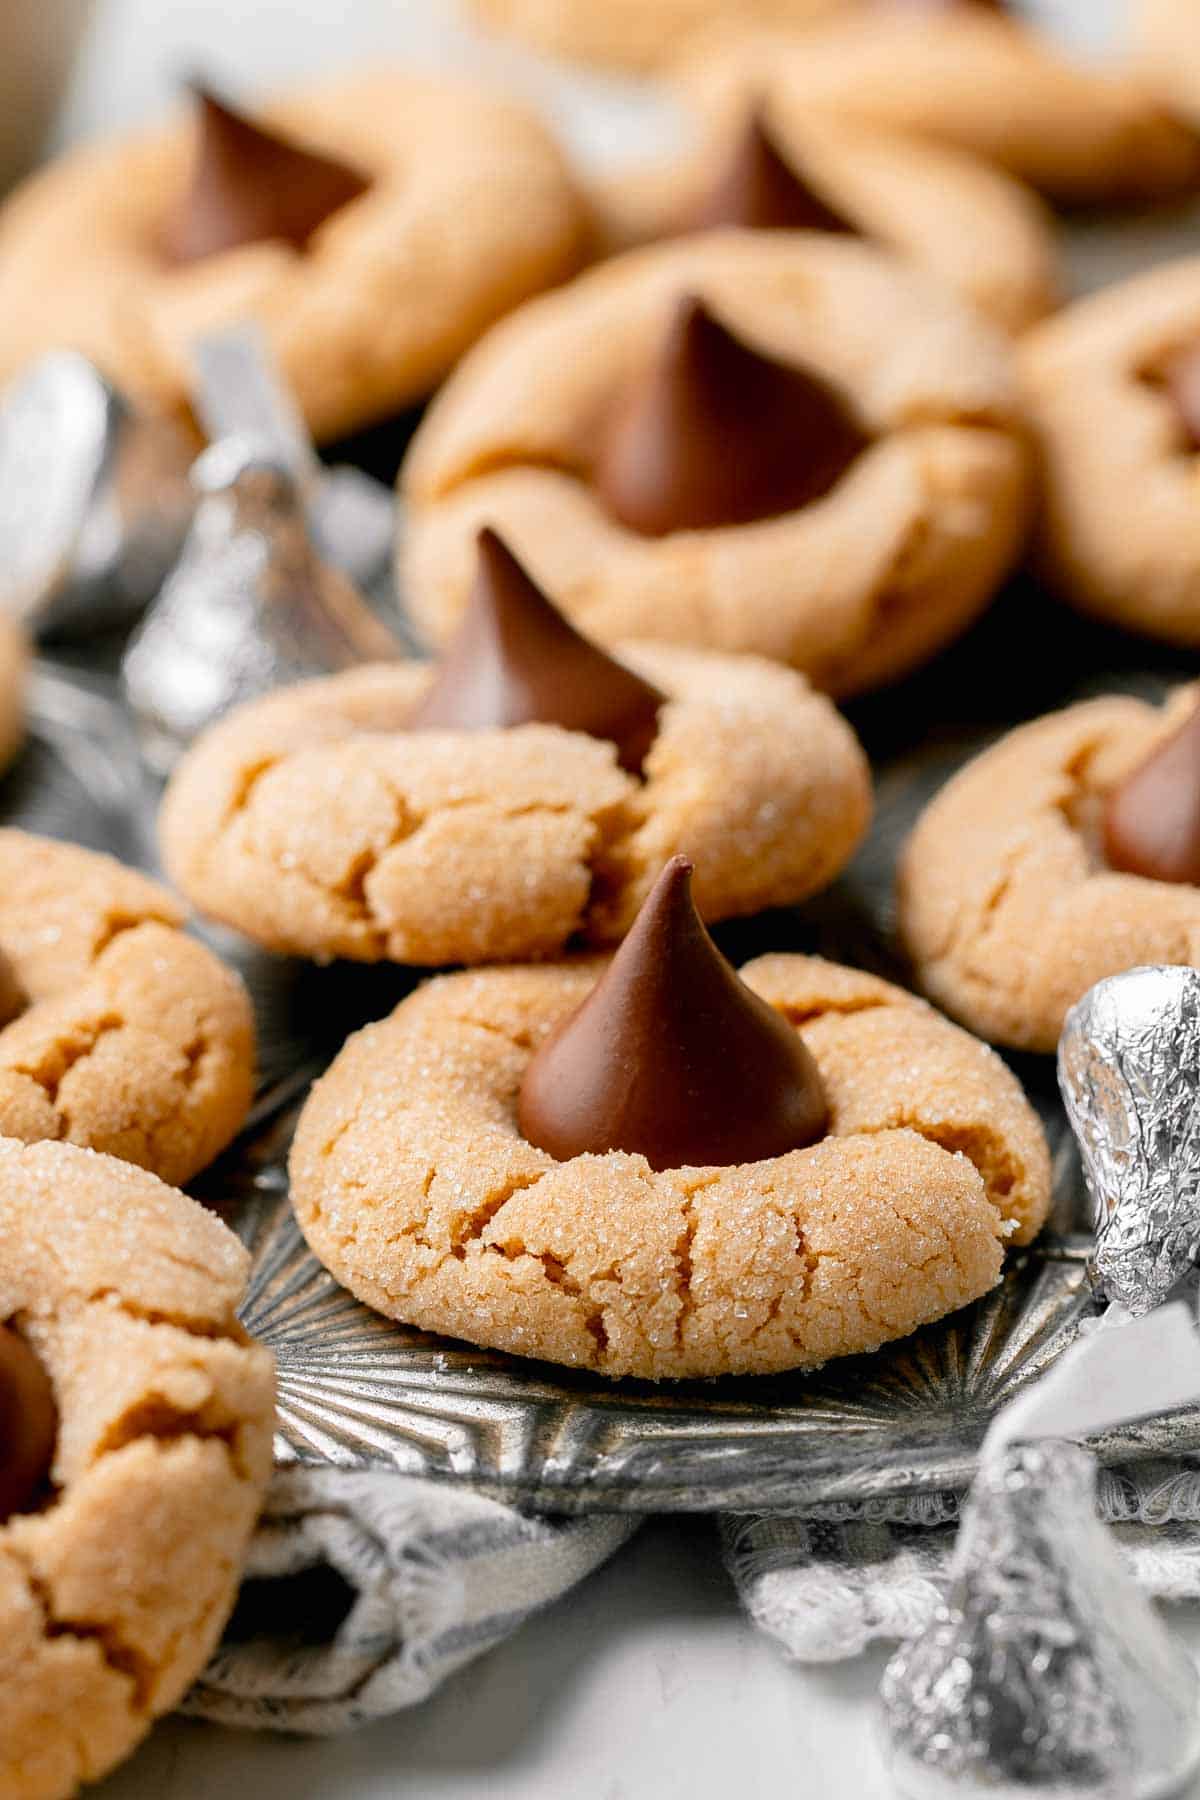
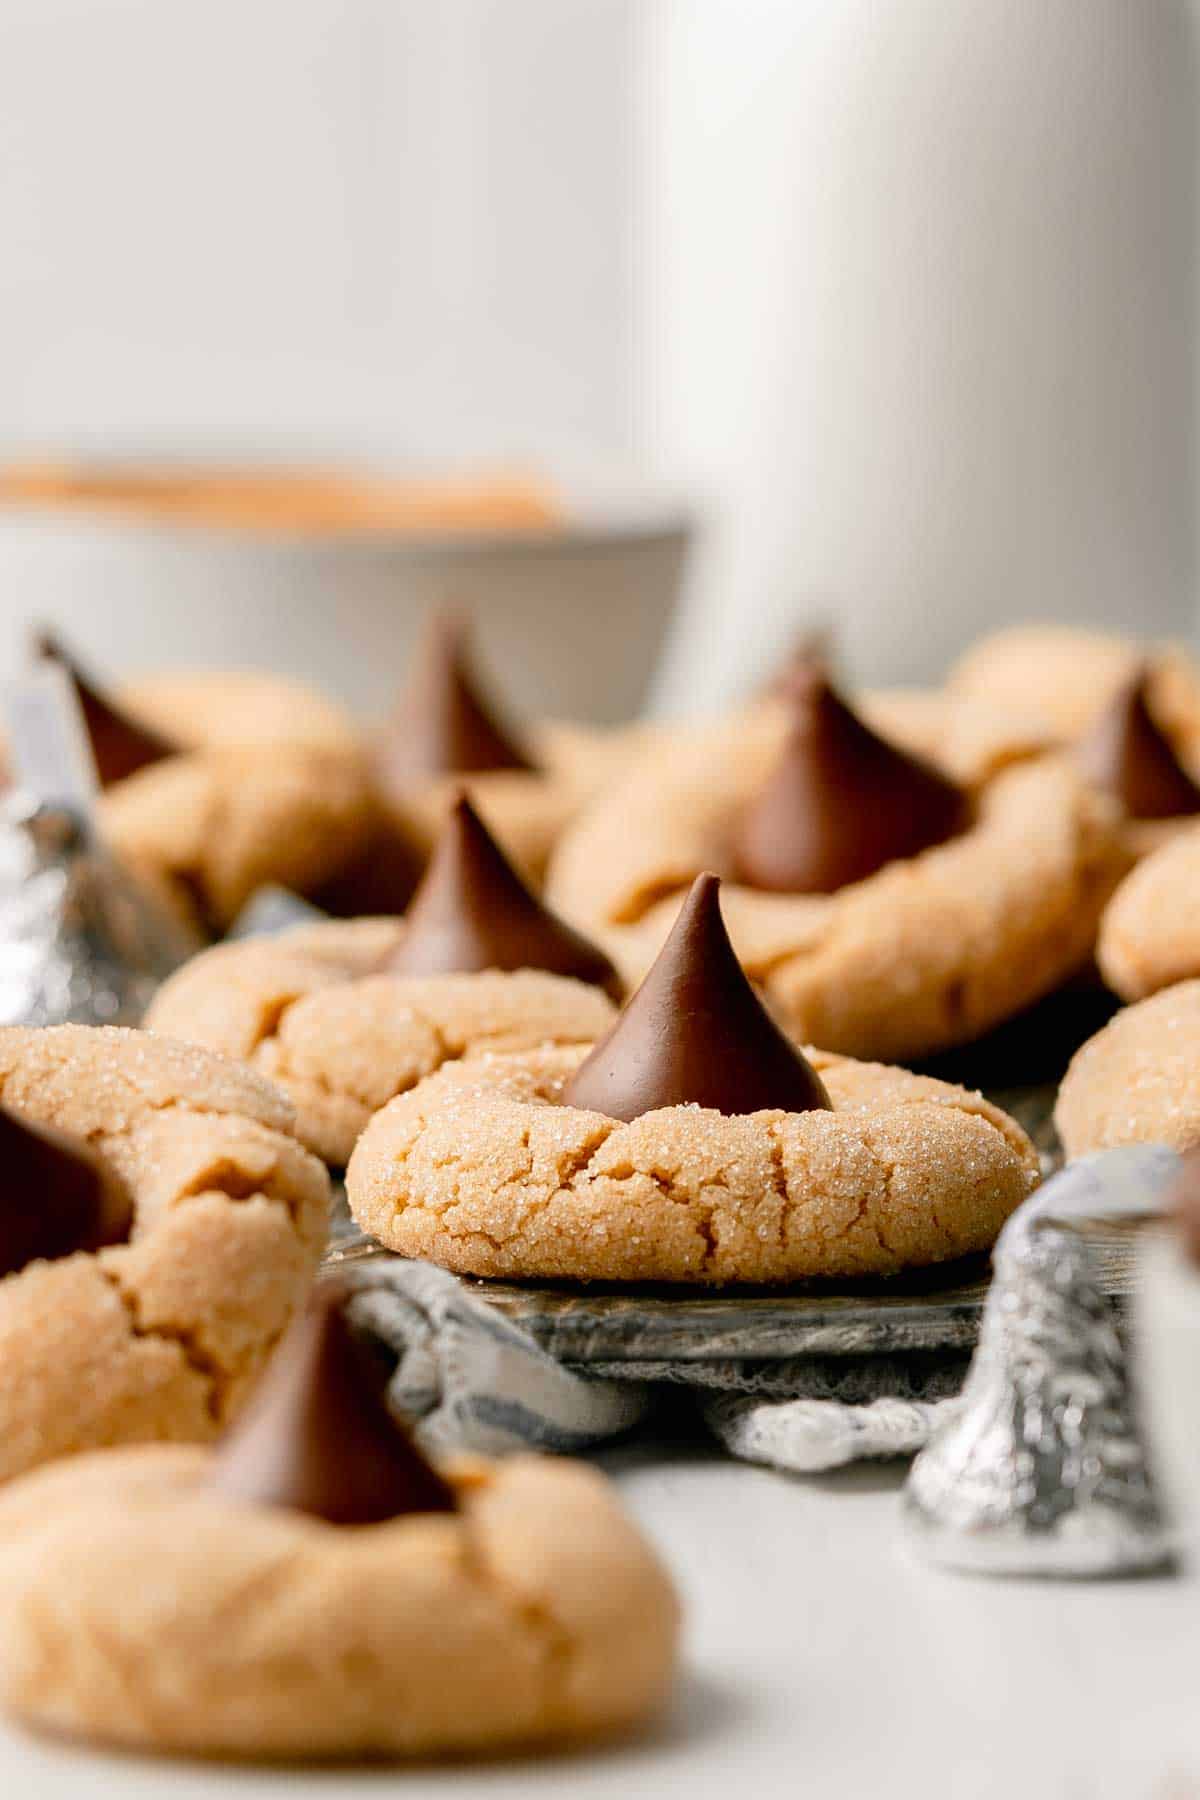
Gluten-Free Peanut Butter Blossoms are a classic Christmas cookie recipe made during the holiday season. Soft and chewy gluten-free peanut butter cookies are topped with a Hershey's Kiss right as they come out of the oven, creating a sweet variation on thumbprint cookies. This delicious cookie is a must make any time of year!
Why You'll Love This Recipe
This cookie recipe is a classic, much beloved especially around Christmas! These easy to make peanut butter kiss cookies are the perfect addition for your Christmas cookie trays. They only require a few simple ingredients and everyone seems to love that peanut butter and chocolate combo!
These gluten-free cookies have the perfect 'blossom' shape, which is a slightly puffy cookie that cracks ever so slightly when the Hershey's Kiss is pressed on top of the cookie.
This cookie has been perfectly modified to a gluten-free version, retaining the delightfully soft cookie and slightly chewy texture, no dense crumbly cookies here!
Plus, these peanut butter blossoms are made with real butter and no shortening! I don't personally have much against using a little shortening here and there but I know a lot of people are avoiding this ingredient or have trouble finding it. Not to mention the butter tastes much better anyway!
If you really want to amp up the peanut butter flavor in these cookies, check out these completely flourless peanut butter blossoms! They are also simple to make and naturally gluten-free!
More Gluten-Free Holiday Cookie Recipes
- These gluten-free double chocolate chip cookies are one of our most popular recipes!
- Here's a recipe for classic gluten-free frosted sugar cookies, perfect for cut-outs! Works great with many gluten-free flours!
- Love thumbprints? Here are gluten-free buttercream thumbprints and gluten-free jam-filled thumbprints.
- Gluten-free Snickerdoodles and Gluten-Free Pecan Tassies are always someone's favorite!
- Jump right to my cookie page to browse all the gluten-free cookies recipes!
Ingredeints
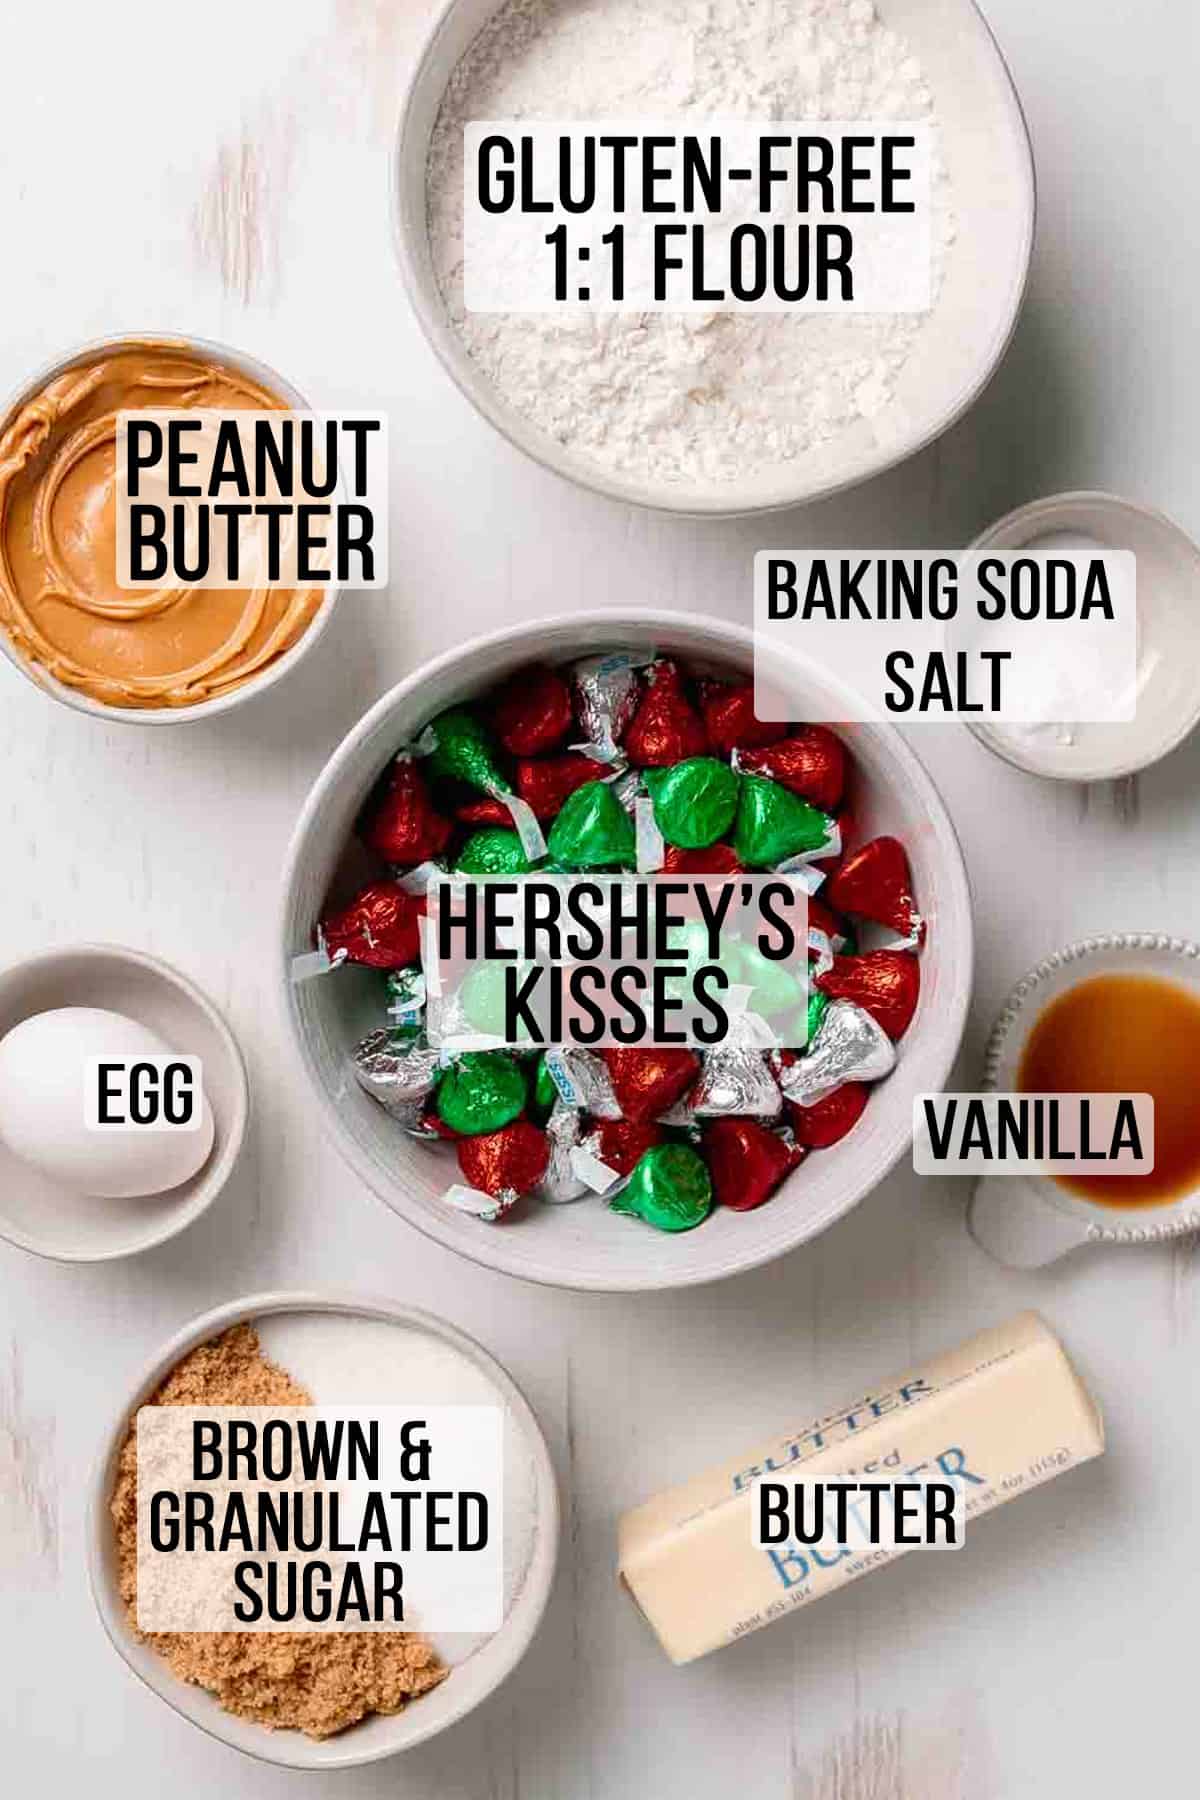
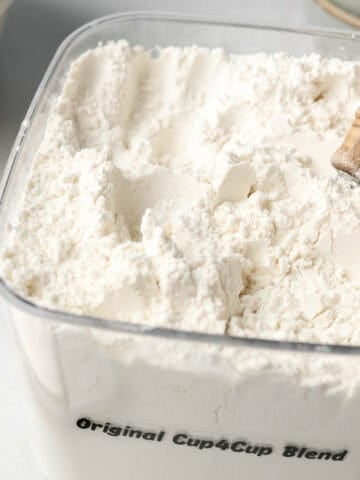
- Gluten-Free Flour Blend: I have made this recipe with several blends of gluten-free flour all of which worked well in this recipe; King Arthur Measure for Measure, Cup4Cup, Namaste Perfect Blend, and Pamela's Artisan Blend.
- Peanut Butter: I used regular JIF creamy peanut butter. I haven't tried this recipe with crunchy peanut butter, natural peanut butter, or other nut/seed butters. If you can't have peanut butter, other butters will work as long as they are the same consistency as regular peanut butter.
- Hershey's Kisses: Regular Hershey's Kisses brand milk chocolates are labeled gluten-free. If using another variety, be sure to check the labels.
- Butter: I developed this recipe without shortening and with butter instead. I find the butter richer flavor. If you need a dairy-free option, feel free to use your favorite butter substitute.
Peanut Butter Cup Variation
You can also make these cookies with Reese's miniature peanut butter cups. Follow the recipe as directed but instead of baking the cookies on a cookie sheet, place each ball of cookie dough in mini muffin pan. Then bake as directed. As soon as you pull the cookies out of the oven, press an unwrapped peanut butter cup into the center of each cookie.
💌 Want to Save This?
Unsubsribe at any time.
Making Gluten-Free Peanut Butter Blossoms
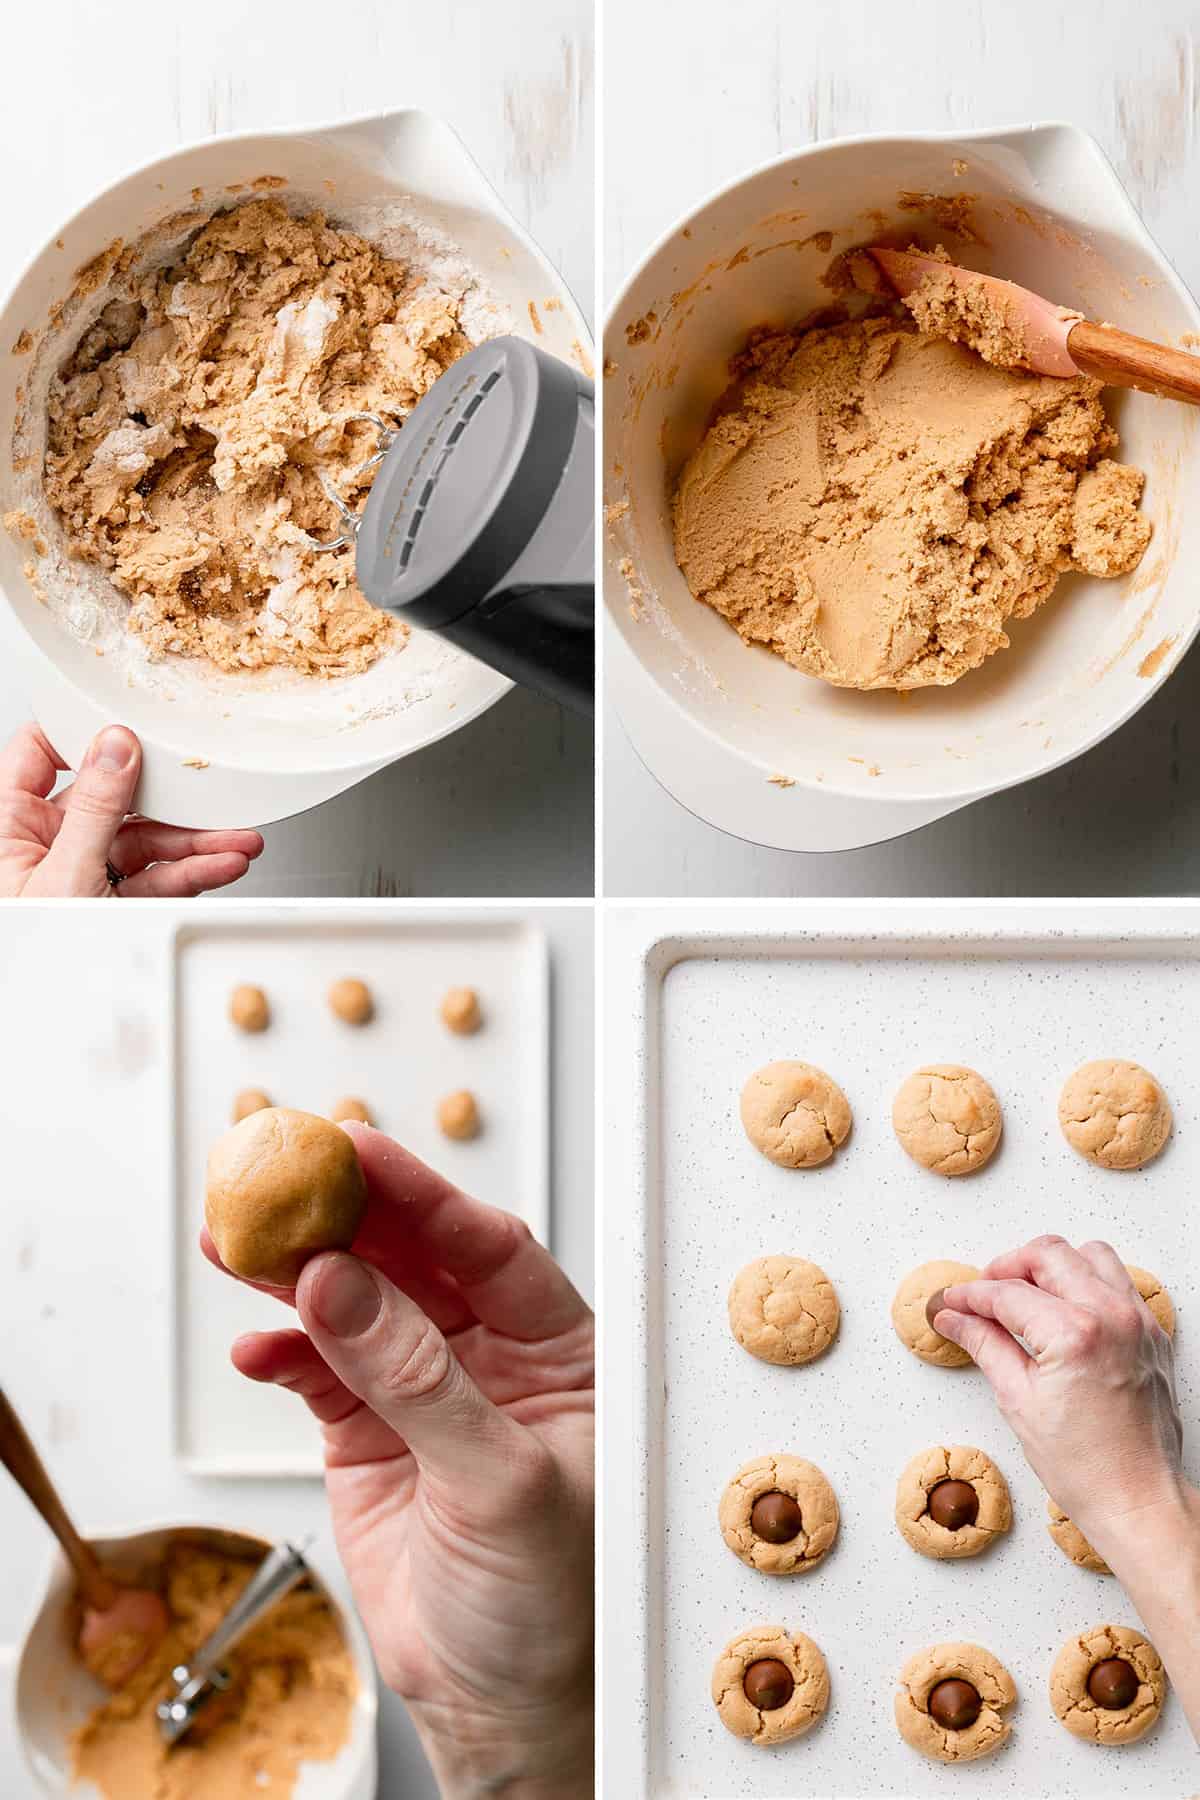
- To make these cookies, start by making the peanut butter cookie dough. In a small bowl, whisk the dry ingredients together. Then in a separate bowl, cream the butter, peanut butter and sugars together. You can do this my hand or with a hand mixer or stand mixer. Add the egg and vanilla and blend well, making sure to scrape down the sides of the bowl. Incorporate the dry ingredients into the wet mixture.
- Use a small cookie scoop to help you scoop one tablespoon of dough and then roll it into a ball. Roll the dough in granulated sugar. Then bake the cookies.
- As soon as the cookies come out of the oven, press an unwrapped chocolate kiss on top of each cookie.
- Allow the cookies to cool completely and the chocolate to set back up.
How to Store or Freeze These Cookies
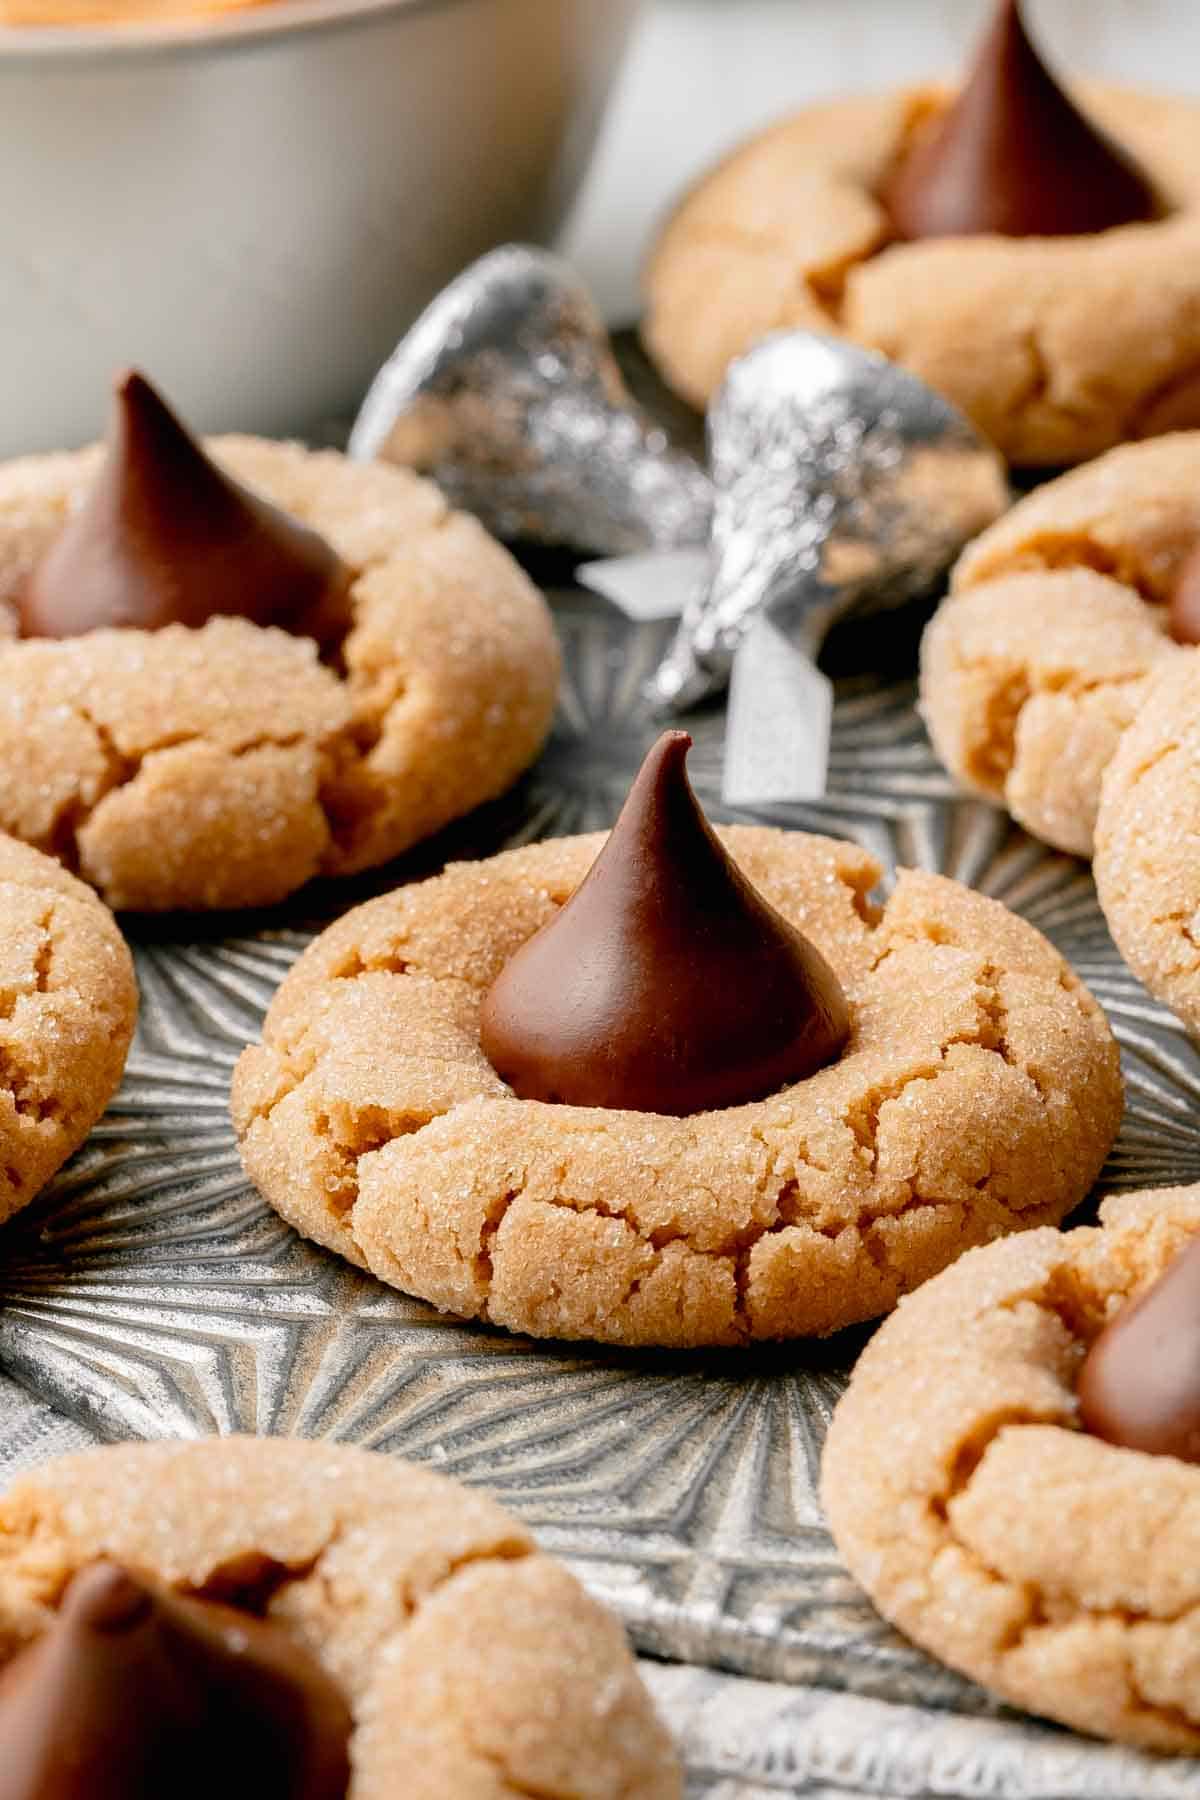
- Before you try to store these cookies be sure to cool them completely at room temperature first. You must allow the chocolate to set back up before stacking and/or storing. Otherwise, you will mess up the chocolate kisses and that would be a shame.
- Once the chocolate has hardened again, you can stack the cookies if needed. Place a piece of wax paper in between the layers.
- Store the cookies at room temperature for up to three days in an airtight container.
- You can freeze the cookies in an airtight freezer-safe container for up to 3 months. Thaw overnight at room temperature.
- You can make the dough 1-2 days ahead of baking. Keep the dough covered with plastic wrap or in an airtight container in the refrigerator until you're ready to bake the cookies.
Top Recipe Tips
- Instead of white granulated sugar, roll cookies in colored sugar or sprinkles for a more festive look!
- Don't worry about cracks! That's what makes these cookies a blossom! Occasionally you may get one that cracks beyond repair... if that happens to you, I'd say that's just a sign you're supposed to eat it.
- These cookies are the perfect cookie to make with kid helpers. Kids can help with so many of the tasks, from helping mix the dough to rolling the cookies in sugar, and even pressing the Hershey's Kisses on top!
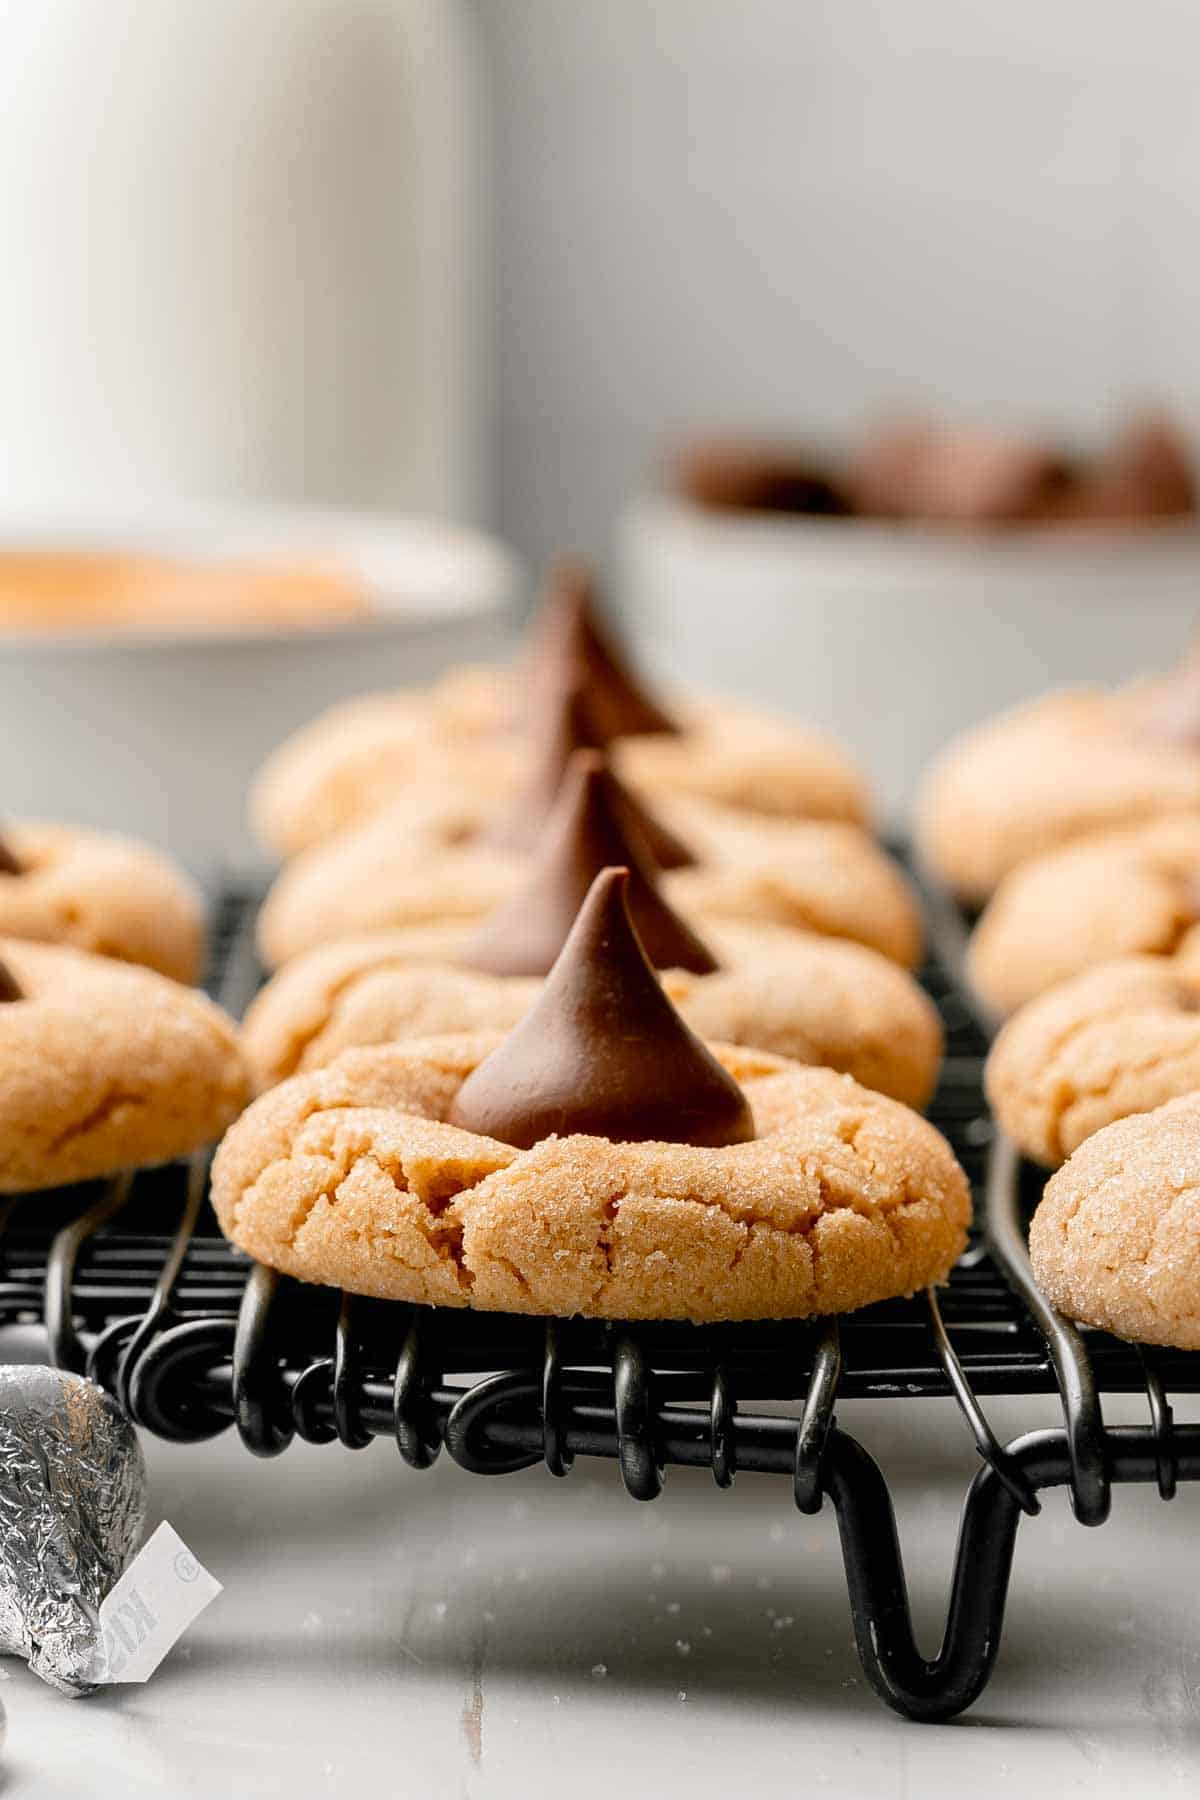
I hope you enjoy this classic Christmas cookie recipe, now gluten-free! These gluten-free peanut butter blossom cookies are such an easy recipe to make and just as good as the original recipe! Please check out some more recipes before you go and be sure to sign up for my newsletter so you don't miss out on any new recipes!
Join My Newsletter!
Still Hungry? Subscribe Here!
Recipe
Gluten-Free Peanut Butter Blossoms
Ingredients
- ½ cup butter, softened
- ½ cup creamy peanut butter
- ½ cup granulated sugar, plus more for rolling cookies
- ½ cup brown sugar
- 1 large egg
- 1 teaspoon vanilla extract
- 1 ¾ cup Gluten-Free 1:1 Flour for baking, such as King Arthur Measure for Measure, Cup4Cup, Pamela's Artisan Blend, or Namaste Perfect Blend.
- ¾ teaspoon baking soda
- ½ teaspoon salt
- 42 Hershey's Milk Chocolate Kisses, 1 package
Instructions
- Preheat the oven to 375°F. Line two baking sheets with parchment paper. Unwrap the chocolate kisses.
- In a small bowl, whisk together the flour, baking soda, and salt and set aside.
- In a separate large mixing bowl, cream together the butter, peanut butter, and both sugars until well combined and fluffy.
- Add in the egg and vanilla and mix well to combine.
- Add the dry ingredients to the wet ingredients and blend until well combined.
- Roll 1 tablespoon sized portions of dough into a balls. Then roll the balls in granulated sugar.
- Place the cookie dough balls on the baking sheet. Bake at 375°F for 8-10 minutes. The cookies will be slightly cracked and lightly golden brown on the bottoms when done.
- Remove the cookies from the oven and immediately press one Hershey's Kiss into the center of each cookie. Allow the cookies cool on the baking sheet for a couple minutes before removing to a wire cooling rack to cool completely. Allow the chocolate to fully set up again before storing or stacking.
Notes
Nutrition
* Nutritional information is provided as a courtesy and should be used as an estimate only. See the nutrition policy for more information.



Courtney Anderson says
These cookies turned out perfect! You can’t even tell they are gluten free!! I used Bob’s Red Mill 1-1!
Jane Martorana says
Can you use Pamela’s baking and pancake mix for the flour?
Linda says
Can you substitute butter for the shortening?
Katie Olesen says
Yes, you can.
Sarah Woodward-Jones says
Thank you for your recipe! They came out delicious!
Milk is missing from the ingredient list, so I guessed on the amount and tasted the dough. Still came out great, but how much milk are you supposed to use?
These are delicious and do not taste gluten free! I'm positive that these will be a family favorite for years to come!
Katie Olesen says
I'm glad you enjoyed the recipe! The milk should be 2 tablespoons. Thank you so much for pointing that out!
Sarah Woodward-Jones says
Thank you! That was about my guess 🙂
Delicious and wonderful! Can't wait to try your other recipes.
Catherine says
Still was confused about milk — had to go to comments for help. Maybe edit the post and add milk so no one else is confused. 🙂 can’t wait to see how they turn out! Thanks for the recipe!
Catherine says
Just realized it is written! I must have overlooked it. Never mind! Lol
Kathy says
They look delicious! Can’t wait to try them!
Kathy says
They look delicious!