

Whip up the ultimate gluten-free sugar cookie recipe, great for Christmas cookies and any other shapes, too! These cookies are tender with crisp edges that don't spread and can be frosted with your preferred icing. This popular recipe has been put to the test with several gluten-free flour blends, plus you'll learn all the tips and tricks for nailing the perfect gluten-free cut-out cookies!
Jump to:
- Why This is a Great Recipe
- Ingredient Notes
- How to Make Gluten-Free Sugar Cookie Dough
- Tips for Making Gluten-Free Sugar Cookies
- Types of Frosting for Sugar Cookies
- Tips for Frosting Sugar Cookies
- How to Store Sugar Cookies
- How to Freeze Baked Sugar Cookies
- How to Freeze Sugar Cookie Dough
- Recipe FAQs
- More Gluten-Free Cookies
- Recipe
- Comments and Ratings
Why This is a Great Recipe
- Year-Round Fun: These gluten-free sugar cookies are perfect for any occasion! This is a cut-out cookie recipe that holds it's shape, making them perfect for all of your favorite cookie cutters, whether you're making gluten-free Christmas cookies or changing up the shapes to make cookies for baby showers, Valentine's day, or any holiday season.
- Great Texture and Flavor:This recipe consistently earns 5-star reviews because they taste just like a classic sugar cookie! These tender cookies are soft yet sightly crisp!
- Easy to Whip Up: This recipe is easy to make, but does require some chill time for edges to hold their shape.
- Simple Ingredients: This recipe uses the most basic of ingredients, many of which you already have on hand.
- Perfectly Sweet: These sugar cookies are not overly sweet, which balances perfectly with your sweet choice of icing. Whether you choose buttercream frosting or royal icing, these cookies are a delicious canvas to let your creativity shine!
- Nut-Free: Several popular gluten-free sugar cookie recipes call for almond flour, and while I love adding a touch of almond flour to some of my cake recipes, like this gluten-free carrot cake recipe, I've made sure to develop this recipe to be nut-free so that everyone can enjoy these sweet treats!
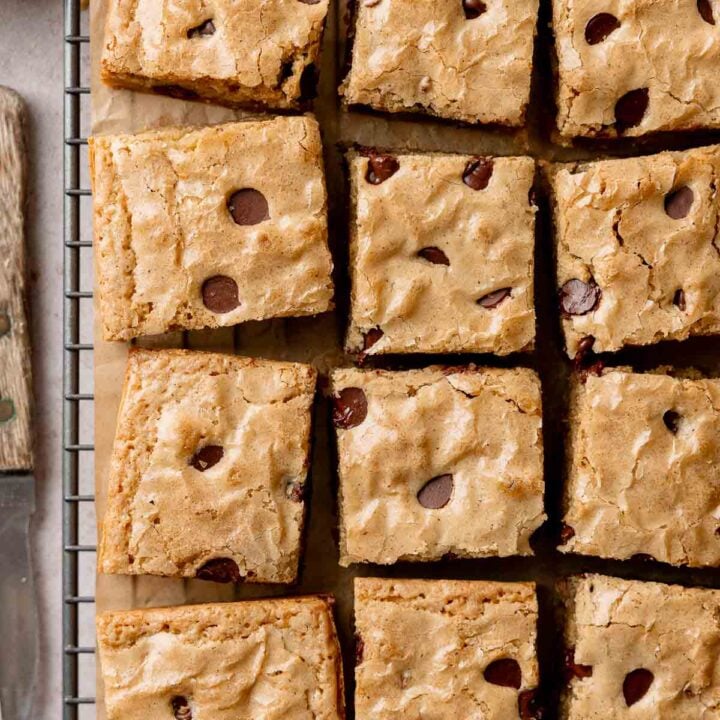
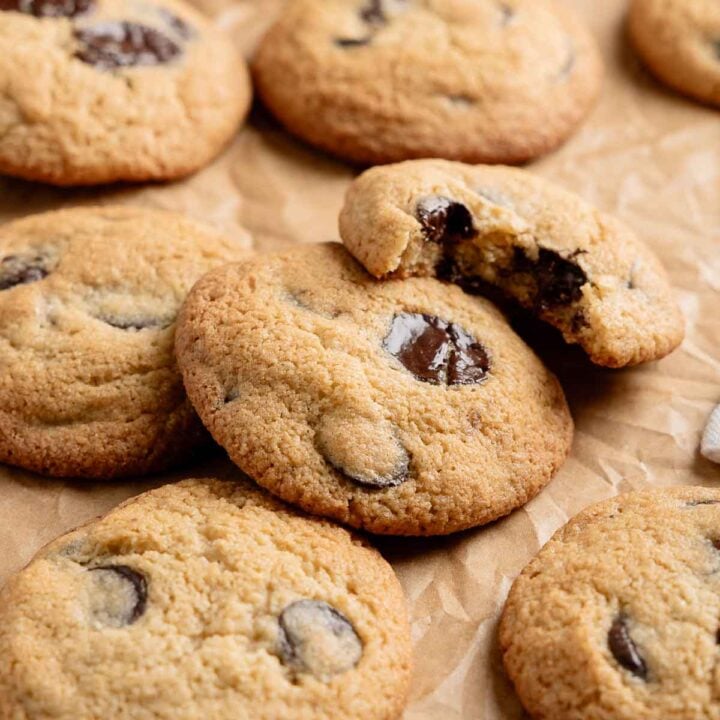
For more great gluten-free cookies, check out the best gluten-free Crumbl sugar cookie recipe or these gluten-free double chocolate chip cookies!
Ingredient Notes
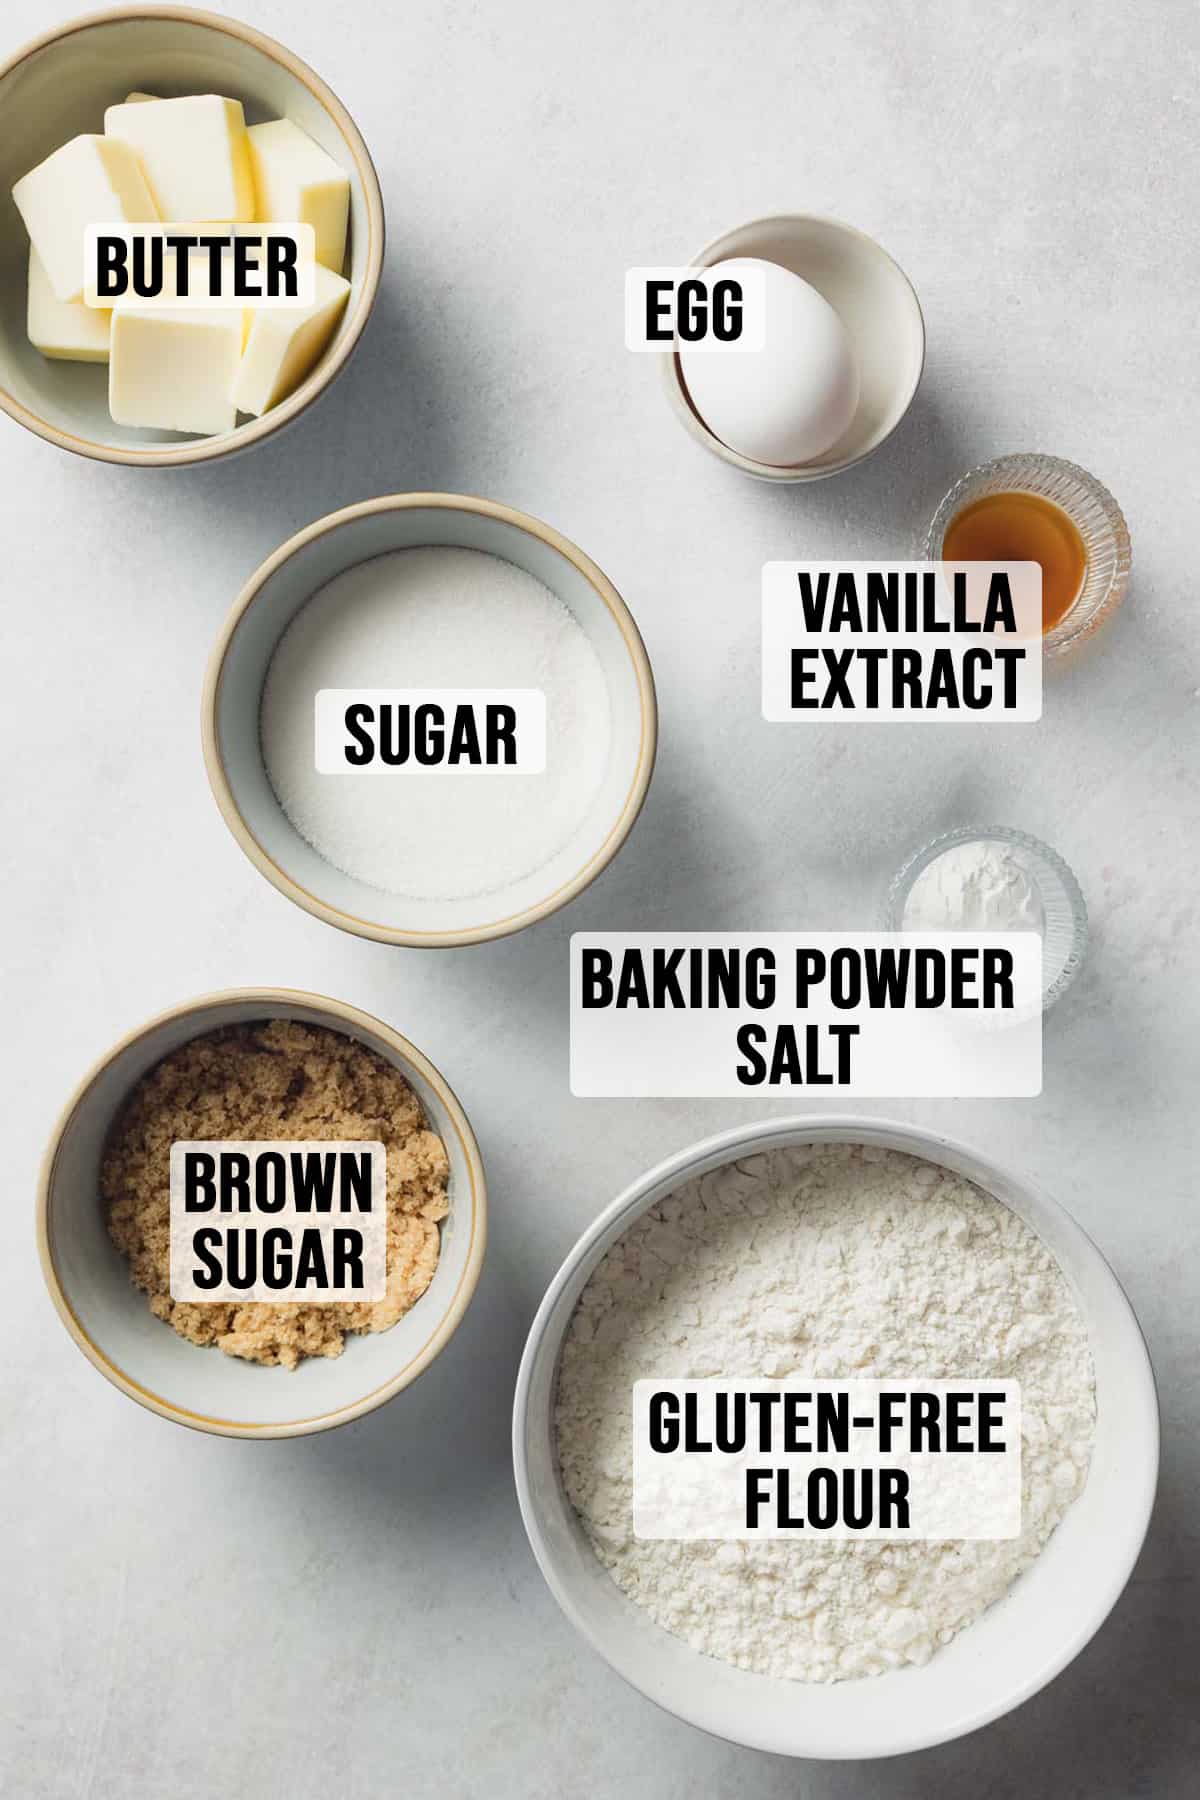
- Gluten-free Flour Blend: These cookies have been tested with and can be made using any of the following blends:
- Brown Sugar and White Sugar: Brown sugar is not a typical ingredient in sugar cookies, but the small amount used adds a touch of extra tenderness and moisture to these gluten-free sugar cookies. Brown sugar is always gluten-free.
- Unsalted Butter: If you need a dairy-free butter, substitute a vegan butter such as Earth Balance Vegan Buttery Sticks. I do not recommend coconut oil.
- Vanilla Extract: It is best to use pure vanilla extract, which is gluten-free. You can substitute other extracts like almond extract or lemon extract to change up the flavor.
- Baking Powder: Be sure to use baking powder, not baking soda.
- Salt: Use regular table salt
*Refer to the recipe card below for a full list of ingredients and amounts.
How to Make Gluten-Free Sugar Cookie Dough
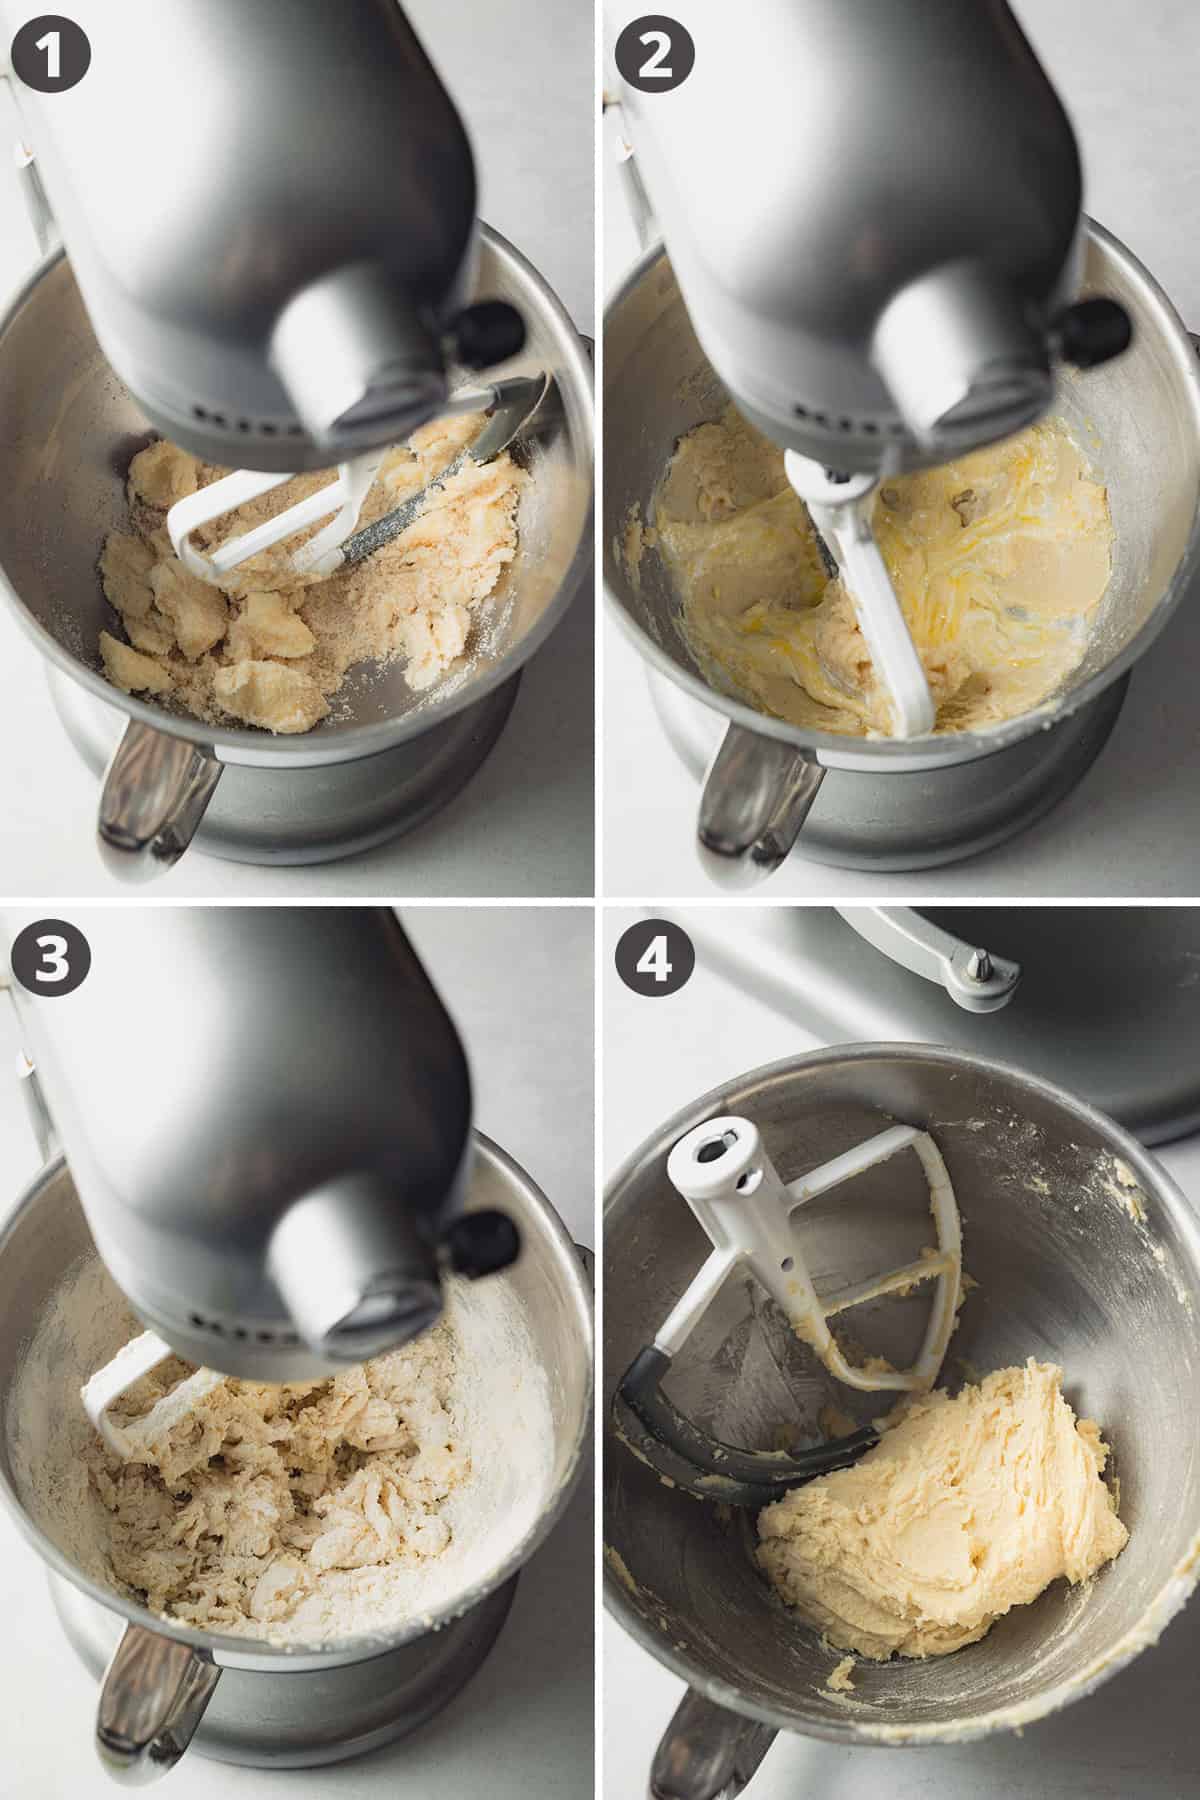
- Cream together the softened butter, granulated sugar, and brown sugar until well combined.
- Blend in the egg and vanilla extract just until the mixture is smooth.
- Whisk together the gluten-free flour, baking powder, and salt. Then gradually blend into the creamed butter mixture.
- Wrap the ball of dough in plastic wrap or place in a covered bowl. Chill in the refrigerator at least 2 hours or overnight.
- Once chilled, you can roll out the sugar cookies and cut into your preferred shapes. Bake according to the recipe card below.
Tips for Making Gluten-Free Sugar Cookies
- Chill the Dough: Chilling dough is a benefit to these cookies. Chilled dough is less sticky, easier to roll out, and the cookies will hold their shape when baking. Chilling also gives the gluten-free flours more time to absorb moisture and develop flavor.
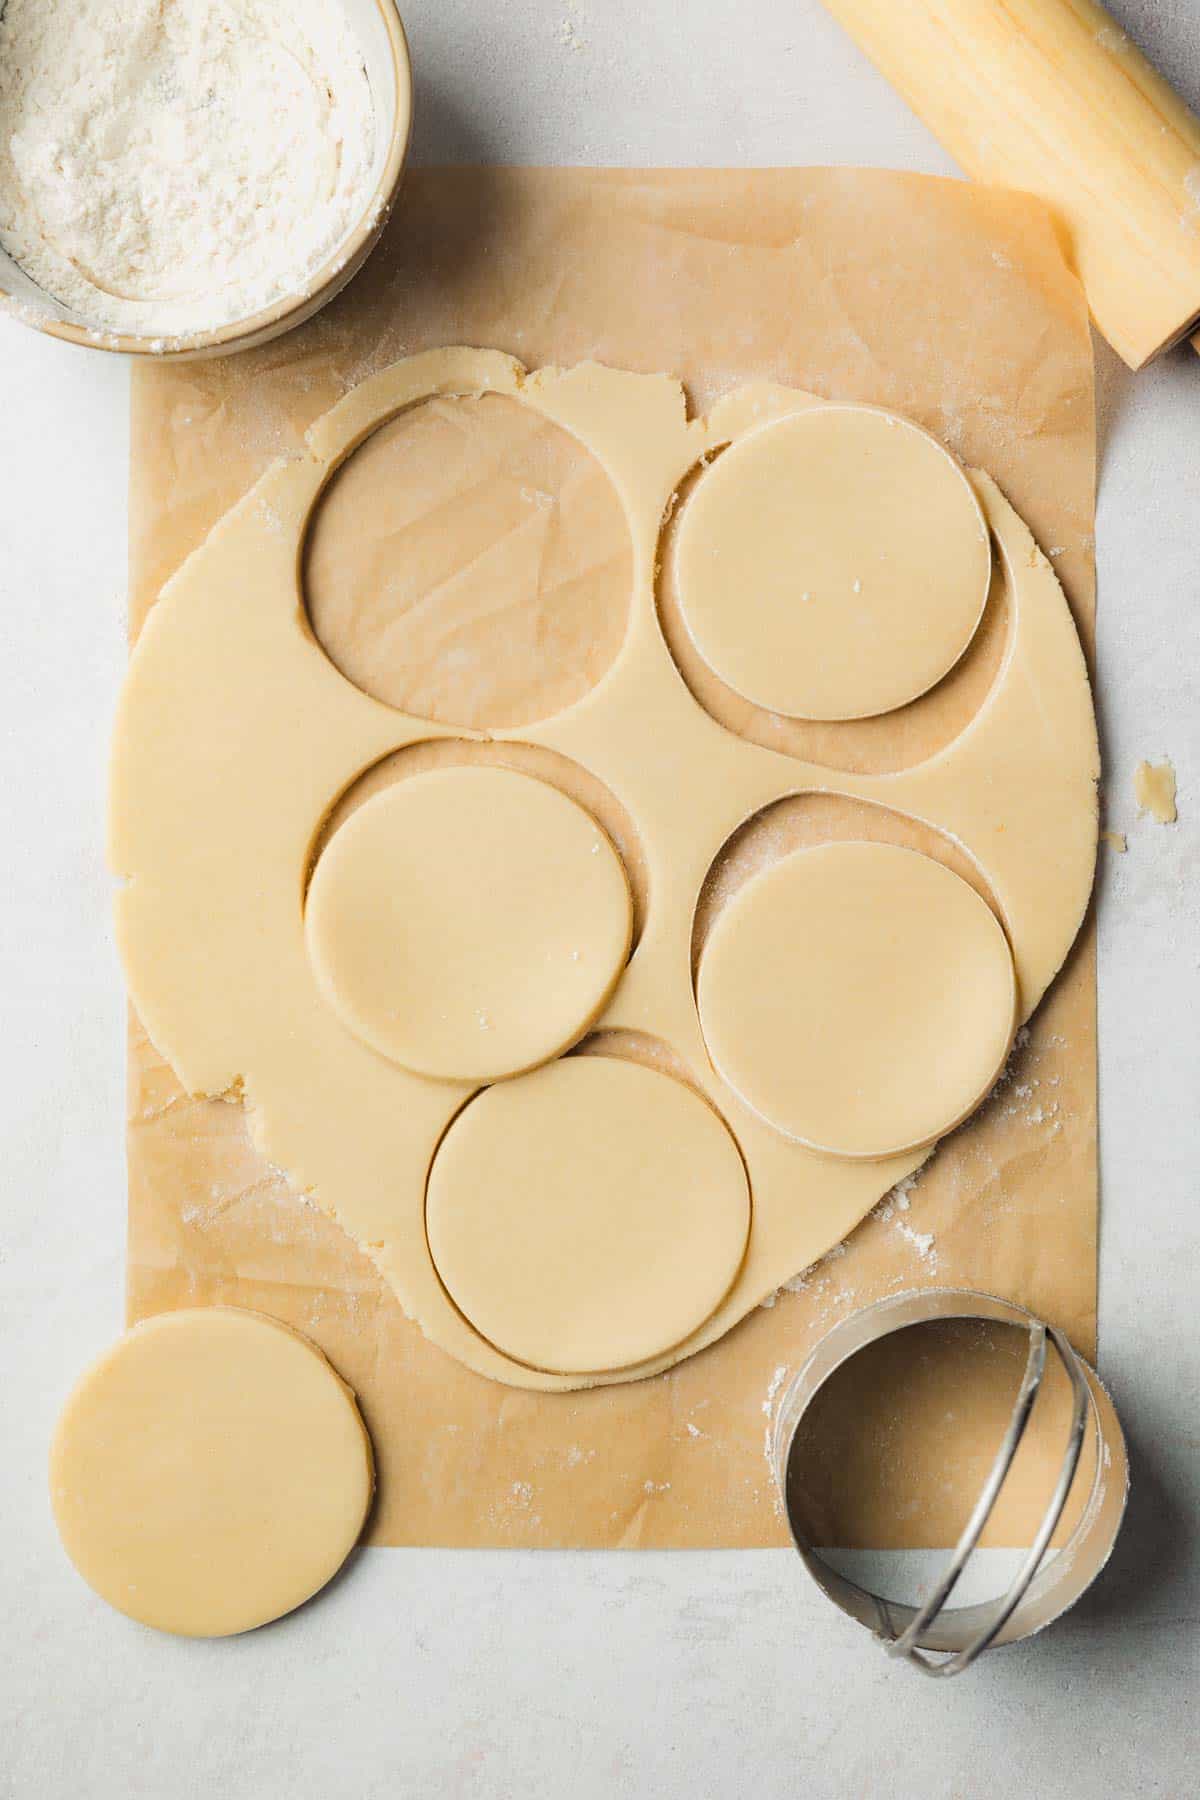
- Use Parchment Paper: Roll out the dough and bake the cookies on sheets of parchment paper for the best results and ease!
- Roll with Powdered Sugar Instead of Gluten-Free Flour: This is a tip I've used for years! Powdered sugar prevents the dough from sticking to your surface or rolling pin, just like flour would, but it has the additional benefit of dissolving into the cookie while baking, which means there won't be any raw flour taste or white dust left on the cookies after baking.
- Roll to ¼ of an Inch: Rolling to a quarter of an inch thickness creates the perfect bakery-style thickness for your cutouts. The slightly thicker cut outs are also easier to handle without cracking, unlike thinner rolled cookies.
- Chill the Shapes: This step is not always needed, but if your dough gets too warm and soft, it's best to pop the shapes back in the refrigerator or freezer just long enough to firm them up again so they will hold their shape when baking.
- You Can Re-Roll Your Scraps: No need to waste any dough, since there is no gluten, you don't need to worry that re-rolled scraps will be any less tender.
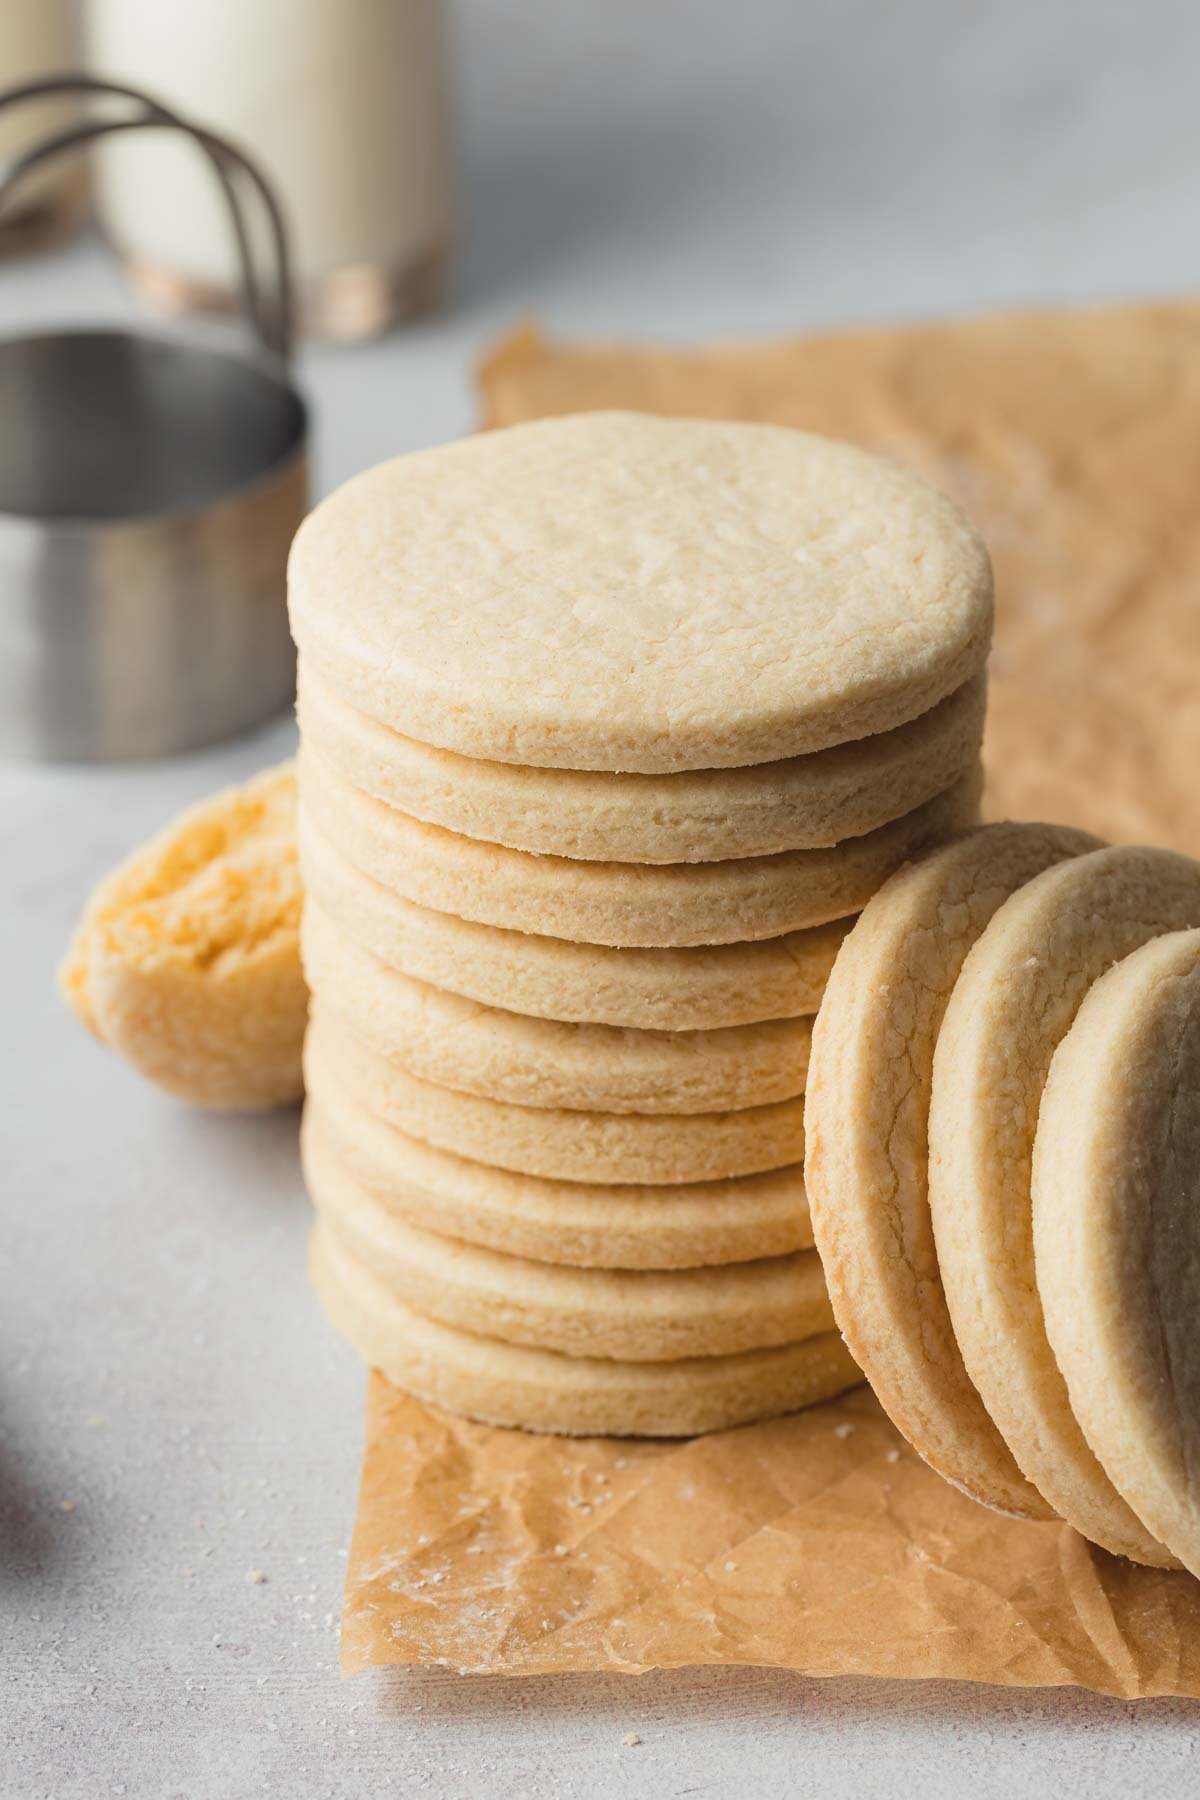
- Cool directly on the cookie sheet: I've found that gluten-free cookies are less likely to crack if you let them cool for at least 5 minutes on the cookie sheet before removing them to a wire rack.
Save This Recipe!
Types of Frosting for Sugar Cookies
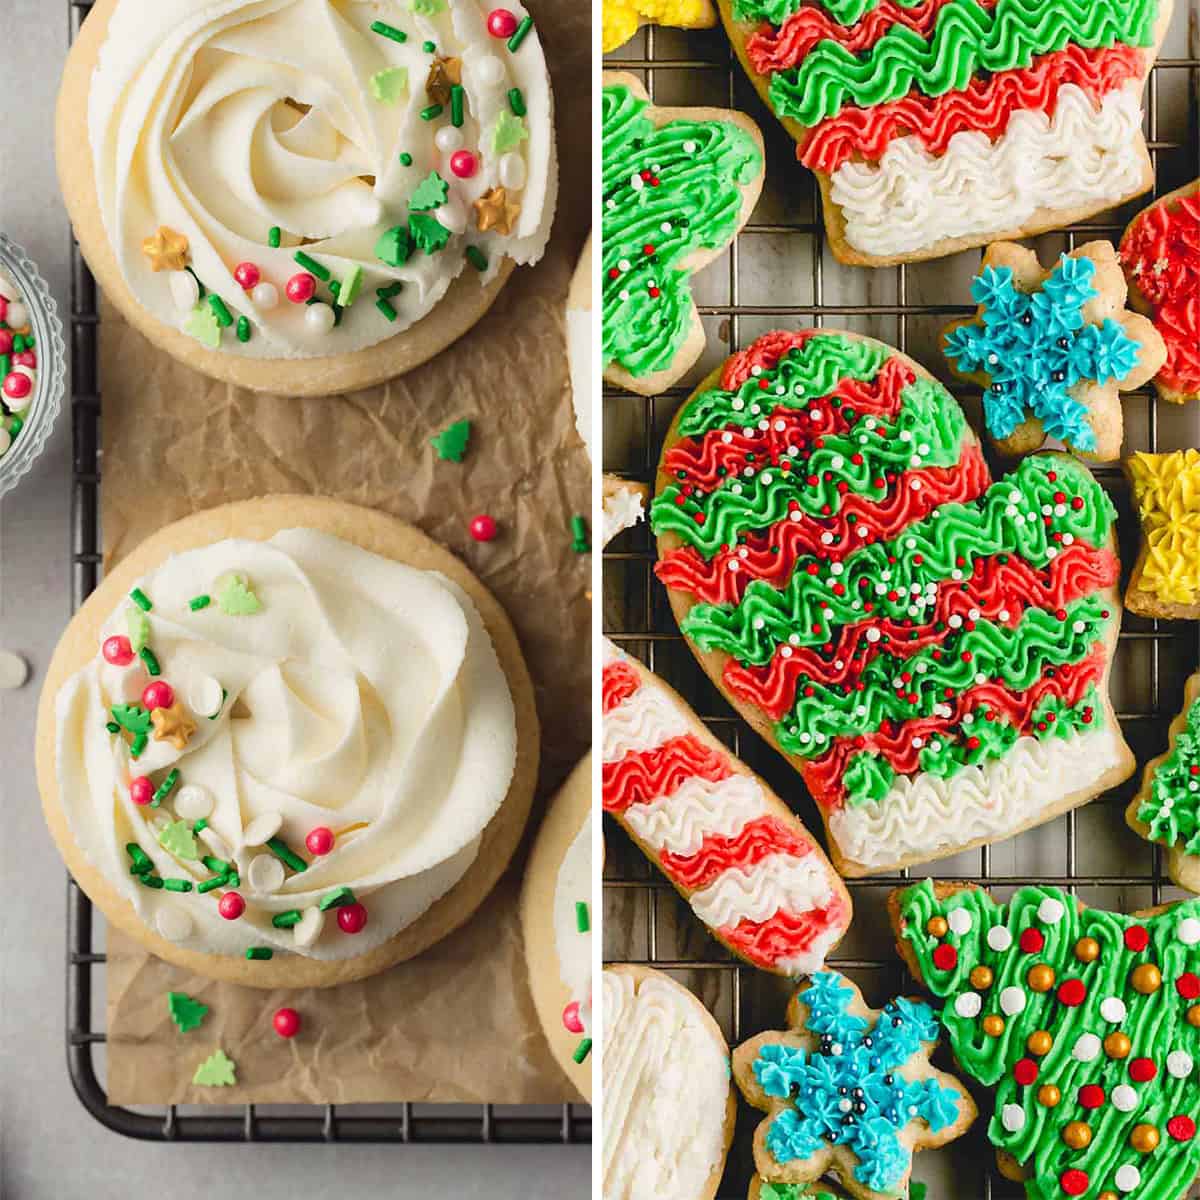
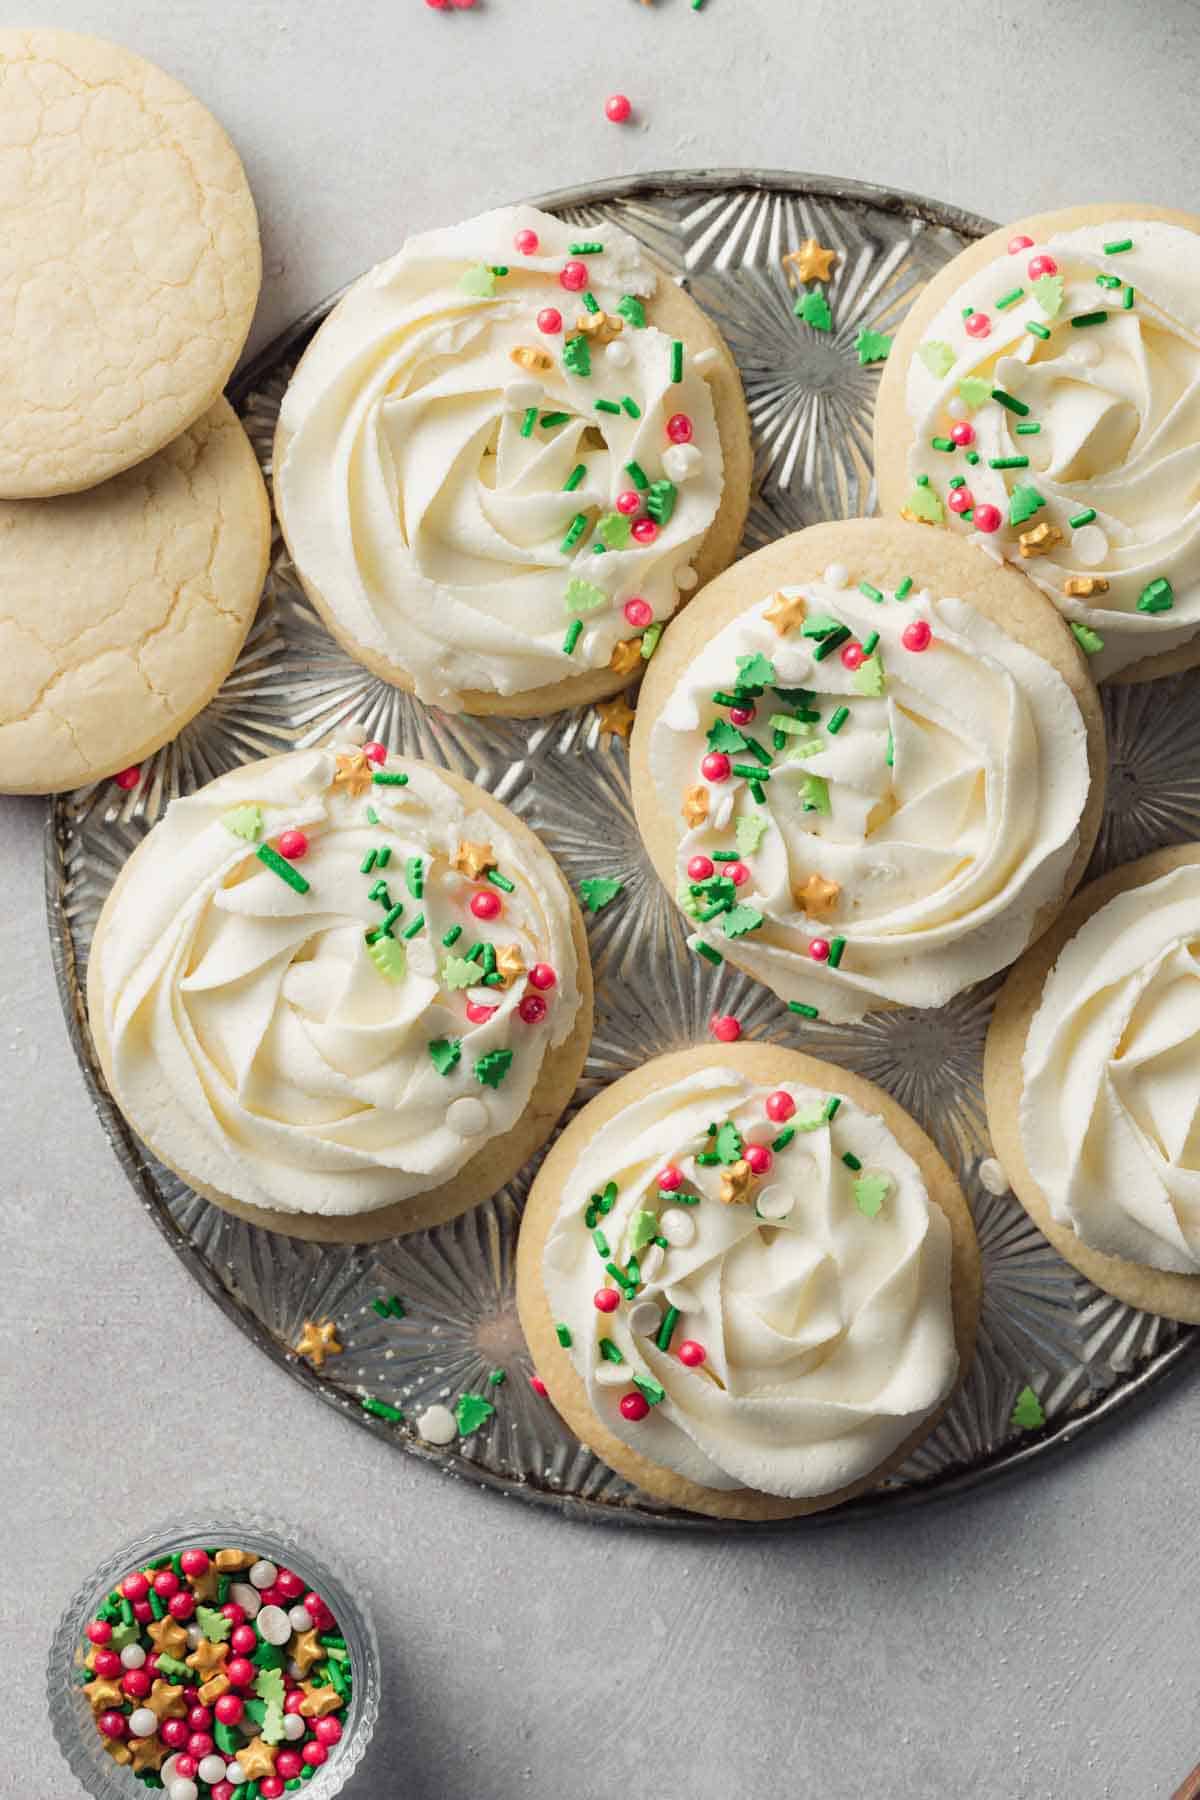
The best part of sugar cookies is arguably the frosting! I prefer to use a classic buttercream frosting recipe, included in recipe card below, on my cut-outs because it tastes the best, but you can use a sugar cookie glaze, royal icing, or even canned frosting on these cookies.
Tips for Frosting Sugar Cookies
- Use Butter and Shortening: Using a combination of butter and shortening is best for frosting that forms a crust but is still soft to the bite. If you don't like to use shortening, you can use all butter but the frosting will be soft at room temperature.
- Get the Consistency Right: You want an easily spreadable or pipe-able consistency. Add more cream or milk if the frosting is difficult to pipe.
- Gel Food Coloring: Use gel food coloring from Wilton, Americolor, or a craft store like Hobby Lobby. The colors are more vibrant and will not water down your frosting.
- Frost On a Cookie Sheet: Not only does this help to catch crumbs and sprinkles for easy clean-up, frosting on a flat surface, not in your hand, helps to prevent the cookies from cracking when you are trying to decorate them.
- Choose Your Piping Tips:
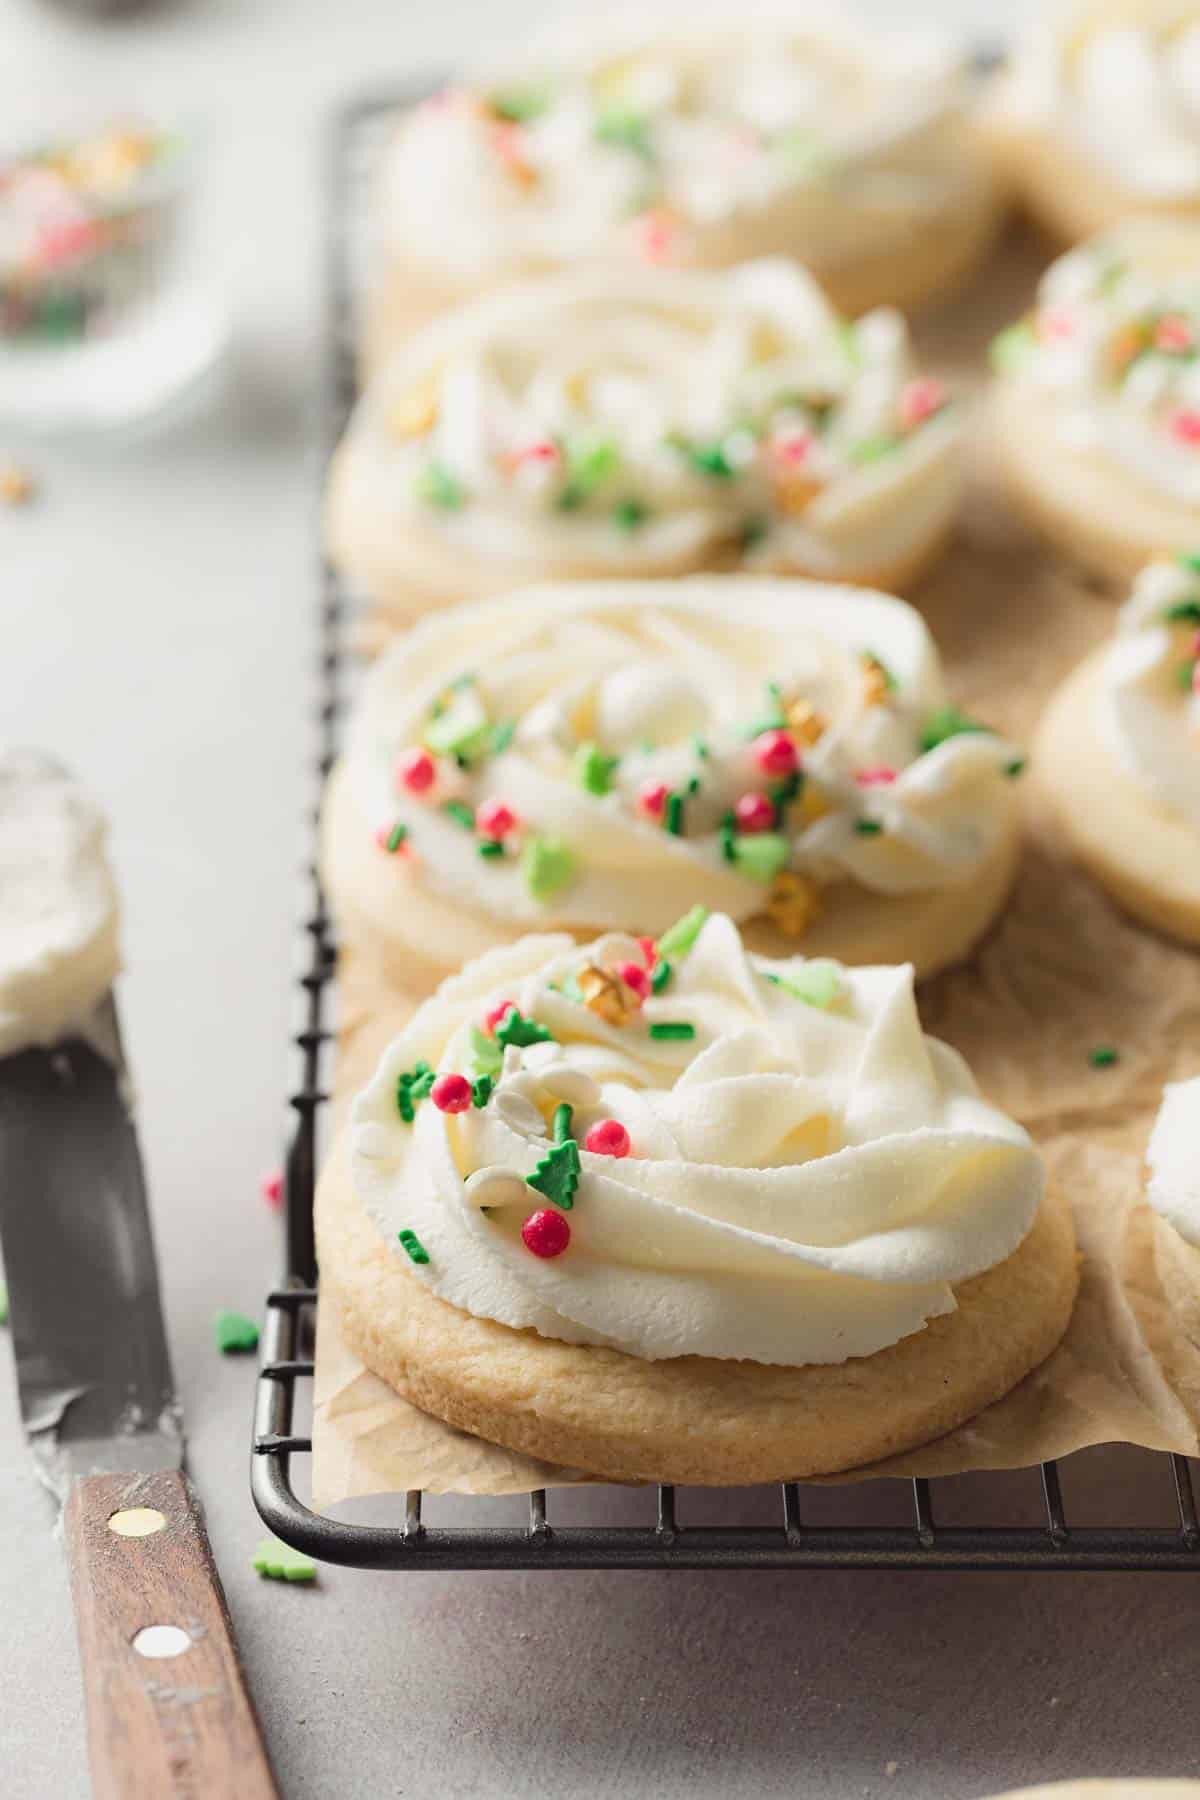
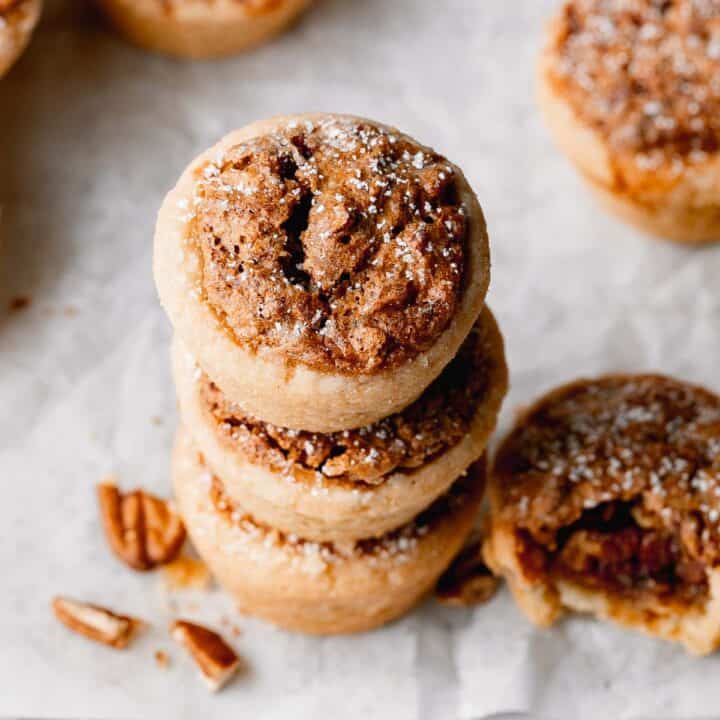
- For roses (seen below, left), use a 1M tip and pipe a swirl starting in the center moving outwards to the edge. I also use a 1M tip to add a festive dollop of frosting to my gluten-free buttercream thumbprint cookies!
- For dots and squiggles, use a small star tip to dot stars or lines all over the cookies. This method is perfect for kids who want to learn to decorate!
- Add Sprinkles Immediately: Add any sprinkles right after you apply the frosting so they will stick. Be sure to check that your sprinkles are gluten-free!
How to Store Sugar Cookies
- Store sugar cookies in an airtight container for up to 3 days either at room temperature or refrigerated. They are best eaten as fresh as possible.
- If you make the sugar cookies more than a day ahead of when you need them, it's best to pop them in the freezer until the day you need them. You'll be impressed with how well these cookies freeze!
- You can freeze these cookies either frosted or unfrosted!
- Thaw at room temperature the day you'd like to serve the cookies.
How to Freeze Baked Sugar Cookies
This is my preferred method for freezing sugar cookies. Fully baked and decorated sugar cookies freeze very well! Once thawed, they taste just as fresh as the day they were baked. The key is to wrap them tightly and freeze them as soon after baking as possible to lock in freshness.
- Place frosted (or unfrosted) cookies in a single layer on a cookie sheet.
- Freeze until solid.
- Place the cookies in an airtight container or freezer bag with a piece of wax paper in between layers. Remove as much air as possible.
- Then place the cookies back in the freezer. Cookies can be frozen for several months.
- Thaw at room temperature the day of serving.
How to Freeze Sugar Cookie Dough
- Shape dough into a log or flatten it into a disc.
- Wrap the dough tightly in plastic wrap then place in a zip top bag or airtight container.
- Freeze the dough for up to two months.
- When you're ready to bake, simply thaw the dough overnight in the refrigerator and proceed with the cookie-making process.
Recipe FAQs
You can tell sugar cookies are done when the edges are just barely golden brown and the center is no longer glossy. The cookies will continue to firm up as they cool on the baking sheet. If the edges are already golden brown in the oven, they will be very crisp once cooled; bake less time for softer sugar cookies.
Yes, you can freeze gluten-free sugar cookies. First, freeze cookies in a single layer until solid. Then, place the cookies in an airtight container or zip-top bag, separating layers with parchment paper. Thaw at room temperature when ready to enjoy.
Yes, you can use salted butter to make sugar cookies. Just be mindful of the salt content in the recipe, and consider adjusting it if needed based on your personal taste preferences.
Traditional sugar cookies are made with all-purpose flour, which contains gluten. However, you can use a gluten-free flour blend to make gluten-free sugar cookies.
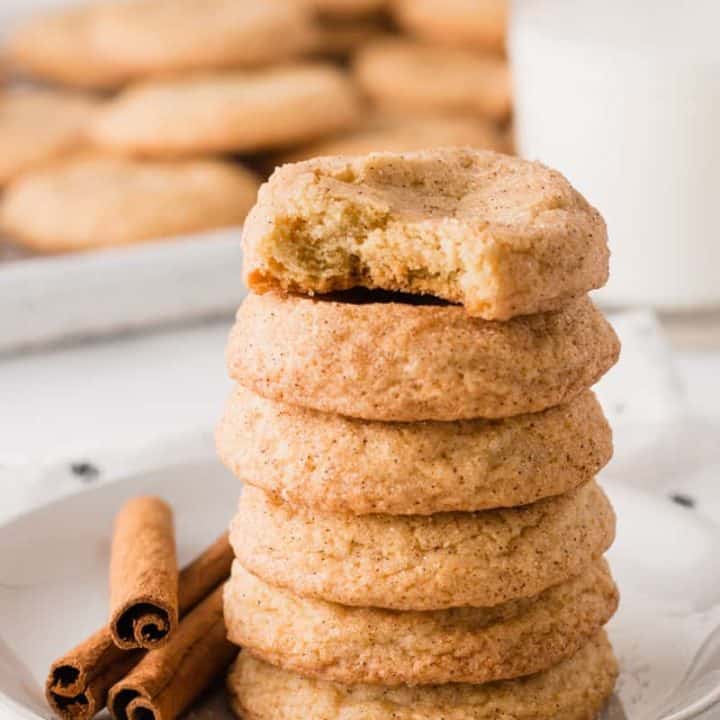
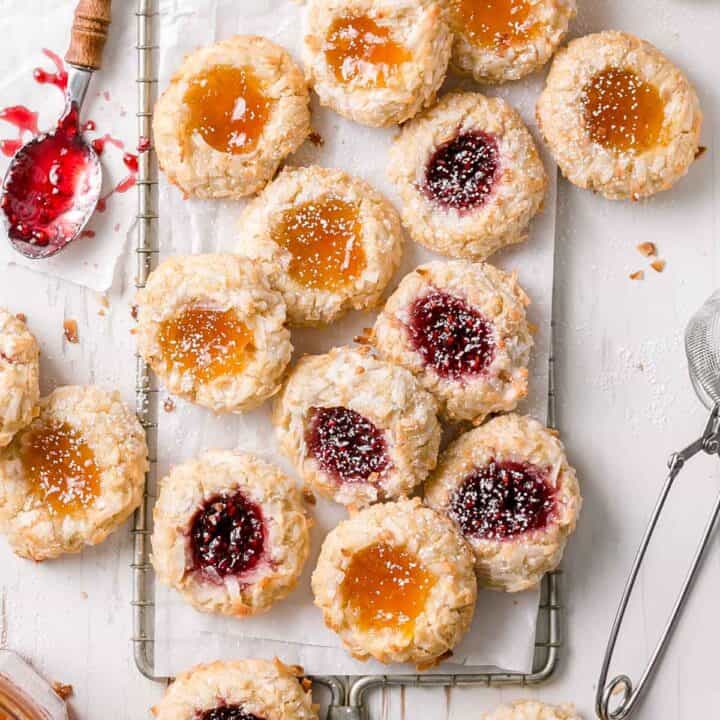
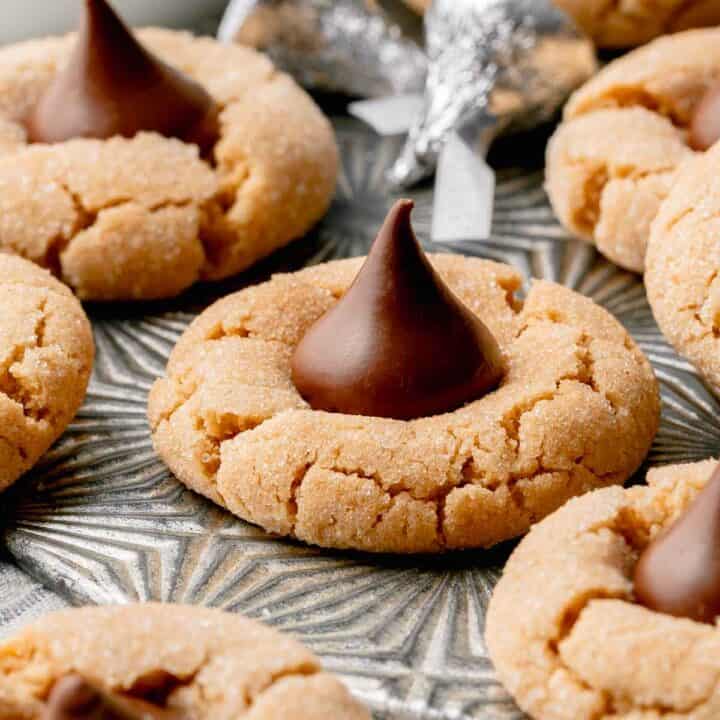
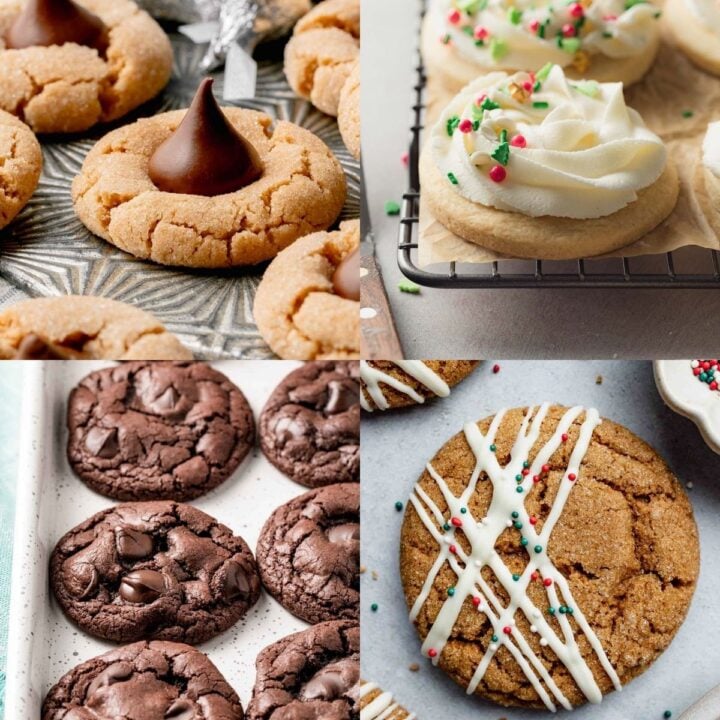
More Gluten-Free Cookies
If you're baking for the holidays, be sure to check out my gluten-free ginger molasses cookies, they are chewy and delicious!
Recipe

Gluten-Free Sugar Cookies
Ingredients
- 2 cups gluten-free flour blend (King Arthur Measure for Measure, Cup4Cup Multipurpose, Namaste Perfect Blend, or Pamela's All-purpose Blend)
- 1 teaspoon baking powder
- ½ teaspoon table salt
- ½ cup unsalted butter (softened)
- ½ cup sugar
- ¼ cup brown sugar
- 1 large egg
- ½ teaspoon vanilla
Buttercream Frosting
- 1 cup unsalted butter (softened)
- 1 cup shortening
- 8 cups powdered sugar (2 pounds)
- ½ teaspoon table salt
- 1 teaspoon vanilla
- 6 Tablespoons heavy cream (or milk)
- gel food coloring
Instructions
Make the Cookie Dough
- Whisk together the gluten-free flour, baking powder, and salt. Set aside.
- In a stand mixer bowl, cream the butter and sugars together until smooth.
- Add in the egg and vanilla, blend until well combined.
- Gradually blend the flour mixture into the butter mixture just until well combined, do not over-mix.
- Gather the dough into a ball, cover it with plastic wrap, and chill in the refrigerator for 2 hours up to overnight.
Bake the Cookies
- Preheat the oven to 350°F. Line two baking sheets with parchment paper. Remove dough from refrigerator and divide in half.
- Dust one half of the dough with powdered sugar, then roll it out to a ¼-inch thickness, adding more powdered sugar as needed to prevent sticking.
- Use cookie cutters to cut out desired shapes and place them on the baking sheets, leaving a 2-inch space between cookies.
- Gather remaining dough scraps and re-roll. Continue this process until all the dough is used.
- Bake the cookies at 350°F 10-12 minutes, or until cookies are set and edges are pale golden brown.
- Cool for about 5 minutes on cookie sheets before removing to wire racks to finish cooling. Cool completely before frosting.
Make Buttercream Frosting
- In clean stand mixer bowl, cream softened butter and shortening together until smooth and light.
- Gradually add powdered sugar, mixing well after each addition.
- Mix in vanilla extract and salt.
- Blend in heavy cream, 1 tablespoon at a time, mixing thoroughly. Continue to blend until a fluffy, smooth, and spreadable consistency is achieved.
- Adjust thickness with more cream, as needed.
- Divide the frosting and stir in gel food coloring to achieve the desired tint.
Notes
- If the dough gets too warm or soft while rolling and cutting out the shapes, it's best to put them back in the refrigerator or freezer just long enough to firm them up again before baking.
- Cookies are best eaten fresh. Store in airtight container up to three days.
- Freeze cookies, tightly wrapped, if desired. Cookies can be frozen before or after frosting.
- Actual yield of cookies may vary depending on size of cutters and thickness of cookies. This recipe makes approximately 15 (3-inch) round cookies when rolled to ¼-inch thickness.
- Recipe yields a generous amount of frosting, which should be more than enough to decorate cookies.
Save This Recipe!
Estimated Nutrition
* Nutritional information is provided as a courtesy and should be used as an estimate only. See the nutrition policy for more information.
Barb says
Hands down, the best GF sugar cookie recipe! Tasted great and did not harden like many GF cookies do. The tip to use powdered sugar instead of flour when rolling the dough was genius! This will be my go-to recipe for cut out cookies. Thanks!!
jocelyn rose says
I just finished these cut out cookies. They are delicious and would like to do them again. But when I took them out of the fridge the dough was really hard and it was a struggle to roll out the dough. I added butter to it and it was a little better. I'm wondering if you have any suggestions. I used Bob's Red Mill 1:1 GF flour. Thanks!
Katie Olesen says
You just need to let it warm up a bit. As the butter in the dough softens, it will be easier to roll.
Jasmine says
I am looking to make a Star Wars themed "wookie cookie" for a party coming up. I have seen people score gingerbread style cookies with a fork before baking, to get the affect of Chewbacca's fur, and I am wondering if you think that would be a viable option for this recipe and this type of cookie? Does the dough rise or puff very much while baking, or do you think the indentations made prior to baking will keep their shape? Thank you!
Katie Olesen says
That is a great question. The cookies do rise and puff slightly, but not a lot. They tend to hold the shapes very well so I think it could work but I don't know with absolute certainty as I haven't tried it. After you make the markings, I would refrigerate them again to ensure they are nice and cold when you pop them in the oven, which should help them to hold their shape even better.
Lynn says
Hi, I found your site when searching recipes made with Caputo Fioreglut, making your pizza recipe tomorrow! Have you had success using this flour in your cookie or pie recipes?
Katie | Wheat by the Wayside says
I have not used this for cookies or pie, mostly because it is so expensive! But I have used it to make this pasta and it turned out beautifully!
Eileen says
These cookies are everything I imagined them to be! All I had was Cup4Cup, but it worked great with that flour. The frosting was hard to spread on cookie shapes that weren't circles, but it was so delicious I didn't care that they looked a bit messy. I just ate that last one and will be dreaming about them until I have an excuse to make them again.
Katie | Wheat by the Wayside says
Happy to hear you enjoyed the recipe, Eileen! If you are at all into piping, we really like to use a small star tip to dot the frosting on. You're right though, they're delicious no matter how they look!
Aly says
Is there a way to make these strawberry flavored?
Katie Olesen says
The cookie or the frosting? I haven't tried but it sounds delicious! A quick google search shows you can pulverize freeze dried strawberries and add the powder to the cookie dough for strawberry flavor, but I would need to test this out before I could recommend it for this particular recipe. I don't know how adventurous of a baker you are, but if you try it let me know how it works out!
Kathy says
These really do taste as good as, if not better than, any other sugar cookie !
Katie | Wheat by the Wayside says
Thank you! They really are good!
Chelsea says
Made these cookies yesterday and they turned out great! The thinner cookies were easier to decorate; I accidentally left a few cookies too thick, and they crumbled easier but tasted really yummy. I would recommend these and make them again!
Katie | Wheat by the Wayside says
Awesome! So glad they worked well for you! Thanks for letting me know. 🙂